Winter Fun Crafts For Kids


Winter Crafts
Winter fun crafts for kids will explore a variety of ideas and resources to keep you and your children happily entertained throughout the grey months of winter. There is something magical about a snowy winter day. Mother nature reinvents the landscape into a pristine wonderland. Winter is the ideal season to learn a new craft or cozy up with a tried and true favorite. Winter fun crafts for kids shares ideas to keep you and your children entertained and cozy through the frigid months of winter. Having ideas and activities ready provides relief for the inevitable snow in day. Having something to do when there is nothing to do helps immeasurably in any season of the year.
Little Penguin
Create Color & Warmth

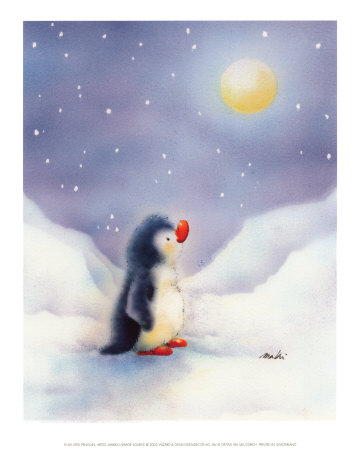
"The Little Penguins
Available at Allposters.com
In today's world the need to structure family together times is as important as ever. Finding activities to do in which everyone can participate and find enjoyment in each other's company creates a loving home environment. Crafting naturally fosters warmth, individuality, togetherness and self-esteem.
Creating decorative colorful lights in the wintertime adds charm and warmth to any environment.
Stained Glass Votive
You will need:
-glass jars, tumbler glass or clear votive candle-holders
-glue (Elmer's works well for this)
-tissue paper in a variety of colors
-brush or sponge brush
1) Cut or tear the pieces of tissue paper.You can also create designs out of various shapes such as stars or snowflakes for a themed look.
2) Apply your glue with the paintbrush or sponge to a small patch of the glass jar. Overlapping the different colors creates a stained-glass effect that's especially pretty.
3) Continue with this process until your jar or votive is completely covered. After the design is dry you can place a votive candle inside and light it for cheerful and festive glow.
Glass Painting
Painting on glass creates a one of a kind signature festive look. When glass painting you can let your imagination run wild with the possibilities. Anything glass is your canvas. You can paint tumbler glasses, votive candle holders, candy dishes, plates, decanters, fishbowls, glass jars for nuts and bolts etc... Start with simple ideas like stripes, dots, hearts and swirls. You can use your thumbprint as a base for fish and little animals. To paint small flowers or dots, dip the handle of a paintbrush into paint and dot on the surface of your project, use a contrasting color for the center of your flower if desired. As your skill improve your designs will become more elaborate.
You will need:
-assorted glass pieces
-glass paints (in desired colors)
-assorted paintbrushes
-paper plate
1) Wash and dry the glass piece you have chosen. Try to avoid touching the area you plan to paint.
2) You can gather some design ideas and plan your painting before you start. Most painters do this. Or spontaneously paint your piece if that is your style.
3) Let your paint dry.
4) You can embellish your finished art with colorful rubber bands tied into a bow or ribbons.
Craft Books To Explore This Winter


Little Penguins
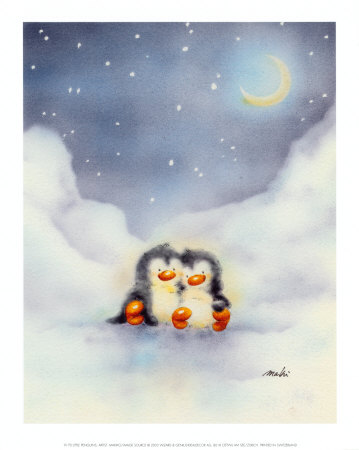
"Little Penguins"
Available at Allposters.com
Find ways to encourage one another, things to admire in each other's work. Laugh at mistakes, and dare to risk. Rather than focus on what is going wrong, focus on what is going right, or rather what is good.
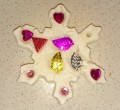
Mosaics

Paper Mosaics
Mosaic is the art of creating pictures with a group of small pieces. This ancient art form has been used throughout history to create visually stunning pieces of art on walls and floors. Often glass or stone is used but we will be using small pieces of paper to get the feel of this type of art. If you do art projects often you are bound to have paper scraps and can save these for this project.
You will need:
-Recycled magazines or gift wrap,scraps of card stock
-Background material: Construction paper, poster board, card stock, boxes
-glue stick or glue ( glue sticks work the best for this and are the least messy)
-scissors
-clear varnish spray
1) Begin by tearing out the colored pages of the magazines and cutting the colored parts into roughly half-inch squares. Be flexible and vary the shapes a bit-squares, rectangles, triangles, some smaller and some bigger. Sort these piles into colors ( you can use an egg carton or a muffin tin to hold your squares.)
2) Once you have a good supply of squares in various colors and textures it is time to begin your design.
3) Start with a piece of construction paper, card stock or poster board to decorate. Plan your design-a plain or geometric border, a picture, a symbol, or simply colors shading from one to another.
4) Lay the little squares out, changing them around to suit you until the entire surface that you are decorating is covered. Start with the central design and then add background color. Place textured beside smooth, dark beside light for contrast. Your squares can overlap or be glued separately like ancient mosaics made of ceramic and glass tiles with grout in between.
5) Once you are satisfied with your design you can begin to glue. Cover the back side of the squares individually and press into place one at a time.
If you enjoy this project you can decorate additional items around your home such as Kleenex boxes, cardboard boxes, toy- boxes, waste-paper baskets, vases, frames, etc... You will want to protect these items with a coat of clear varnish spray. You can also purchase pre-cut cards out of card stock and create a variety of home-made cards to give for all of your gift-giving occasions.
Taking A Ride
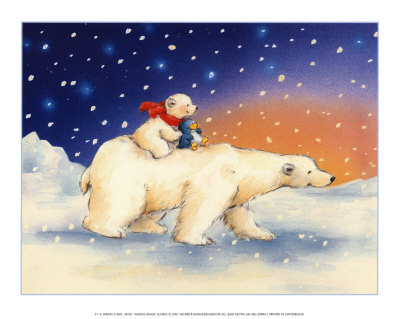
"Taking A Ride"
Available at Allposters.com
Experimenting and even mistakes bring on new discoveries.
Ice Candles
You can bring the outdoors inside or place these outside for a festive seasonal look. Make several for a sensational display.
You will need:
-A clean coffee can
-Plasticine or other modeling clay
-water
-a tea candle
-a saucer
1) Place a golf size piece of Plasticine firmly into the bottom of the coffee can.
2) Fill the can with water and freeze until firm.
3) Run warm water on the sides of the coffee can to loosen the ice, turn the can upside down in the sink and gently shake the ice out. Remove the plasticine and place the ice cylinder into the freezer or outdoors if the weather remains below freezing. When you are ready to use place a tea candle into the hollow left by the Plasticine, and place your ice cylinder on a saucer( this won't be necessary if you place your ice candle outside.) Don't forget to blow out the candle and place your candleholder back in the freezer when you are finished.
Ice Charms
On a cold clear day the sunlight shimmers off ice creating a sparkle. You can create pretty ice charms to hang outside your window .
You will need:
-several shallow pie plates or baking pans of assorted sizes
-water
-3 ft. lengths of colorful yarn
-thin slices of orange, lemon or lime,
-small evergreen branches
-wild winter berries
1) Fill each of your pans with water just below the rim.
2) Circle the inside of each pan with a length of yarn so the yarn gets wet and sinks. Drape the ends of the yarn over the rim and out of the water.
3) Place greenery, berries, and fruit slices, in the water inside the yarn circle. Add just a few items in eah pan. The clear spaces are what will create a sparkling effect.
4) Put your pans outside on a flat surface when it is below freezing.
5) When the charms have frozen, gently work them out of the pans. Hang them by the yarn ends on tree branches outside your window. When they begin to melt, birds and animals will eat up the fruits and berries.
Alex Toys Friends 4 Ever Bracelet Making Kit - Great For All Ages!
This handy little suitcase holds hours of fun! Great for parties, rainy days, camp, scouts, and much more. Make friendship bracelets for everyone you know! Kit includes 2 styles, 8 patterns, 22 bracelets!

Sweet Shop Lip Balm - 3 Yummy Flavors
This newest lip balm kit includes 3 yummy candy flavors and enough base to make 5 containers of lip balm. Candy shaped containers, include ribbons and candy wrappers. When you are finished, place them inside your super-sweet carrying tote. Safety tested and kid safe. Mix and match to make your own unique lip treats.

Asleep On Top
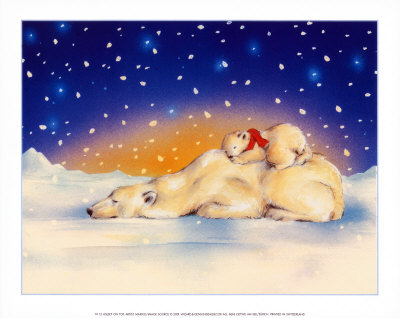
" Asleep On Top"
Available at Allposters.com
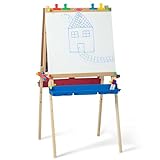
Melissa & Doug Deluxe Standing Easel - Encourage Creativity!
Inspire your young Picasso with the Melissa and Doug Deluxe Standing Easel. This easel will fuel your child's imaginative side and gives them the freedom to create with an extra-large chalkboard, dry-erase board, and easy-load paper roller. Your budding artist will be inspired by free-form expression and spend hours drawing, painting, sketching, and doodling. It is also an excellent educational item and children love playing school with the chalkboard side.
Castle Creative
The Calafant toys encourage your childs creativity by leaving a lot of room for the imagination. Build your own play world: a farm, a castle, a pirate ship, and decorate it with markers, or watercolors, glitter, scrapbook materials... whatever you can imagine!
Winter Craft Tutorials
Here are some step-by-step instructions with photographs of delightful winter crafts that you and your children can do together.
- Pinecone Birdfeeder
Attract winter birds with this natural taste treat for your feathered friends! - Sparkling Ice Crystals
String up a few of these crystals, made of pipe cleaners and beads, and get ready for a flurry of compliments. - Glittery Window Clings
Let the sun shine in through a few of these glittery window clings - Winter Wonderland Creatures
Gather pipe cleaners, foam balls, and colorful pins to create these whimsical and delightful winter wonderland woodland creatures. - Clay Pot Snowman
This snowman is a fun craft for children. It is easy and inexpensive to make.
Winter Crafting Videos
Off We Go

"Off We Go
Available at Allposters.com
Having a cache on hand of ideas and supplies helps to build anticipation in your children. They eagerly await the next project looking forward to the time spent with you in creative fun.

Creating crafts together is a wonderful way to spend quality family time and create treasured memories. Celebrate the chilly days of winter and stay cozy and warm inside. The winter months are the perfect time to plan crafting activities. Having a variety of supplies on hand will make your crafting experience more spontaneous and enjoyable.
Have A Warm & Cozy Winter!

Dear Reader-
Do you have any additional ideas you would like to share about winter crafting?
I hope your visit today was enjoyable at Winter Fun Crafts For Kids and your imagination was sparked.
Please leave a comment to let me know you stopped by.
Thanks for visiting.