Easy Plum Jam Recipe


A Little Story:
This is the first summer all of my fruit trees have produced enough to do anything substantial with the harvest. I am very excited to have so many options for canning and preserving this year and I intend to share them all with you. As I document my processes on wine making and preserving I will add links so that you can follow my city homesteading journey and start or embellish on your own….ENJOY!

Ingredients
4.0 lbs plums (pitted)
Note: Be sure to confirm the amount of fruit necessary for your particular brand of pectin, sugar content may also vary with each brand of pectin
6 1/4 cups granulated sugar
1 box pectin

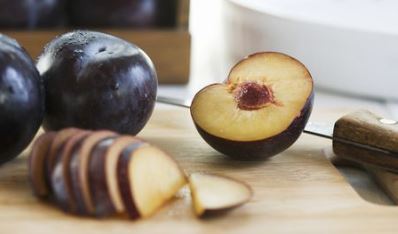
Initial Preparations
First things first, you need to pit your plums.
Jar Prep
You can begin boiling the water in your canning pot now. Note: this takes a long time if you are using an electric stove….like mine L
I sterilize my jars by first washing them with soap and hot water. Then I add about a quarter of a cup of white vinegar and a splash of lemon juice and swish it around the entire inside of the jar. Finally I rinse out the vinegar and lemon juice then add each empty jar to my canning pot once it begins to boil and leave the jars in the boiling water for at least five minutes.
I also place my lids and rings in with the jars and sterilize everything at once.
Set your jars aside and let’s get focused on the plums.
Get the Jam Goin
Now you're ready to rock
- Put your plums in a large bowl and cover with 1 1/4 (of the six) cups sugar and stir till well coated. Let the sugary fruits sit for at least 1 hour.
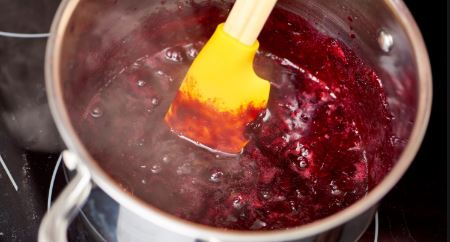
- Move the plums to a large pot and bring to a boil uncovered. Once brought to a boil, add pectin and don’t forget to stir occasionally and keep an eye out for a constant easy boil. Simmer for another 10 minutes or until its nice and thick.
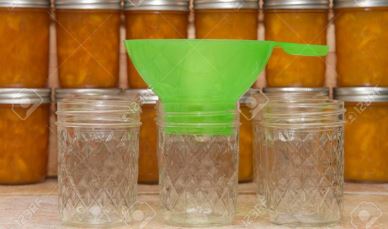
- Begin to fill your jars to within a quarter-inch of the brim.
- Pull out each lid and place atop each jar.
- Twist rings, remember not to tight, air needs to escape in the canning pot.
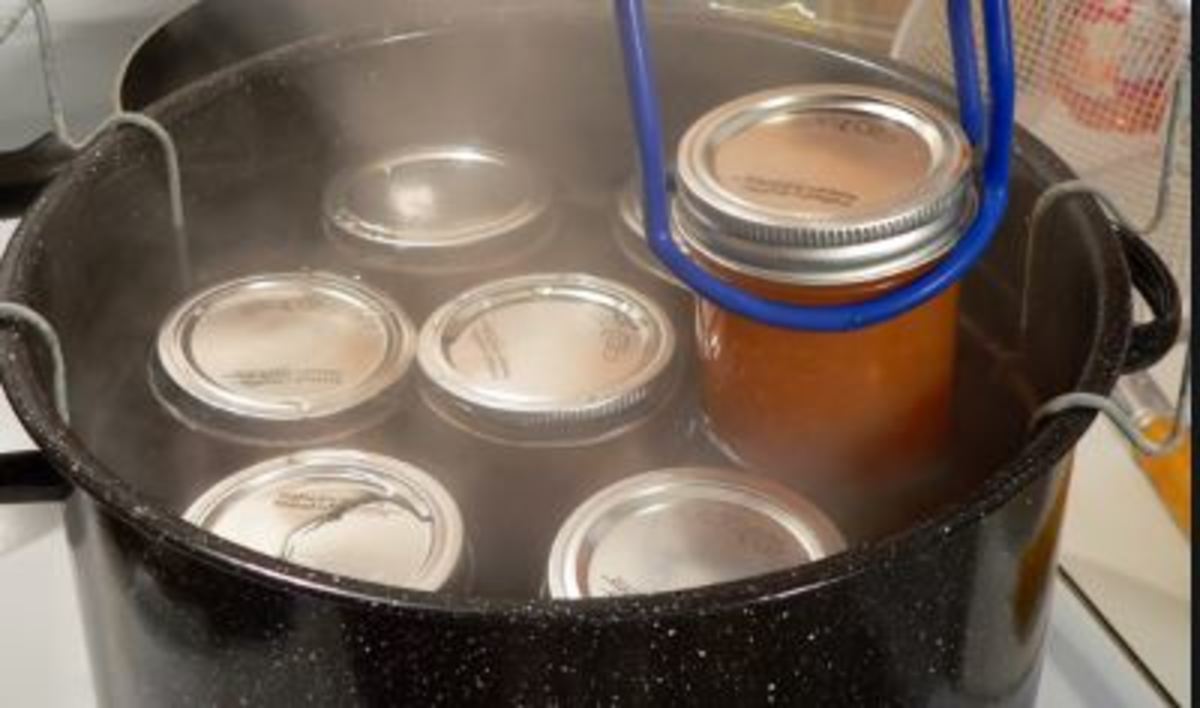
- Lower jars into the pot. If and when you hear a POP! You have achieved a good seal and can remove the jar after a couple of minutes, placing them right-side-up in a safe place (safe meaning a location that will go unmolested for at least 12 hours).
Getting Those Silly Lids to POP
7. If you fail to hear a pop, don’t worry, there is still hope. Leave the jar in the water and wait until the air bubbles cease to escape the jar. Pull the remaining jars out and set them upside down in a safe place. After about 1 minute, turn each no-pop jar right-side up. If you do not hear a pop at this point, you have two options. You can remove the ring and lid, clean the brim, and attempt to re-can. Or, you can place the jar in the fridge and enjoy it a little sooner than later.
8. After 12 hours you can move your jars to the next spot. Label each jar with the date it was canned. I also write the date six weeks from the canning date because the jam should be allowed to sit and set for at least six weeks.
9. You are done!!!
Flipping Jars for Seal

A Note from the Author:
This year was my very first attempt at preserving my plums as jam instead of sticking to my tried and true wine recipe. You can read my wine process in my article “Fresh Fruit Homemade Wine Recipe.” I will also use this same recipe for my peaches and will use it again for my pears and grapes when they ripen. As I gain lessons learned and pick up new tricks, I will update this how-to. This recipe was super easy to execute, and I am so happy with the results thus far and hope to only hear good news from those of you who use this article to make your own delicious homemade fresh fruit jams.

Looking for more?
For more delicious recipes by Lani visit www.evrything-evryday-mama.com
This content is accurate and true to the best of the author’s knowledge and is not meant to substitute for formal and individualized advice from a qualified professional.
© 2019 Lani Morris


")

