Jerky - Where'd It Come From and How to Make It
Before We Get to the How-To...A Brief Where-From
There doesn't seem to be any doubt that jerky is an American creation. Some say Native Americans were making jerky thousands of years ago, while others say that jerky derived from the Inca around 1500 years ago. The word "jerky" even appears to come from a word in the Quechuan language of the Inca - "Ch'arki". It translates to "dried meat". Either way, it was a popular food choice back then, as it is today.

Jerky was popular thousands of years for the same reasons it is today. It's a food source that is easy to make, tasty, portable and provides nutrition without requiring refrigeration. Nearly any kind of meat can be made into jerky, except pork. When Europeans came to the New World and were introduced to jerky, it became a staple of explorers, tradesmen, and pioneers. Here was a great food source that could be hunted anywhere and stored for long periods of time. The Europeans loved it!

Jerky today is commercially produced and sold in grocery stores and convenience stores throughout the world. It's still a popular, take-along snack. Commercially-produced variations are usually made from turkey or beef and range in flavors from salty to teriyaki to sweet and anything in between.
And Now...The How-To
Ingredients
- 2 lbs. Flank steak
- 4 tbsp steak seasoning
- 1/2 c. dale's low sodium
- 1/2 c. teriyaki sauce
- 4 tbsp worcestershire sauce
- 1 box toothpicks
What To Do
- Slice flank steak (or whatever meat you're using) into very thin slices. The thinner the slices, the crunchier they will be. I slice it about 1/16 to 1/8 thin.
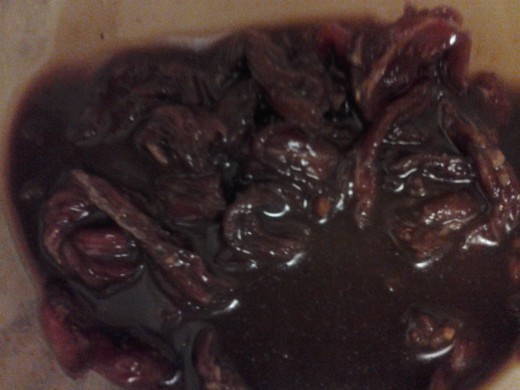
- Combine all the ingredients in a large bowl and marinate at least an hour. Marinate overnight if possible.

3. Place the top oven rack as far up as it will go. Cover the bottom rack entirely with aluminum foil. The foil will catch the drippings from the slices.
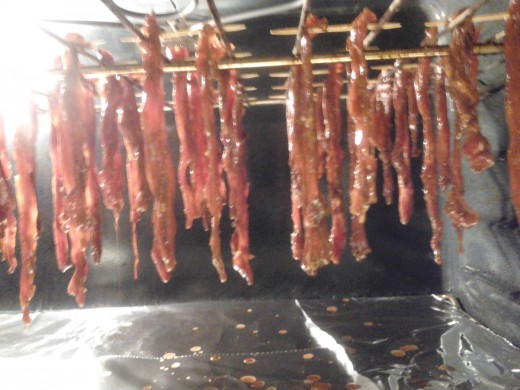
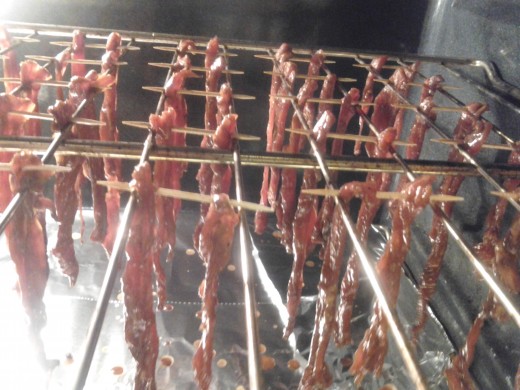
4. String 2 slices per toothpick. You don't want too many on each toothpick as they need to hang without touching each other. Hang each toothpick from the top oven rack.


5. When all the slices have been hung, close the oven door but leave it propped slightly open with the handle of a large wooden spoon or ladle. Not sure why, but the little bit of air flow into the oven helps the meat dry out more.
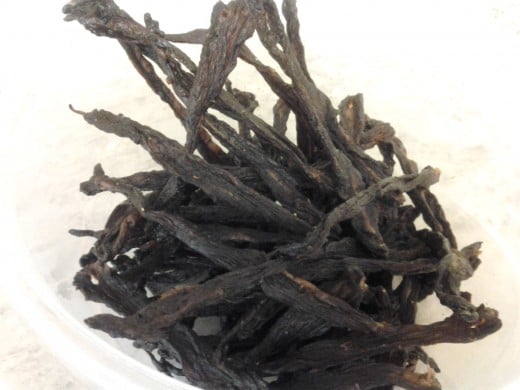
6. Check on the slices every couple of hours or so. The thinner, smaller pieces will be done sooner than the larger, thicker pieces. You can pull the meat out as it's done to your liking.


