Learning to Dry Herbs

Hub #30 of my "30 Hubs in 30 Days" Challenge
Over the past few years, I've been conducting an experiment of sorts in my herb garden. You see, I've always used dried herbs in my cooking but when I bought my house there was a small herb garden in the backyard. After inviting a friend (and plant expert) over to help me identify the plants, I began experimenting with using the fresh herbs in my cooking. Needless-to-say, I was pleasantly surprised with the improved flavor that the fresh herbs provided. I also liked knowing that the plants were organically grown. However, I soon realized that there were far more plants growing in the herb garden than I could use. In addition, I began to notice just how expensive it is to buy dried herbs at the grocery store. From that point on, I vowed to learn how to dry my own herbs.
First Things First
Being a certifiable bookaholic, my first step to learning anything new is to visit my local library is search of books on the topic. Unfortunately, the two local libraries are both pretty small and neither one had any really helpful books on this topic.
So, I did what I do best: I decided to "wing it."
I've seen numerous Jane Austen era movies over the years that have scenes where young ladies are hanging plants to dry. So, I decided to imitate them (and hope that even though they were on television their behavior was close enough to the real thing!).
Step By Step
1. Cut the fresh herbs. Keep in mind that they'll shrink a lot during the drying process.
2. Wash the herbs with cool water (not hot-- the leaves will discolor!)
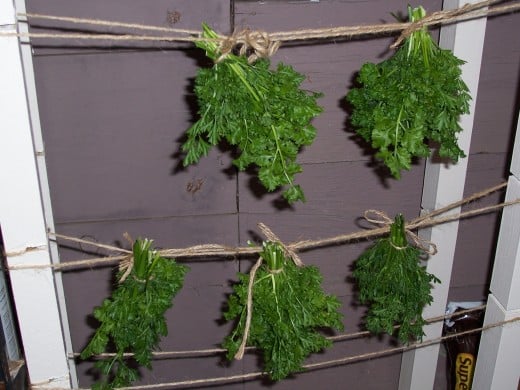
3. Divide the herbs into equally sized bunches and tie with string or twine.
4. Hang the bunches someplace dry (I used a wooden frame in my shed).
5. Let them air dry (I checked on them periodically, but the process took several weeks).
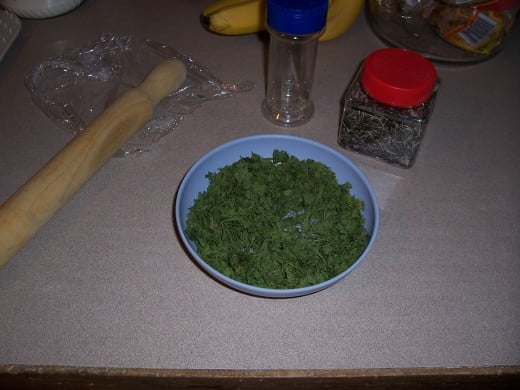
6. Retrieve the dry bunches, remove the twine, and begin "crunching." (I used a wooden rolling pin, but a mortar and pestle would work best).
7. As the leaves break up, you can retrieve the stalks and throw them away.
8. Keep "crunching" until the leaves are in tiny pieces. I compared them to a container of store bought dried herbs. You want them to be small enough to fit through the holes in the lids of used herb bottles.
9. Enjoy!
Trial and Error
Since I used the "wing it" approach, there was a lot of trial and error involved in my learning how to dry my own cooking herbs. My first batch turned out okay, but I didn't remove enough of the dry stalks and I didn't crush the leaves up enough. As a result, the herbs wouldn't fit through the slots in the lid of my re-used herb bottle.
I also realized that the herbs will not dry evenly if the bunches are too big.
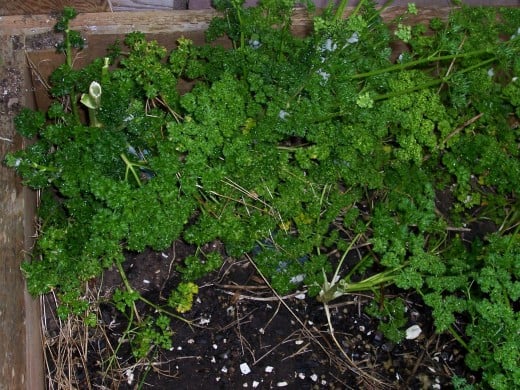
Oh, I learned the hard way that if you're going to hang a batch of parsely and rosemary on the same day then you want to do the parsley first. The rosemary leaves an oily substance on your skin that takes a while to fade. If you do the rosemary first then when you handle the parsley it'll end up tasting slightly like rosemary (oops!).
So far, I've only tried to dry parsley and rosemary. In the future, I intend to try processing my own oregano and basil. Both plants initially intimidated me. I think the oregano will be tricky to tie into bunches due to it's small size. I have the opposite problem with the basil. The leaves are so large that I dread all of the hard work that will go into grinding the dry leaves into small enough pieces.
Through trial and error, each additional batch of herbs that I've cut, dried, and "crunched" have turned out better than the batch before. In the long run, I intend to buy a mortar and pestle which will make it much easier to crush the dry leaves. Then again, why stop there? I heard from a friend that they've got all sorts of drying racks and related equipment for sale online. So far I've been using the thrifty approach (by reusing items I already own) but the "official" herb drying gear would probably make the process much easier!


