Polish Family Traditions - Making Pirogi

Keeping old family traditions can be quite a challenge. Making pirogi was a task that probably took me years to master. Most of the recipes I was given created a dough that was very close to shoe leather and so hard to roll that even my marble rolling pin was physically challenged. My husband's Aunt was a champion pirogi maker and would fill her Westinghouse roaster to the top with the delicious dumplings. Her famous roaster of pirogi would be at every church picnic or fund raiser. It would have been wonderful to learn her secrets for handling the dough, but I was always half way across the United States or beyond the Atlantic Ocean in Germany. Never the less, determination was with me even if ability wasn't, and my first few batches were pretty disappointing. I was finally rescued by a friend who gave me her dough recipe. The main difference in the recipes was the addition of sour cream. The dough was finally workable and it became a joy to make pirogi. I am happy to pass it on here in case there are any aspiring pirogi makers. There is nothing like the taste of home made pirogi!
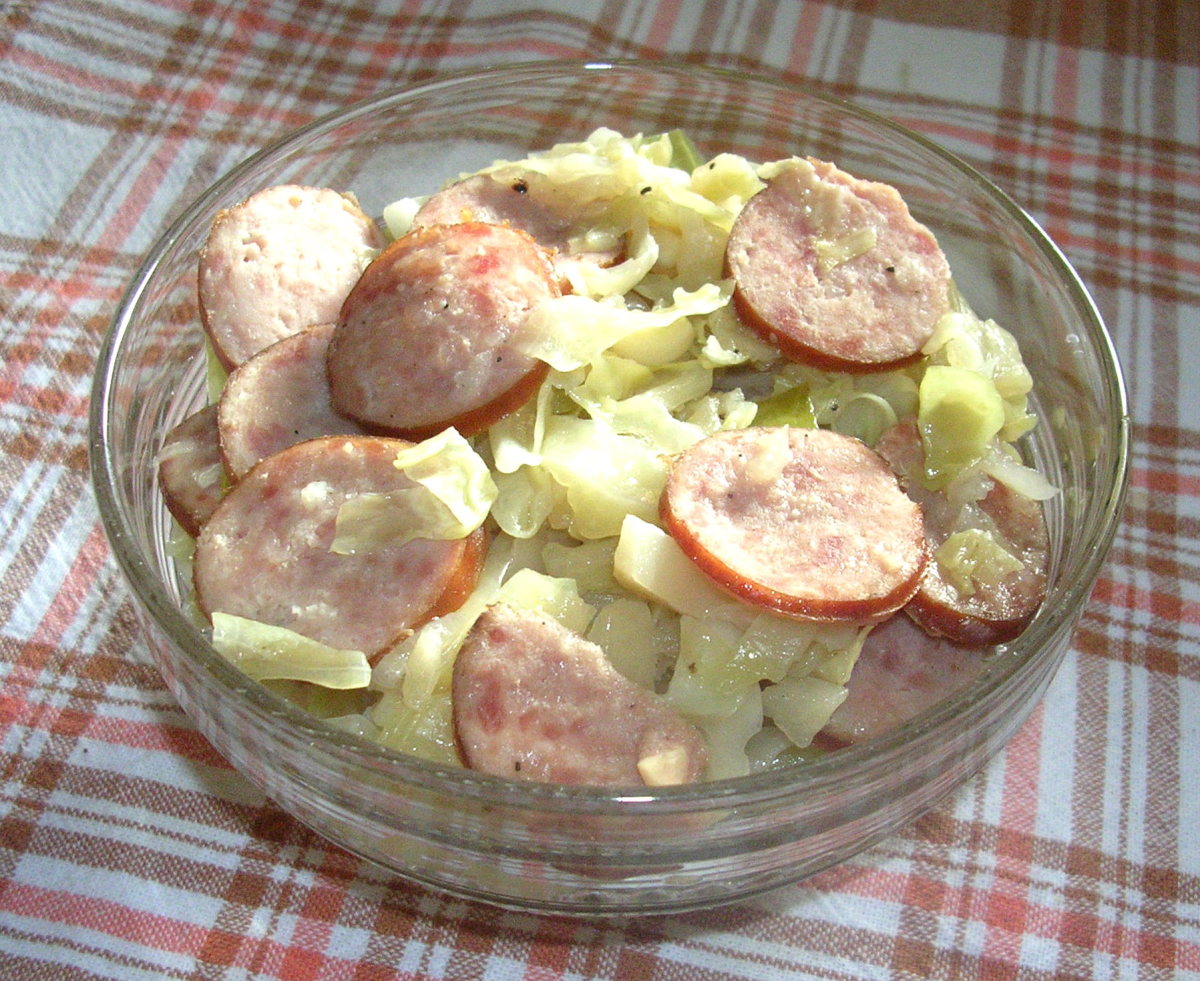
Pirogi have always been a part of our Christmas Eve celebration. The little dumpling pockets can be filled with several traditional foods. Our family favorite is mashed potatoes and cheddar cheese, but other great fillings can be sauerkraut, dry cottage cheese and chives, kielbasa, or a mix of sauerkraut and kielbasa. Always have the filling planned and ready to go before the dough is made. Pirogi are best made quickly as the dough will dry out if you have to break production to make a new filling.
Pirogi
- 1 cup sour cream
- 1 egg, beaten
- 2 cups flour
Combine all ingredients and work the dough with your hands until it holds together well. It may be a bit sticky. Take about a third of the dough and gently work it on a flour coated surface. When it feels firm and is no longer sticky, roll it to about 1/8 inch thick. Usually pirogi are cut in 4 to 5 inch circles. The lid to a small kettle will work fine. Make sure the circle will come off of the floured surface and place a few teaspoons of your favorite filling in the center of the circle. Fold the circle in half and press the open edges together to seal them. Place the finished pirogi on flour coated wax paper. Continue making pirogi in this fashion until you have used all the dough. This recipe will make 20 to 25 pirogi depending on how thick or thin the dough is rolled.
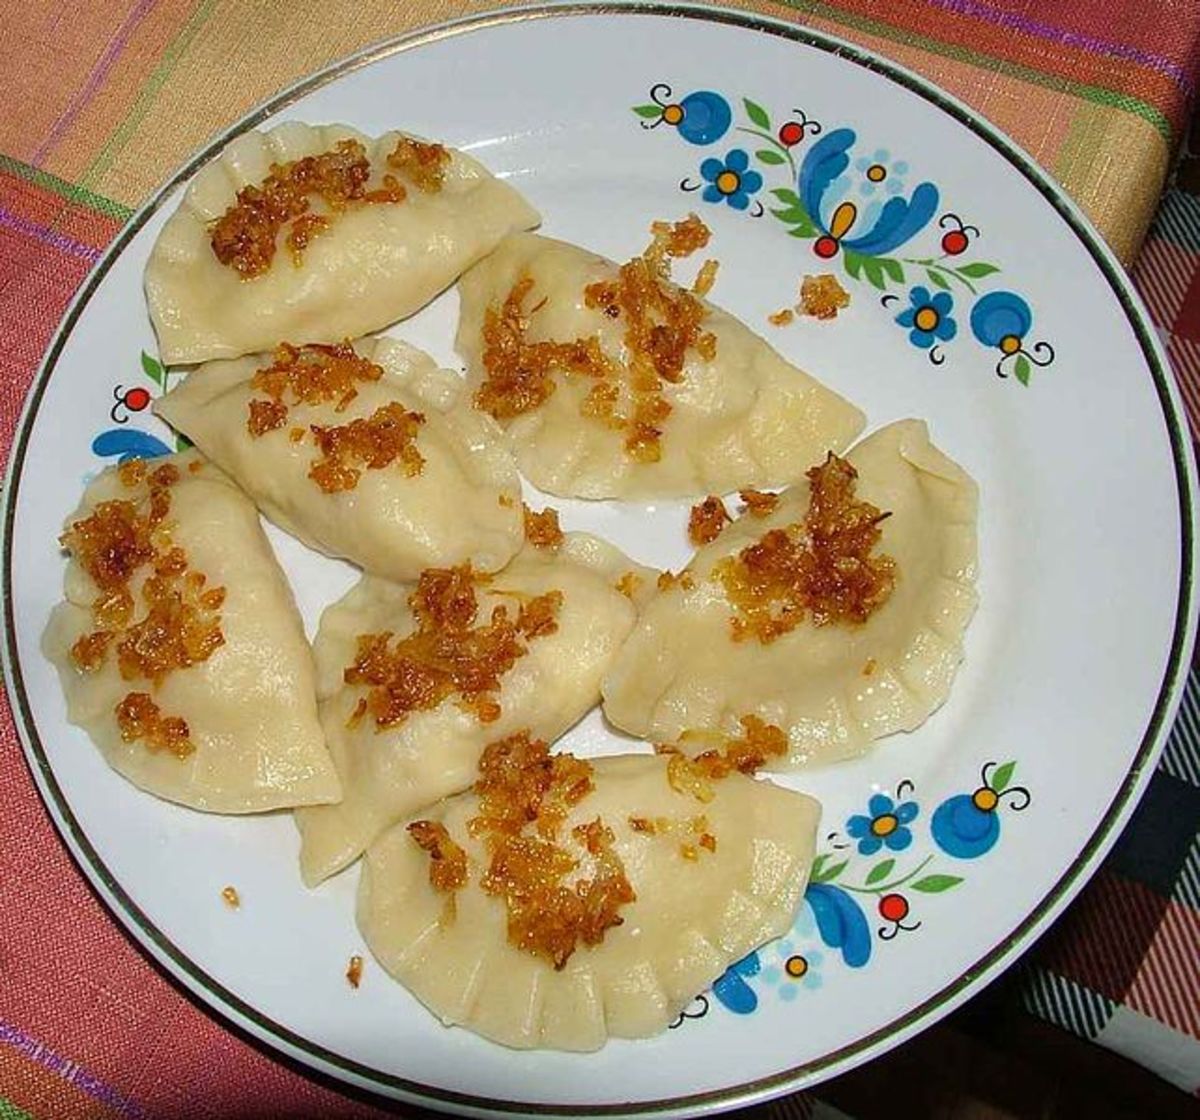
The pirogi must next be placed in boiling water (with a little salt added). Drop them in the boiling water 1 or 2 at a time. When they freely float to the surface (it doesn't take very long - usually less than a minute) scoop them out with a slotted spoon and place in a fry pan with plenty of melted butter. Gently fry both sides of the pirogi until they have a nice golden color. Place them on a serving dish and enjoy!
It can be fun to have pirogi with different fillings on the same platter and then it becomes a taste treat to see what you get. Kind of like Forest Gump and his box of chocolates. Another great help in making pirogi is to have a set of pirogi cutters also known as dumpling makers. These can come in a boxed set of many different sizes. Mine has five sizes from 7 inch all the way to 2 1/2 inch. I really love the different sizes because then I can use every scrap of that precious dough.
I may never fill a Westinghouse Roaster with pirogi like my husband's Aunt, but her memory is always with me as I make pirogi for my family, as is thoughts of the friend who generously shared her family recipe with me.


