Vintage Maple Molasses Cake
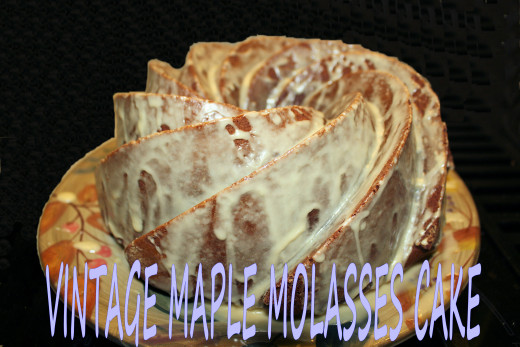
A Great Cake Recipe Using Maple Sugar and Maple Butter
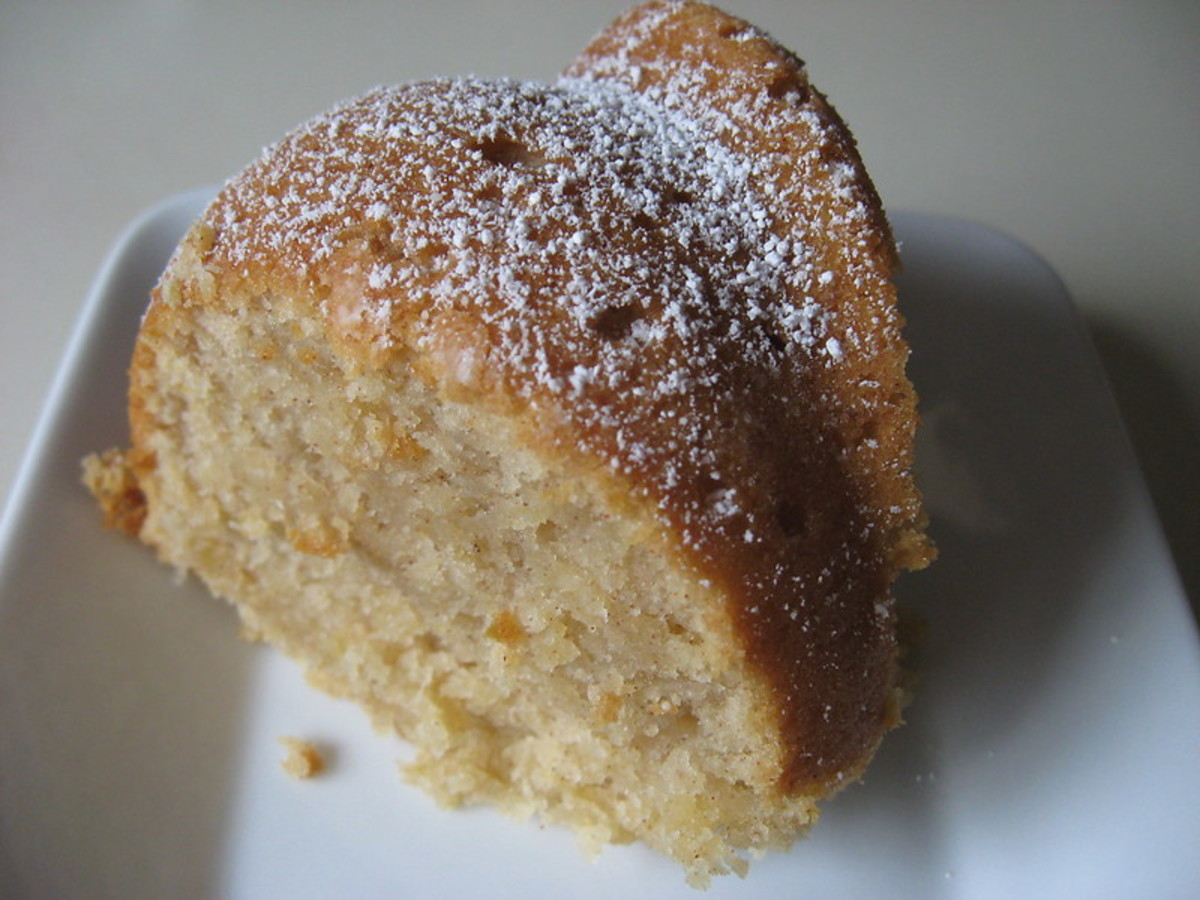
I love making this cake in March. I get to use fresh sugar and syrup that was purchased at a local sugar house. The freshness of ingredients adds to the flavor of this vintage cake recipe. The cake itself reminds me of gingerbread as far as the texture and heaviness of the cake. The main difference between these two, other than the ginger, is folding in egg whites to lighten up this rich cake. I do enjoy a piece of gingerbread, but I love eating pieces of this cake.
Vintage Maple Molasses Cake is made using a few different bowls in order to achieve a light , fluffy sweet cake. You will need a 2 small bowls along with your regular mixing bowl. Even though the directions might appear to be a quite a few steps for a cake, don't be afraid to make this cake. It is fairly quick and easy to mix all together.
Maple Tours In New England
To visit a sugar house in the New England Area follow the links below.
As the Maple Season Approaches
With the beginning of maple syrup season coming to my area, I search out this vintage recipe from my collection in preparation of using fresh maple sugar and syrup. My family and I will be rambling along the back roads and boondocks of New England in search for the best tasting syrup. The taste of syrup that has just been tapped and boiled is beyond compare. Once you have sampled pure maple syrup, you will never serve or bake with anything else.
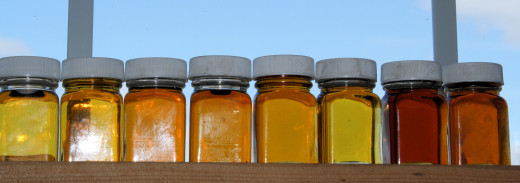
Maple syrup comes in 4 grades and is based on color and taste.
Grade A Light is an early spring syrup that has a gentle maple flavor and is primarily used to make maple cream, sugar and candies. Some prefer it for table use.
Grade A Medium is gathered mid season has bears a stronger maple flavor. This syrup is usually found for table use on ice cream, oatmeal or pancakes. This grade can also be used in making maple cream or sugar.
Grade A Dark is gathered at the end of the 4 to 6 weeks that maple sap is gathered. It has a strong, full bodied maple flavor that can be used in cooking.
Grade B is gathered at the end of the season. It has a very dark color with full maple flavor. Though some may enjoy it on their table, it is generally used for cooking only.
Prep and Care For a Bundt Pan
Bundt pans need to have some initial prep done in order to have the cake come out smoothly and also provide overall care of the pan.
- Before using the Bundt pan for the first time, wash in very hot, soapy water. Rinse thoroughly and let air dry. Do not use anything abrasive while washing. This will damage the pan.
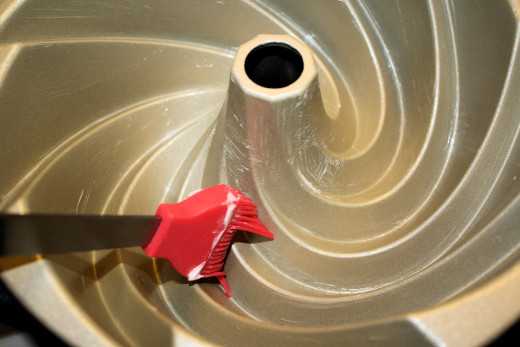
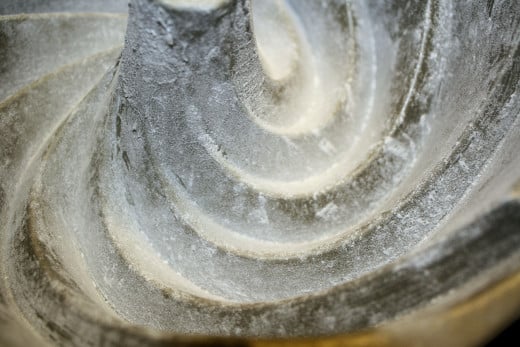
- When you are ready to use the Bundt pan, brush with solid shortening and then dust with flour. If you prefer, use a cooking spray that has unsalted vegetable shortening with flour.
- Mixes and pan size quantity vary. In order to avoid overflow, use the following method to get the amount your pan can bake. Use a liquid measuring cup and fill the Bundt pan with water. Keep track of how many cups it took to fill the pan 3/4 full. This is how many cups of batter you can use to make a Bundt pan cake. If you fill the pan over 3/4 of the way, you will have a cake that will overflow the pan.
- After every use, clean the pan in very hot soapy water.
- Remember that metal utensils. scouring pads, and abrasive cleaners should not be used. These items will cause the non-stick surface to get scratches and hence damage the pan.
Serving Amount and Cook Time
Gather Up the Following:
- 1/2 Cup Butter, Room Temperature
- 1 Cup Molasses
- 1 Cup Water, Very Hot
- 2 Eggs, Seperated
- 1 Cup Maple Sugar
- 3 Cups Flour, Pre-sifted
- 1/4 Teaspoon Salt
- 3/4 teaspoon Cinnamon
- 1/2 teaspoon Ground Nutmeg
- 1/4 teaspoon Ground Clove
- 2 Teaspoons Baking Soda
Never Folded in Egg Whites?
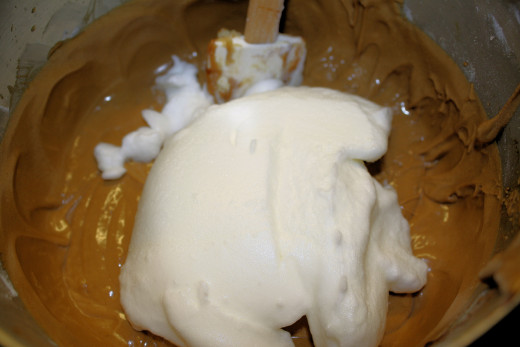
Whenever "folding" is called for in a recipe, use a rubber spatula.
- Gently plunge the spatula down, making sure the flat side is facing you, you should be able to see the breadth of the spatula's head, in the center of the mixture. Draw the spatula towards you, scooping a swath of batter along with it. Bring the spatula up the side of the bowl and plunge it down in the center of the batter again.
- You should see a strip of batter left in the wake of the spatula. As you repeat, rotate the bowl, working your way around. Always start in the center, moving to the side of the bowl, and bringing the spatula upwards to mingle the egg whites and batter.
- As you fold, the position of the spatula will change. When you plunge it down in the center, you want the flat side towards you, meaning that the "sharp/thin" side goes down into the batter first, causing as little deflation of the whites as possible. When you bring the spatula up again, you want the flat side facing up in order to bring up as much batter as possible.
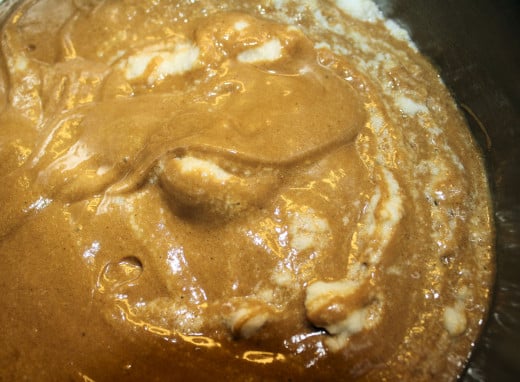
- Repeat this movement until the batter is more or less consistent. It doesn't have to be perfect. You don't want to see large streaks or clumps of egg white, but complete merger of egg whites is not necessary.
Instructions
- Measure out the flour and add to it the salt, cinnamon, cloves, and baking soda. You can sift the ingredients together or use a small hand whisk to make sure all dry ingredients are mixed through.
- In a mixing bowl, place the butter, molasses and hot water. Mix on medium speed for 2 minutes.
- In a separate bowl, use a hand mixer to beat the egg yolks and sugar together. The egg yolk should be a lemony color and fully incorporated with the sugar.
- Gradually add in the dry ingredients to the molasses mix. Let each addition fully blend in before adding in more of the flour mix.
- Once the flour is added in, begin to mix the egg yolks and sugar to the batter.Have mixer speed on low and scrape the bowl as needed to make sure all ingredients are fully combined.
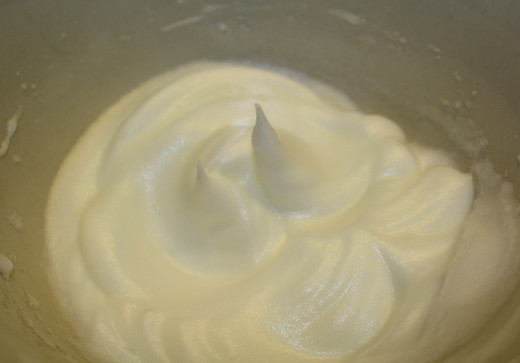
- In a bowl, beat the egg whites, with a hand mixer, to a stiff peak. It is important not to overbeat the egg whites. If you whip until the egg whites are dry, the egg whites will break down as you begin to fold it into the batter. This will create a heavier end product. I like to stop my mixer frequently as I get close to the stiff peak stage. This way, I can check the consistency of the whites and do not over beat them.
- With a spatula, place the egg whites on top of the batter. Begin to fold in the egg whites to the batter. Be careful not to completely merge the white with the batter.
- Once egg whites are folded in, pour batter into the Bundt pan. Place the pan in the preheated oven. Make sure the pan is located in the middle of the stove. This will insure the oven heat is cooking the cake from the bottom, top and sides simultaneously.
- Cook for 35 to 45 minutes or until tooth pick comes out clean. I use a wooden skewer that has been trimmed down in length and width so that I do not damage the surface of the pan with a metal cake tester.
- Let the Bundt pan cool on a wire rack for 10 to 15 minutes. Flip cake out of the pan and on to a serving platter or cake dish.
Optional Icing
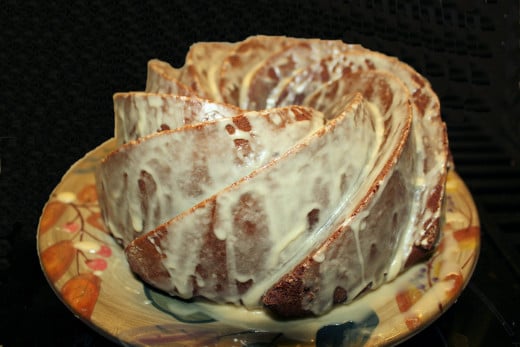
You can leave the cake plain and serve with whipped cream or ice cream. I chose to decorate the cake with a maple icing.
Recipe:
- 1/3 cup maple butter
- 3 tablespoons milk or cream
- 1 1/2 cups confectioners sugar plus a bit more to get to right consistency.
Blend the butter and confectioners sugar together. Begin to add in the milk or cream 1 tablespoon at a time. You want the icing to be able to run off the end of a spoon but not pour off. you need to have control of the stream when icing a Bundt cake.
When icing a Bundt cake, you want to make sure the cake is completely cooled down. Begin by scooping up the icing in a tablespoon and let the icing slowly pour down on to the cake. I begin with the spoon on the outer left and move the spoon over the cake to the outer right. You want to have the icing in the center hole along with coating the outer edge.
You can form what ever pattern you desire, This is the creative part of topping a Bundt cake. Due to the mold pattern I used, I make sure the icing gets down into the creases of the cake. I achieve this byadding the icing in layers and letting each layer of icing harden a bit before adding on the next layer. This will allow the icing to build up and not be a runny, messy pool at the bottom of the cake dish you are serving on.
Variations
- If you do not have the spices needed,use pumpkin pie spice. 1 1/2 teaspoons is all you will need.
- Can not find maple sugar? Use brown sugar but add 1/4 teaspoon maple flavoring or 1 teaspoon maple syrup. Let the sugar sit in the syrup and remember to mix together thoroughly. Due to the adding the liquid syrup, you must be careful. Too much maple syrup will make your batter runny. You can adjust for this by decreasing a different liquid. This applies for any recipe.
- If you do not have a Bundt pan, bake this cake in a 13 X 9 X 2 baking dish. Cut into squares and serve. Cook for the same amount of time.
- If you have left over batter, you can pour it into muffin tins or a small loaf pan. Muffins will take 10 to 12 minutes to cook while a loaf pan will be 30 to 40 minutes. Make sure to test cake/ muffins with a toothpick to see if they will need to be baked longer.
- Instead of icing the cake. Put a 1/4 cup of powdered sugar in a mesh colander or flour sifter and gently dust the entire cake.
© 2014 Susan McLeish

