Dead Space 3 walkthrough, Part Twenty: The Probe Gun

In typical Dead Space 3 fashion, Isaac has been sent off - alone! - to retrieve the parts necessary to create a Probe Gun that will allow the team to get a better look inside the Nexus. A nearby warehouse may have the parts he needs… but it's got a few Necromorph problems. Of course it does.
After your first fleeting vision of a Necromorph you'll be left alone inside a hallway. The elevator to the upper levels isn't working, so go left. There's a Text Log by the next elevator. Go up and you'll be back outside, and you'll get a quick glimpse of more Necromorphs chewing on a corpse. Follow them. (There's a path to your left, but it's more or less a confusing dead end.)
Once you reach several storage containers the Necromorphs will turn back and start attacking. These guys are fast but skittish, and will rush up to attack once before retreating. Shoot them as they approach to scare them off, aiming in particular for the legs. Two will attack initially; another will jump you as you head a bit further into the crates. Nothing too dangerous, overall.
Keep following the edge of the cliff and you'll be attacked twice more. Standard tactics apply. At the end of this path you'll find another building. Check the left of the entrance for a few containers and a Unitologist Artifact and head inside. The first room appears to be briefing quarters; have a look around for two Text Logs (one is on a body) and various items. There's also a Torque Bar door where you can find a Repeater, an Upgrade Circuit and some other items. Go down the elevator.
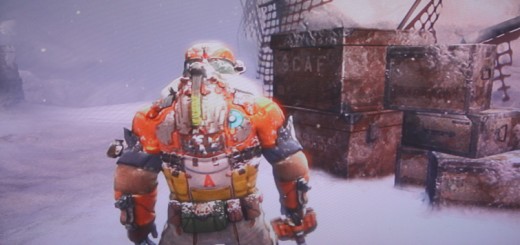
Welcome to the Staging Area, a large outdoor area that's full of crates. It practically screams 'ambush', and that's exactly what happens as a group of those running Necromorphs shows up. Their skittishness becomes much more dangerous here, as they'll hide behind the crates and take turns rushing you from multiple angles. Lure them towards you an inch at a time and use the area near the elevator (perhaps even inside the elevator itself) to limit the angles from which they can attack. Don't rush into the midst of the crates - you're just setting yourself up for a fall. After the music indicates safety, check around the area for crates, one of which contains Tungsten. To the left of the elevator is a security-locked door; get through security and hop on the elevator beside the panel.
You're finally in the Warehouse, and when you get into the main area you'll find that whatever was being experimented on has taken a bit of a leave. Oh dear. To the left of the elevator are some containers; to the immediate right a wall container with an Upgrade Circuit. Carry on right and go down the ladder at the bottom.

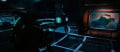
A vent down here will get knocked open, but nothing will come through. To the right of the ladder is the flashing Probe Tip, and to the left, along with a ton of other stuff, is the Probe Engine. Go out along the dead-end walkway between the two parts and look up; you'll see a faint blue circle you can Kinesis. This will pull up a lift containing the last part, the Probe Frame. Once you have all three you can leave the Warehouse -
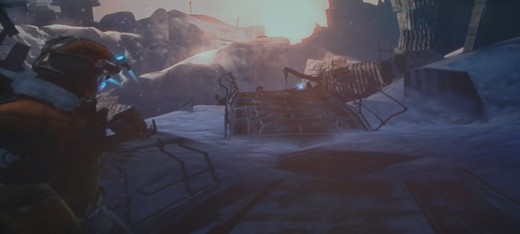
- but when you get back to the Staging Area the stupid Snow Beast is ready for a rematch! Gah!
This fight is pretty much the same as the last, though at first it presents a false measure of safety in the crates. You'll probably think you can use them to mess the beast up. Aside from the crates in the middle, this isn't true. The Snow Beast can bash right through everything else. Use the same tactics as last time, aiming at the tentacles and the pulsing orbs and rolling whenever the Beast rushes you. Stasis is great for proper aiming, so don't waste it on moment when the yellow orbs aren't in the open. Sadly, the Beast will run again after you win, so there's no satisfaction in the battle… yet.
You have two options at this point. You can take the pieces of the Probe Gun to a Bench to get reassembled… or you can check out the Armory, where Danik's men may be looking for more weapons. Stupid Unitologists! You're next!
Related

Dead Space 3 walkthrough, Part Twenty-Eight: Paleontology Sector

Dead Space 3 walkthrough, Part Fifteen: Investigate the Supply Depot

Dead Space 3 walkthrough, Part Nineteen: The Furnace

Dark Souls II Walkthrough, Part Twenty-Eight: Shaded Woods - Scorpioness Najka

LEGO City Undercover walkthrough, Part Twenty-Three: Smash 'n' Grab