Starcraft 2 Strategy Guide Part 3: Units

Welcome to part 3 of my Starcraft 2 Strategy Guide! This section focuses on how to use and control your units to their best potential. Below are 10 major tips you should use in a typical Starcraft 2 match.
Part one of the guide (Overview of Races)
Part two of the guide (Overview of Basic Gameplay)
#1 –Use Shoot-and-Move tactics with ranged units
While this is most potent for Terran players, due to all Terran units being ranged, and having a generally longer range than the other races, this can be used by everyone. What you simply do is take all your ranged units, and every time they all attack, you quickly move them away from the enemy, then stop and attack again. If you do this properly, then you’re not even losing any attack time, because you’re only moving during the COOLDOWN TIME OF YOUR UNITS’ ATTACK. Let’s show a quick example. The Marauder unit, for instance, has an attack cooldown time of 1.5 seconds. This means that Marauders attack every 1.5 seconds, and between those attacks they don’t do anything. As such, if you use those 1.5 seconds to move your Marauders away from the enemy, you don’t lose any damage, while STILL gaining the distance advantage. Watch the video below for a simple demonstration of the Shoot-and-Move tactic.
Shoot-and-Move Tactic Example
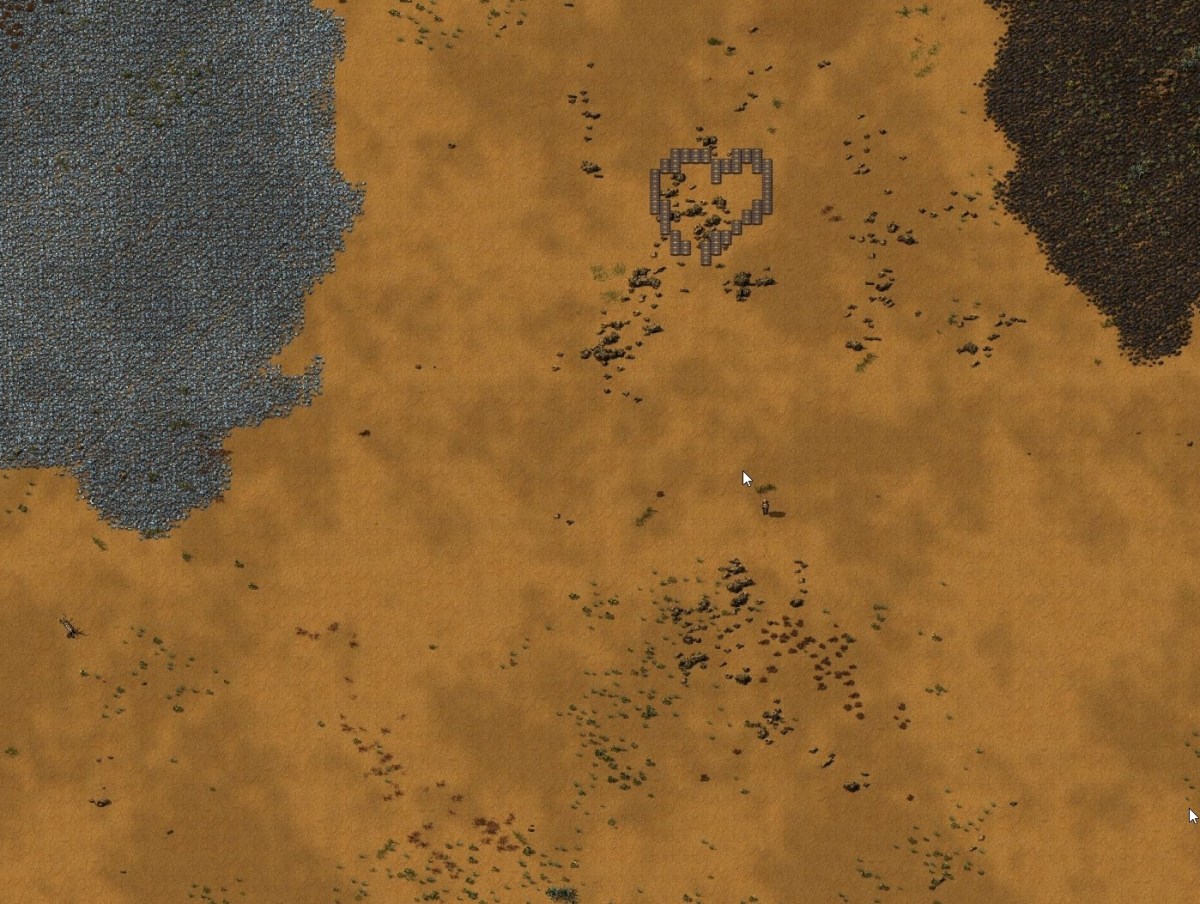
#2 – Use high ground to your advantage
Units on elevated areas can attack units on the lower ground, but the units on the lower ground cannot respond, unless they gain vision of the elevated area by either walking up the ramp to it, or revealing it with an air unit or a Terran scan sweep. This can be absolutely huge, as it gives the player with the higher ground a huge advantage during a fight. The most popular use of this tactic is to place Terran siege tanks on an elevated area, because they have very good range and a very powerful attack. Nonetheless, every race can make use of this, and it can make a difference between winning and losing a game.

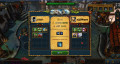
#3 –Use Xel’naga towers
Xel’naga towers are towers placed throughout every Starcraft 2 map which allow you to gain a large vision range on the area surrounding the tower. In order to gain the vision, you must have at least 1 unit placed next to the tower. This can be absolutely huge in a match, because it allows you to see what your opponent is doing with his offensive forces. For instance, if you are a Zerg player, you can place a zergling at every tower, and when your opponent moves up to attack your base, you will know what units he has and where he is going. This allows you to not only prepare for the attack, but also to create a strategy of how to deal with his forces. A popular Zerg tactic, for instance, is to use the Xel’naga sight to surround your opponent’s attack force, which is much more efficient than simply taking all your forces and rushing them head on into the opposing player’s army.
#4 –Melee in front, Ranged in back
This is pretty common-sense, but many people completely overlook it. Melee units always have to be in the front of your force, otherwise they will have to scramble around your ranged units in a fight, which takes up a lot of time, during which they are not attacking and tanking the damage for your ranged units.
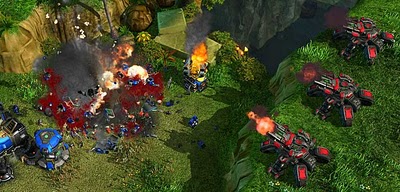
#5 –Control ranged unit clumps so they don’t block each other
This is a pretty common mistake of newer players (especially Terran), where they build up a large group of ranged units, and then simply attack-click an area with them. Whenever you have large groups of ranged units, one problem will almost always happen; the ranged units in the front of the clump will start attacking, while the units in the back will have to run around them or end up being completely blocked out of the battle. Either way, what you have is as much as half of your ranged force not attacking during the beginning of a fight. While this is fine if your opponent’s force is largely melee range (meaning they have to get right up to your units to attack), if you are facing a largely ranged force, you have to adapt. Simply take all your ranged units, and move them in closer, so that even the farther units in the back of your clump can attack the enemy.
#6 –Control faster units to keep them together with your other troops
While this isn’t really an issue if your army is consisting of mainly the same type of unit, when you have a few different types, this becomes very important. There are a lot of fast units, like zerglings and hellions, which would outrun the rest of your army and arrive at the location you assigned much faster. The same issue occurs with most air units. This means that your forces are separated for short time, during which either group can get attacked. To prevent this, control your faster units separately, to make them stay with the rest of your troops.

#7 –Abuse range!
This goes hand in hand with a lot of other tips here, but is still important by itself. You should always try to use range to your advantage, be it through using Shoot-and-Move tactics, or through using long-range units (like the siege tank and the brood lord) to “siege” your enemy from far away. Another good example is attacking Terran wall-offs which lack siege tank defense, forcing the enemy to either lose his buildings, or move his troops through the choke point.
#8 –Use air units to scout ahead and reveal elevated areas
Air units are a lot more mobile than even the fastest ground units. Use them to scout ahead of your army, to see if your opponent is trying to ambush you, and to scout his defenses. Siege tanks in particular are very vulnerable when they are outside of siege mode, so scouting ahead to make sure they are safe to move or siege up is a good idea. Using air units to reveal elevated areas is especially important; as discussed in tip 1, enemy units on elevated areas cannot be attacked unless you reveal them.
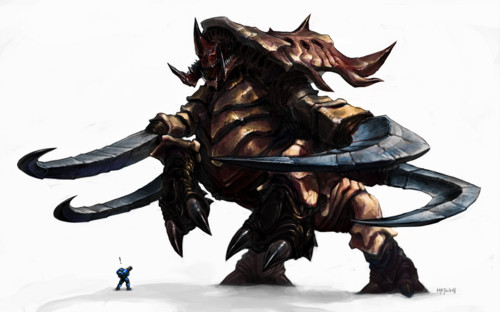
#9 –Put tanky units in the front
Units like the Terran Thor (high HP), the zerg Ultralisk (high HP and armor) and the Protoss Immortal (decent HP and Hardened Shield passive ability) have tanky qualities which allow them to absorb a lot of damage before dying. Use this to your advantage by placing them in the front of your forces, thus allowing the fragile units to stay alive much longer.
#10 – Protect units with powerful abilities/special attacks
Units like the Protoss colossus (incredibly potent ground attack which attacks ALL UNITS in a line) and high templar (powerful AOE psionic storm ability), the Terran siege tank (powerful AOE attack) and the Zerg Brood Lord (strong ground attack) all have very powerful and battle-changing abilities/attacks. As such, you would want to place them in the safest position possible, and protect them with your other units, so that they get to live the longest to cause the most damage possible.
Final Video - many of the tips above shown here!
While you shouldn't have to use all these tips in a single game, some or most of these should be utilized in a typical match up.
I hope this has been helpful. Stay tuned for more Starcraft 2 Strategy Guides and tips!


")
