Starcraft 2 Strategy Guide Part 2: Gameplay

Welcome to part 2 of my Starcraft 2 Strategy Guide! Part 1 of the guide, which concerns a basic overview of the 3 races, can be seen here. Part 3 of the guide, which focuses on using and controlling units, can be seen here.
This is a complete beginner's guide to your first 1v1 Starcraft 2 ladder matches.
So you’ve chosen your race and queued up for a 1v1 match. Now what? Here are your 10 most important steps/tips.
#1 – Loading Screen
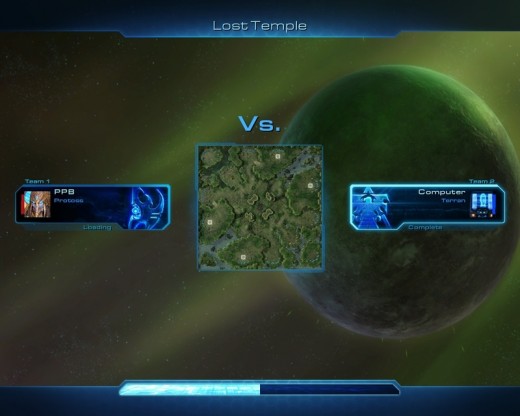
The first thing you do is look at what race your opponent has chosen. This is quite important, as it will give you a clue as to what the overall strategy of the opponent will be, and what to expect. This won’t matter so much your first few games, but once you see the kind of things each race is doing, you will start to get a picture of what to expect versus each particular race.
#2 – Get mining!
As soon as you finish loading, grab your workers and right click the minerals to begin gathering. Right after that, click on your base building, and immediately make another worker. Make sure to set the rally point to the minerals, so that all following workers will automatically gather. You can do this by either clicking “y” when you have your base selected (“g” for zerg) and then clicking on the mineral line, or by simply clicking on the rally icon and then choosing the minerals. I recommend using the hotkey as it is much faster and will get you on the way to controlling your economy and units much better.
#3 – Scout scout scout!
Definition
First off, let’s define the term “scouting”. Scouting in Starcraft 2 refers to using a unit, typically a worker, to find your opponent, and see what kind of buildings and units he is producing.
Why?
Scouting is done in order to gather information on the following:
- Which tech your opponent is going for, and the appropriate response
Example: you scout a zerg opponent as a terran player, and see that he is only building zerglings and nothing else. This means you should immediately wall off the ramp to your base as soon as possible if you haven't done so already, and even build a bunker behind it in anticipation of a baneling bust.
- Learning if a certain tech pattern you are planning to go has already been pre-countered by your opponent’s choices
Example: you have focused on building a lot of Siege Tanks, and a little bit of infantry and air support. You scout your Protoss opponent, and see that he has a number of Immortals, and Stalkers. As Immortals counter siege tanks very hard, and stalkers can easily get in their minimum range, you would most likely lose the game if he were to attack soon. As such, the scouting allows you to immediately switch your unit production to something that does better versus his units, in this case, infantry.
- Learning if your opponent expanded / if it is safe for you to expand
Example: you scout a zerg opponent, and see that he is already building a second hatchery, at the mineral expansion under his main base. This means that you shouldn’t worry about early game aggression as he spent a lot of minerals on expanding, and can either expand yourself, or try to attack and kill him quickly.
- Learning the army location / if they're out of position / if there is a vulnerable area in the opponent's base
Example: you want to attack your opponent and finish the game with your group of marauders and marines loaded into medivacs, but you are afraid that he may destroy your medivacs before you can even unload the units in his base. Scouting with a worker, or a sensor sweep (Terran only ability that reveals a given area on the map for a short time) in the drop zone, or the ramp to the opponent’s base, would tell you where his units are. If you see that he is already waiting for your medivacs at the drop point, you can not attack, drop somewhere else, or decide to simply walk to his base.
Interpretation
While whatever you see with your scout won’t tell you much when you are playing your first few games, after a while it will tell you everything you need to know. For example, if you are playing versus a zerg opponent, and you scout the fact that he only has 6 workers, and a spawning pool building, that is the warning sign of a “6 pool” zergling rush strategy, which means you should immediately block off the ramp to your base, and produce battle units. This will not come instantly, but over time you will learn to know exactly what your opponent is planning to do, by looking at what he is building and producing. Don’t worry!
When & How?
Early Game
Most of the scouting takes place in the early game, before anyone even has any battle units built. In order to scout, you typically take your worker, and send him to see all the possible spawn locations on the given map. Most guides and players suggest to scout with your 9th-15th worker. To make things easier, we can break this down by race. Zerg generally scouts the earliest (around 9-12) because you don't want to get surprised in the early game; Terran typically scouts with the 11 or 13 supply SCV, and Protoss typically scouts with either the 9 supply probe, or the 12-14 supply probe (depending on when you build your gateway, as you use the same probe to scout right after). These general guidelines are nowhere set in stone, but they should provide you with an idea of where to start with your scouting, until you get comfortable enough with it. It is still entirely up to you, but just keep one thing in mind; if you are playing on a map with only 2 spawn locations, you should ALWAYS SCOUT EARLY, because the opponent will know where you are even without scouting himself, and as such can rush you very easily with a multitude of different “builds”. On large maps, on the other hand, you can scout later.
Mid/Late-game scouting
Scouting during mid and late game is typically done with a battle unit over a worker, because that way you don’t lose the boost to your resource gathering. This however, doesn’t change anything about the scouting itself; you’re still looking to see what exactly your opponent is building.

Harassment
Harassment refers to using units in order to poke your opponent and slowly hurt him, without engaging in a major battle. Harassment is very popular early in the game, when one unit can often use hit-and-run tactics to continue harassing your workers and buildings. While I don’t recommend harassing as a new player, as it takes away a lot of your time and focus, you should, down the line, get used to doing this, as it is very powerful and can not only give you a resource advantage, but also win the game. The most popular form of harassment is using your scout worker to attack your enemies’ workers and buildings, and retreating whenever they respond.
#4 – Always pump out workers!
You should literally never stop making workers. Even when you feel that you have too many workers for your mineral line, they can always be moved down to mine at an expansion, once you build another Command Center/Hatchery/Nexus.
#5- Control groups
Control groups are the numbers (1 through 10) which you can assign either to units or to buildings, to make it easier to control your armies and unit production. I make it a habit to always have everything controlled in this fashion; I assign all my command centers to be 6, barracks+factory to 4 (you can assign multiple buildings to one hotkey), combat units to 1 through 3 , starport to 5, and so on. In order to assign control groups, you can either select the buildings/units you want and click your desired number while holding down CONTROL (Ctrl) or by clicking on the little box icons above the interface. Control groups are absolutely HUGE in making you a better player; start by at least using a few of them (1 through 3).
#6 – Supply
For standard, non-rushing builds, the first thing you do after making a few workers is increase your supply so you don’t get supply-blocked. What is supply? It’s that little number in the top right corner, that starts out at 6/10 for protoss and zerg, and 6/11 for terran. Supply prevents you from building any more units when it is capped (i.e., you get “supply-blocked”), and this is one of the most common mistakes of new players. The general rule of thumb is to have at least 1-8 supply under the limit depending on whether its early, mid or late game before you build additional supply depots/pylons/overlords to increase it. For instance, when you build your first supply depot/pylon/overlord, it’s typically when you’re already capped or 1 under it, where as the later you go into the game, this gap should be bigger. Pay attention to the supply numbers all throughout the game so you don’t block yourself.
#7- Vespene Gas
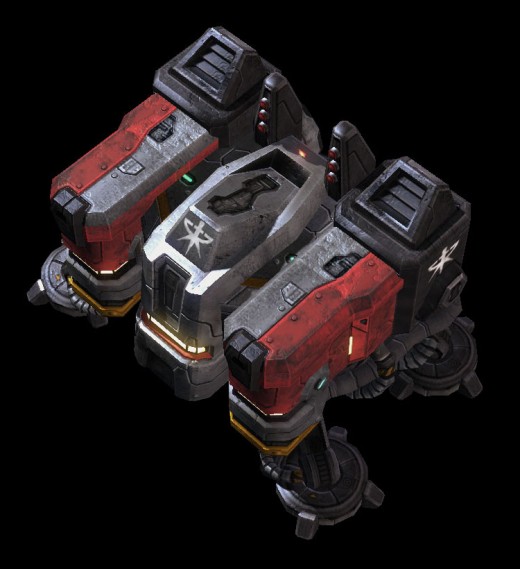
Vespene gas is the second resource in the game after minerals. It is required for higher units and buildings, and as such is very important. You should start gathering vespene gas by building an assimilator/refinery/extractor at a nearby vespene geyser (next to your minerals) with 3 workers. Typical safe builds involve building a vespene-gathering facility right after you start building your first offensive structure. As the game goes on, you typically build a second facility to meet your vespene demand.
#8 – Start Building!
Now that we’ve got the basics out of the way, it’s time to start making offensive units! If you are running safe builds, the time to build your first offensive structure is at around 12 supply for Terran, 10-15 for zerg, and around 12-14 for Protoss. As soon as it finishes, start making offensive units, and figure out whether you want to TECH, EXPAND, ATTACK, MASS UNITS or a combination of these strategies. You can’t do everything at once unless you have more than one base with a lot of workers, so this can be a tough decision.
#9 – Strategic Options
Tech
Teching refers to building higher and higher tier buildings in order to produce higher tier units. You can tech and build offensive units at the same time, but that will typically slow down the speed at which you are teching.
Expand
Expanding refers to the act of building another base at another batch of minerals and vespene gas, in order to greatly boost your income. Expanding is often favored by more experienced players, and hated by newer ones, because it increases the amount of management you need to run your economy and can make you vulnerable to attacks because you spend less resources on units.
So what do I do?
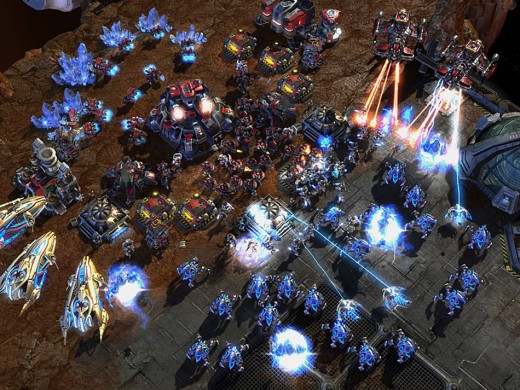
It really is up to you, but make sure to keep what you saw with your scout in mind. For example, if your opponent is doing a rushing build, it’s best to play defensively and mass units quickly. On the other hand, if your opponent is expanding early, you may decide to attack really fast, or expand yourself.
What do most players do?
Most players (including myself) do a combination of the 4 choices, which all depend on what race you are playing against and on what map. The most popular playstyle is to TECH&MASS UNITS followed up with an EXPAND while you ATTACK.
What do I recommend for new players?
MASS UNITS that go well together (like marines and marauders, or zealots and stalkers, or zerglings and roaches) for a few minutes, and then attack, once again keeping in mind what you saw with your scout. Build multiple unit-producing structures if you are protoss or terran, and hatcheries (preferably at new mineral batches) if you are zerg, to mass units faster.
# 10 - Controlling your units (Micro)
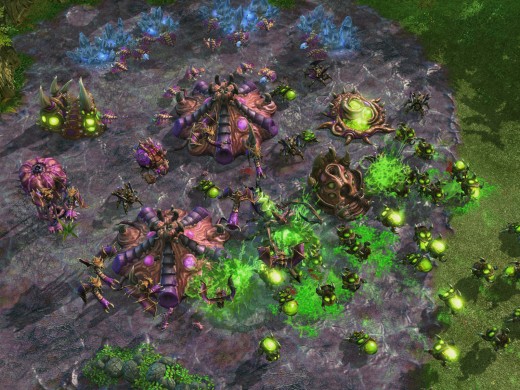
This is the last, and one of the most important parts of Starcraft 2. You can have a good composition in your army, and you can outnumber your opponent, but if you micro your units poorly you can lose even with a numerical/compositional advantage. Control group your units (I typically assign them a 1-3, but you can use whatever number(s) you prefer) and make sure to control them carefully. If you have a lot of ranged units, who outrange your opponent, try to use the hit-and-run tactic, where you attack once with all your units, and immediately move away before doing it again. Similarly, if you have a lot of melee units, and you’re up against a lot of ranged, try to surround them quickly with micro.
There are many different situations, but the bottom-line is, don’t just attack-click an area, and go back to doing other things. CONTROL YOUR UNITS DURING AN ENGAGEMENT, make sure they are all attacking and not blocking your other units out of the fight (this happens a lot with large ranged unit clumps). Furthermore, if you are using several “caster” units (units without an attack of their own, but a number of powerful special abilities), make sure to use them as well! They can quickly turn the tide of the battle. Don’t click their abilities, use the hotkeys assigned to each one.
I hope this basic Starcraft 2 Strategy Guide has been useful. If you have any questions please do email me or ask in comments.
Ready to move on? Click here for part 3 of the guide, which focuses on controlling and using units.


