I made a Lalaloopsy doll!

Why buy a 'rag doll' when I have plenty of rags at home!
Ever since my daughter picked out her first Lalaloopsy doll from the store, I have fallen in love with them. As I feel most comfortable in the craft room, everything about these dolls just appealed to me, from the button eyes and stitch details, to the concept of coming to life when their last stitch was sewn and taking on the characteristics of the outfit they were sewn from. But the thing that puzzled me was why these rag dolls are made out of hard plastic. The commercially available soft doll versions were not nearly as well constructed as they could be. They are rather flat looking and their outfits are printed on. Which got me to thinking, why not make one of my own?
photos by chibikitty
Giving a new look to an unwanted doll
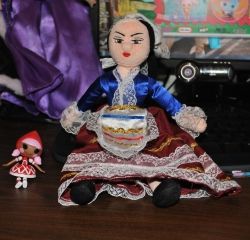
After a recent trip to the local Goodwill, my daughter and I spotted this little cloth doll. Her face was absolutely hideous, but I thought her clothes were quite interesting. I told my daughter, 'I bet we can make this look like a Lalaloopsy doll.' She enthusiastically agreed. So for a mere 50 cents, we took this little gem home, lopped off her head and began the transformation.
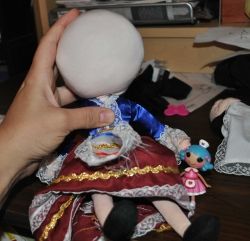
Making the head
I rummaged around the house until I found a flesh-colored piece of fabric. This piece happened to come from a camisole I no longer wore. It has a nice four-way stretch which is good for getting that particular roundness that lalaloopsies have. I stenciled a large circle lightly and added an opening for the neck. I sewed around my markings then cut it, turned it inside out and stuffed it until it had a nice spherical shape.
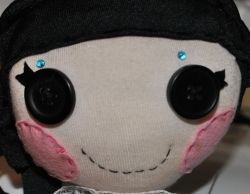
Face time!
I used two black 3/4" four-hole buttons to make the eyes. I stitched these on by entering from the back of the head. Once the eyes were in place, I cut out two pink circles for the cheeks (I found a soda bottle cap was the perfect size) I used an iron-on interfacing on the cheeks so that they wouldn't pucker up so much when I hand stitched them on to the face. For the mouth, I traced out a little semi-circle between her cheeks and then stitched with black thread. The eyelashes are made from 5/16" black ribbon. I used interfacing on the ribbon to keep them from unravelling. Once the face was complete, I attached the head onto the body.
Adding the hair
This step took me the longest because I didn't exactly know what I was doing. I read up on all sorts of wig-making tutorials for dolls, but nothing seemed to fit right. I originally wanted to do yarn, but then realized I had just packed it up and put it in storage. Since I was not going to take time out to drive over there and get it out, I simply made do with what I had at the house. I found some black fabric which I draped around the head and then tacked it on with needle and thread. I then took strips of fabric and twisted them around each other to give them some bulk and tacked those onto her head until I found a hairstyle I was pleased with.
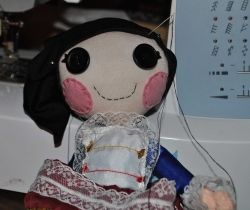
I call her 'Rita Senorita'

The Finishing Touch
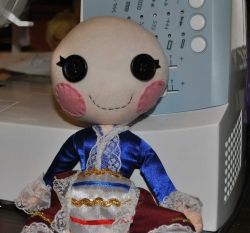
I made a few adjustments to the skirt - making it shorter as Lalaloopsies like to expose their dangling legs. I twisted ribbon around her legs to make her shoes look more like ballet slippers. I tied a bow around her apron to shorten it, in addition to giving her a bow in the back. My stitching on the neck wasn't so great so I tied a red ribbon around her neck to hide it.
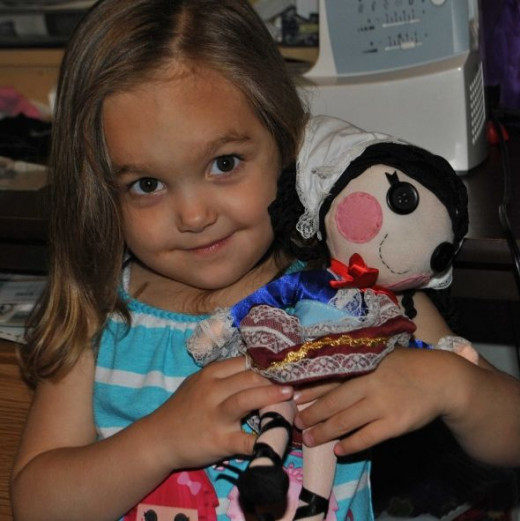
End result - one happy little girl!
If sewing a rag doll isn't your thing...
Although I had a lot of fun sewing up my own Lalaloopsy, I still like to collect them. These here are some of my favorites!


And what became of the ugly head???
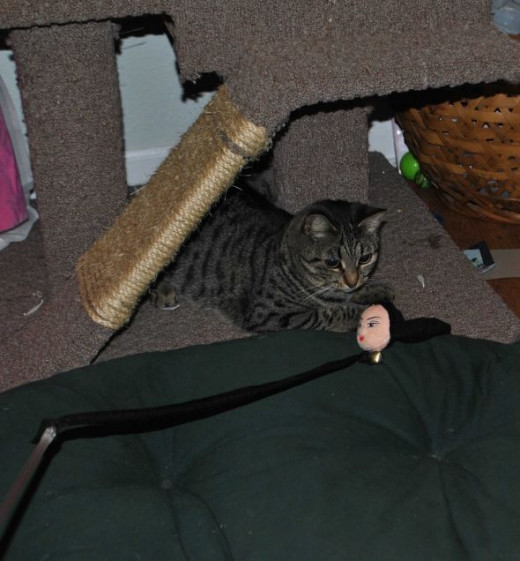
Sew a little bell on it, attach it to a stick and kitty gets a new toy, too!
Feel free to leave a comment! I'd love to hear from some fellow Lalaloopsy fans!