How to Make Quick and Easy Note Cards

Though it is sometimes assumed that buying store-bought note cards is the easiest method, it is not necessarily the case. Making your own note cards can be a lot of fun, and take a lot less time to create than you would think. More importantly, unlike crafting your own handmade greeting cards, making note cards requires not nearly as many supplies, storage or space.
The benefits of making your own note cards are endless. Not only are they a tremendous cost saver, but more importantly, they can be completely customized to fit the look and feel of any event or occasion. For instance, thank you note cards can be created to match birthday or wedding themes, graduation colors, or a specific mood you are trying to showcase.
What You Will Need
- Cardstock or pre-made blank greeting card
- Scrapbook paper
- Paper trimmer
- Adhesive
- Stamp
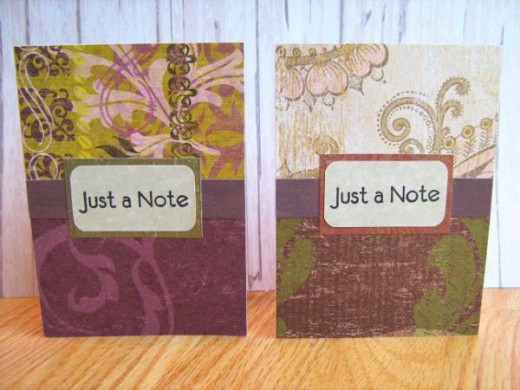
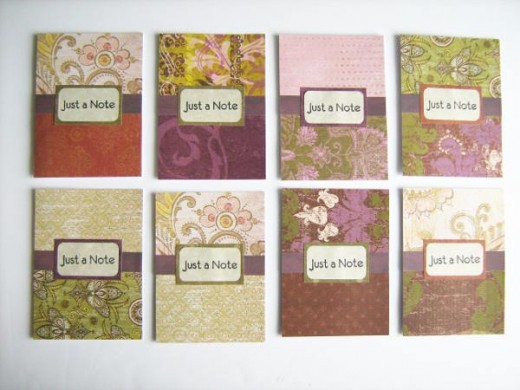
To make a note card from scratch, cut a piece of heavy-duty cardstock 5 ½” x 8” and score down the center. Your finished blank note card should now measure a standard 4 x 5 ½” size. Cut two different patterns of scrapbook paper (scrap paper will work wonderfully for this project) into 2 ½” x 4” pieces. These two pieces will be adhered to the top and bottom of your note card, cutting it in half. You should have a small gap in the center of the two pieces. Choose a third sheet of scrapbook paper and cut it into a ¾” x 4” band. This will cover your gap, and pull the two pieces together. At this point, you may choose to leave the note card as is. If you would like to add a sentiment, however, cut one last piece of scrapbook paper into a large enough rectangle to fit your stamped sentiment and adhere atop your center band. For added dimension, you can attach the sentiment with foam tape for a raised effect.
Blank, standard note card envelopes are available for a relatively small price, and if you’re feeling extra special crafty, can be made to also match your note cards. To do so, cut a small piece of the paper of your choice large enough to fit the flap on the back of your envelope and attach with adhesive. Just that small added touch can really create a beautiful ensemble that is guaranteed to be noticed and appreciated by your recipient.


")


