Earth Day: 2 Easy Craft for Kids
Teach kids what Earth Day Is All About
Earth day is around the corner.
Have you thought about what your kids could do on Earth Day?
There are tons of activities your kids could participate on Earth day.
- One of them is Earth Day Crafts for kids which involves recycling old and unwanted things, also called as"trash" into beautiful gifts.
- This activity also gives a golden opportunity for parents, teachers and adults a chance to teach kids about what recycling is all about and how to reuse unwanted things into a good use.
- In order for the kids to understand what and how the recycling projects are done, parents at home, teachers in school and adults should set good examples to them by transforming unwanted things or trash into new objects over and over again.
- Eventually, kids will learn the new concept, have their own ideas and increase creativity by making their own Earthday crafts.
- Hence, kids will learn to keep our environment clean from an early age, turn trash into wonderful gifts and save our planet Earth by reducing garbage or waste everyday.
Toilet paper Binoculars for kids
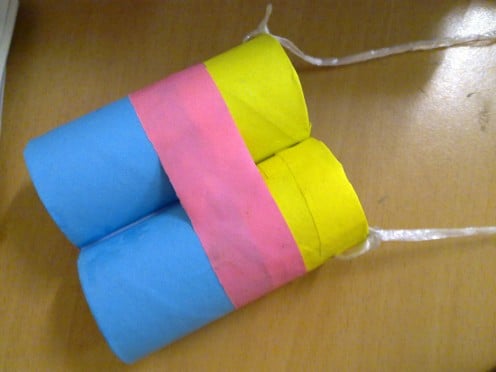
Does your kids know what is Earth Day all about?
Want to try different Earth crafts?
Coloring the arrows
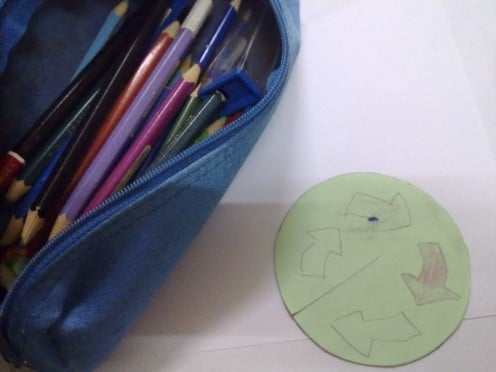
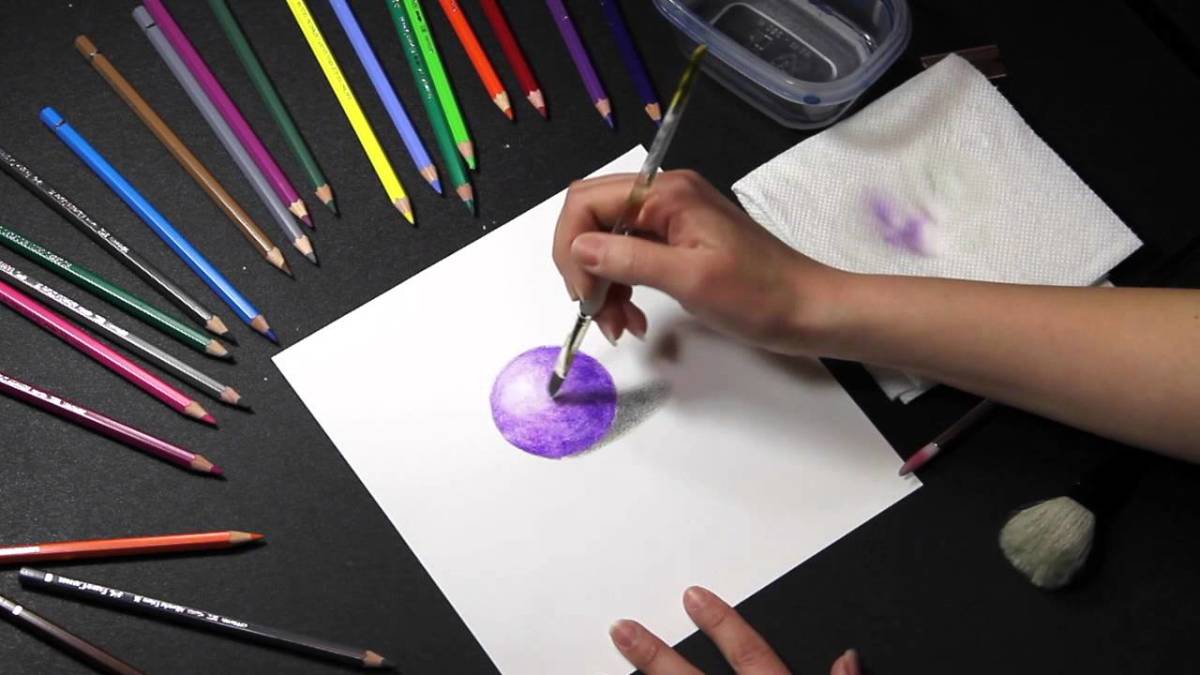
Reasons to buy Prismacolor Color Pencils
I love coloring and drawing. Hence, I encourage my kids to color freely as they desired.
However, some color pencils are toxic due to the color that stains on kid's hands and as you know kids do not wash their hands until you tell them!
I had bought Prismacolor after reading some reviews. I decided to buy a box and test them out.
I am very pleased with the color pencils lead. They do not break easily and makes it easy for me to press harder to color dark, rich contour of colors to my drawings. My kids also enjoyed coloring since they often use force to color faster.
In addition, the wood used are solid, durable. It doesn't break apart if you accidentally dropped onto the floor. The lead doesn't break too which makes sharpening the color pencils a fun part.
Kids Can Help with Crafts
In this article, I would like to share with you how my boy helped me to make 2 Earth Day projects; 3D Craft and Fabric Pencil holder.
Every child has a natural interest in drawing and coloring whenever he grabs hold of crayon, color pencils and markers because different colors fascinates their little world.
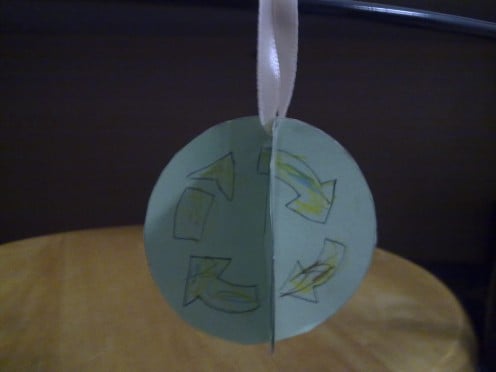
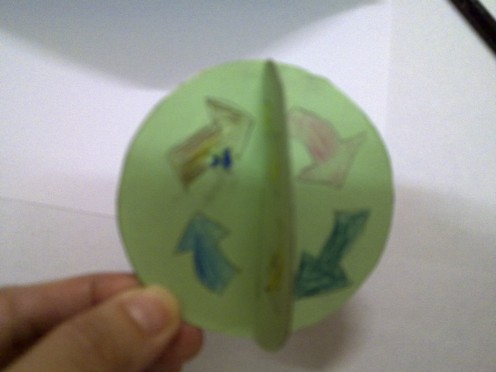
For the 3D craft project, I allowed my boy to color his favorite colors while I drew "Recycle" arrows on the cards.
Just like any normal kids, my boy enjoyed coloring very much, concentrating on his coloring task with different types of colours.
When he was done with coloring, he offered to cut the card but I knew he may hurt himself instead.
I suggested that he could do apply the white glue and pasting the color paper while I cut the cards.
He was very happy to be given more tasks, felt proud of himself to be able to help around and was delighted when I praised him for getting the job well done.
Here is the step-by-step instructions and photos on how we did the recycling project. Do have fun !
Is this Recycle Project Easy?
Project 1: 3D Craft
Earth Day Craft Project: How to make a 3D Craft
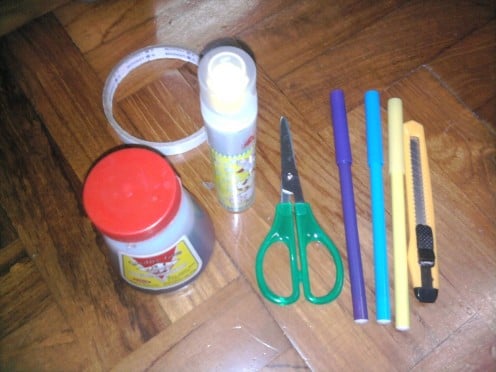
You may need to prepare these things:
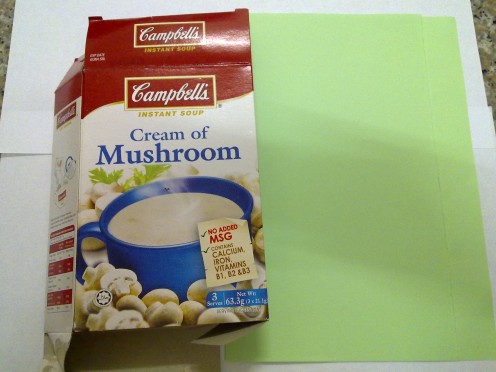
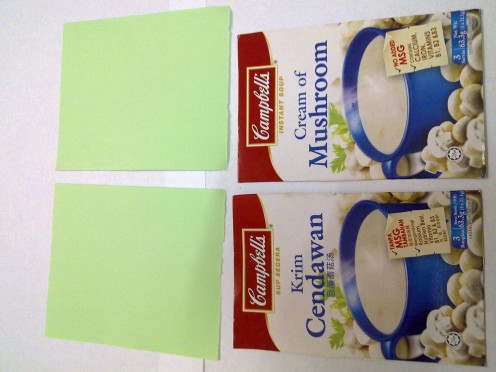
- small card boxes- you can get these boxes from your kitchen- mushroom soups box, cereal box, chocolate box....
- color construction papers- use left over small pieces of papers or if the size is not big enough, mix match with 2 color papers.
- a pair of scissors- to do the cuttings, only for adults should handle
- color markers or color pencils or crayons- for coloring, allow your kids to do this task
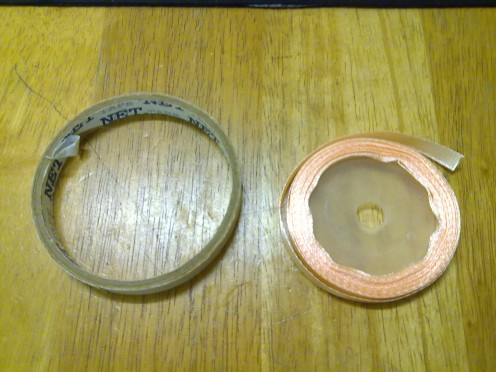
- ribbons or yarns- to tie the 3D cards
- a punch holder- to punch a hole on the card
- white glue- you can choose stationary glue for pasting but firm paste is better
- pencil- to draw the arrows
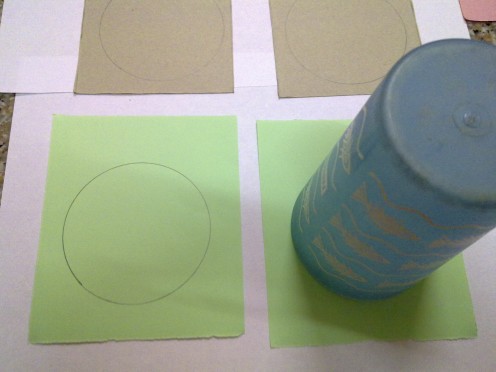
- a mug or a lid- anything circle to draw circles on cards
Reasons to buy this ribbon
I am a craft fanatic! I love making handmade greeting cards and craft for my kids' toys.
I hate to buy single roll ribbons at book store because they charge $3 per roll while I could get $19.50 for 15 rolls of 100 yards! What a bargain!
I love the satin single solid colors that doesn't fade easily and sticks to the cards, papers permanently. These ribbons also make a wonderful wrap for cookies and gift wrapping.
Definitely would buy again !
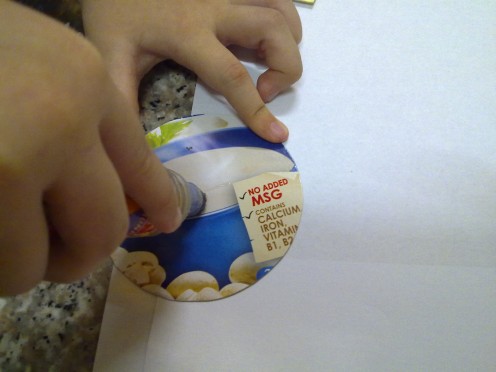
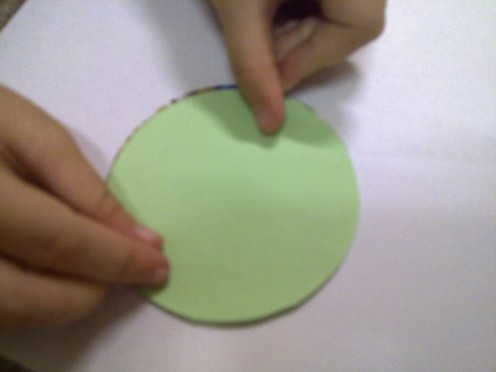
Cut out the circles
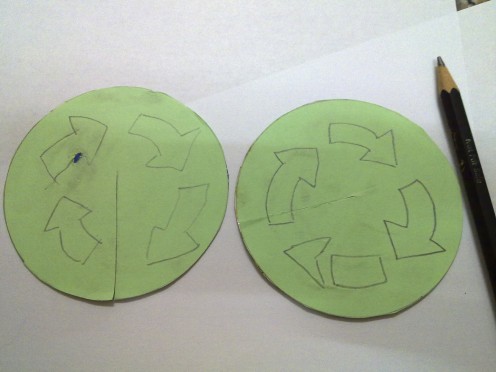
How to draw recycle arrows
Step-by-Step Instructions
- Choose small card box. Cut out two of the rectangle cards.
- Choose green construction paper. Cut two square shapes.
- If you don't have big piece of construction paper, you can mix two different colors to make into a square.
- Use a plastic mug or a plastic lid to draw a circle of each cards. Repeat Step (4) for the construction papers.
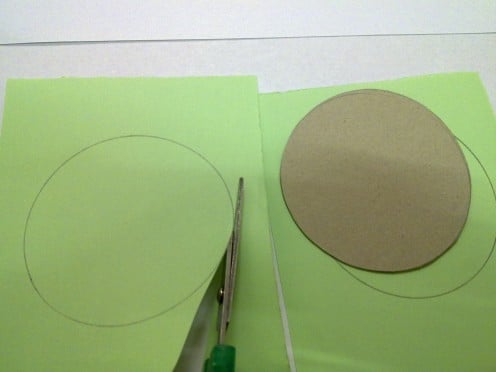
- Use a pair of scissors to cut out two circles from the cards. Cut two circles from the construction paper.
- Now, you will have four circles.
- Apply glue at the back of each cards. Ensure that the glue is spread out equally.
- Paste each circle construction paper onto the glued card.
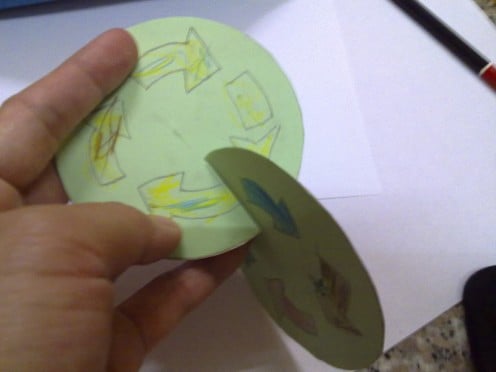
- Now you will have one side is color paper and the other is the original card color.
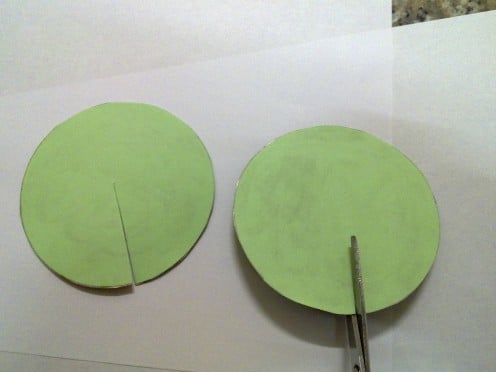
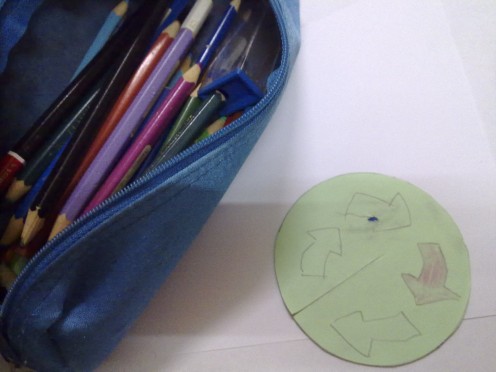
- Use a pair of scissors to make a cut from the bottom to the center of the two cards ( as photo shown )
- Use a pencil to draw a few recycle arrows on green paper part.
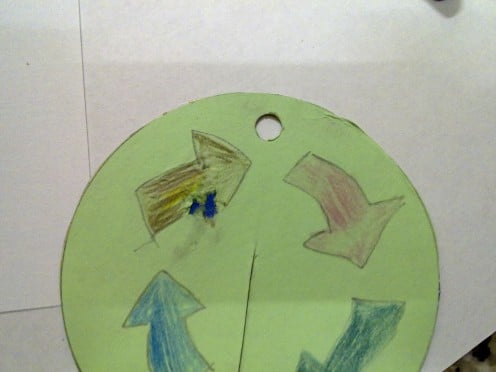
- Color the arrows with different colors.
- Slide the cards together from the top to the bottom (as photo shown ). Ensure that both cards are able to slide in and out comfortably.
- Remove them. Use a punch holder to punch a hole in the top middle of one card only.
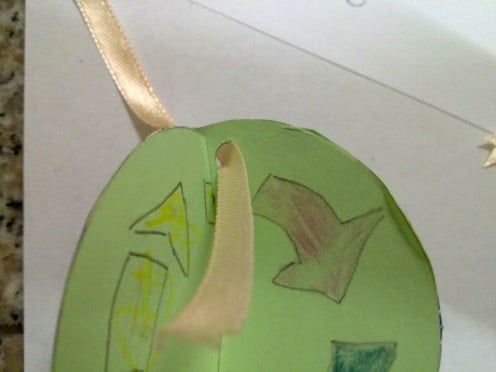
- Cut a strip of ribbon ,roughly 6 inch length.
- Slip a ribbon through the hole and tie a knot.
- Slide the cards together again. Voila! Your 3D craft is done !
Cut two snips for each circles
Project 2: Fabric Pencil Holder
Cast your vote for: FABRIC PENCIL HOLDER
Is this Recycle Project Easy?
Reuse Left Over Fabrics
This is our second project of the day.
My boy is getting excited about it.
- Remember not to throw away those small pieces of cloth which were left over from your previous sewing tasks and patchwork projects.
- I always keep these cloth in case I need to do some patch work on my family members torn clothings at home.
- Don't throw away clothes with small holes due to tear and wear from frequent washing. A little patchwork could do the trick to seal them up.
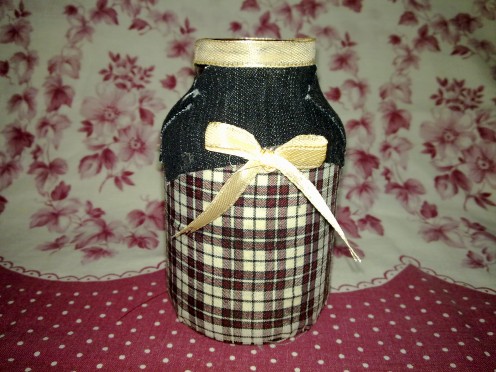
- Put these left over materials into a good use by turning them into a Fabric Pencil Holder for your kids or yourself.
- You can paste different colors and patterns of fabric on top of each other or simply choose a big piece to cover up the whole pencil holder.
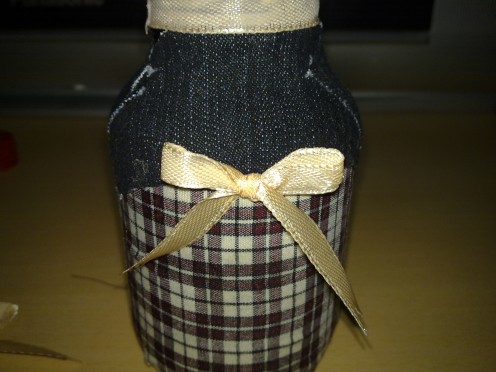
- Among all the scabs of fabric I have gathered, my boy found a long piece of brown checker cloth that matched with a left over blue jeans cloth.
- I decided to decorate the pencil holder with ribbons to add a cute look on it.
Pencil Holder Resources
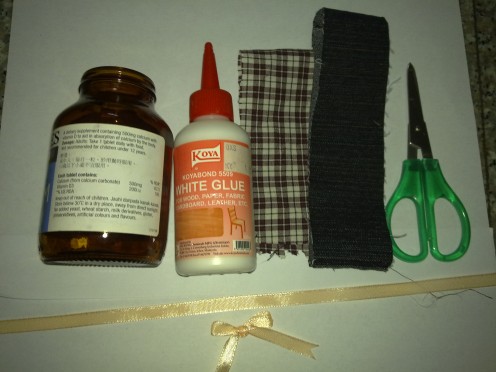
As for the pencil holder resources, I chose glass bottle instead of paper toilet roll because glass bottle is heavier and firmer than paper product.
Furthermore, the bottle does not topple easily even though it is full of pencils, pens or crayons.
You can choose either a wide mouth glass jar or a small mouth glass bottle as your pencil holder, depending how many pencils, pens and crayons you are putting in.
It doesn't matter what is the color of the jar or bottle because you will be covering it up with the fabric.
Don't throw away empty bottles or jars
Where to get Free jars and bottles?
You can find these free jars and glass bottles in your kitchen, such as sauce jars, vitamin supplement bottles, mayonnaise jars, pickle jars or even health drink bottle.
- Wash the jar or bottle well with running tap water.
- Use washing liquid soap if the jar is smelly.
- Dry the jar or bottle well before using it.
- You can choose to remove the labels or simply leave it alone.
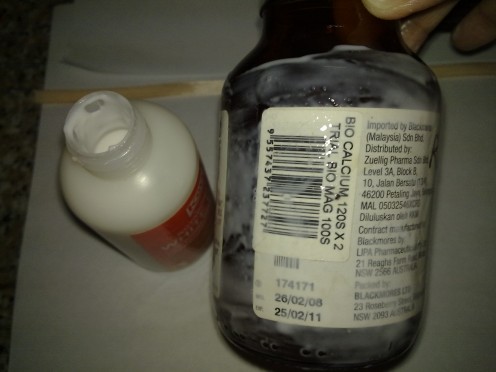
- I chose mine from a vitamin supplement glass bottle and couldn't bother to scrap off the sticky labels.
- I find it no point to waste time on that because I will be sealing up the outer glass bottle with the fabric cloth.
- Be careful not to let kids to handle glass bottle or jar.
- Kids might accidentally break them and hurt themselves.
- Adults should be handling this item. Give the kids simpler tasks such as gluing or choosing the fabric.
Basic things you need :
Earth Day Craft Project: How to make Fabric Pencil Holder
You Need To Prepare:
- Empty jar or glass bottle- wash and air dry before use.
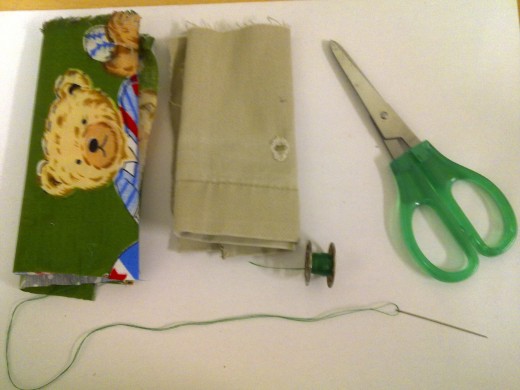
- Different pieces of fabric cloth- jeans, old clothes are great resources
- a roll of Ribbons- any color will do or use ribbons on old skirts
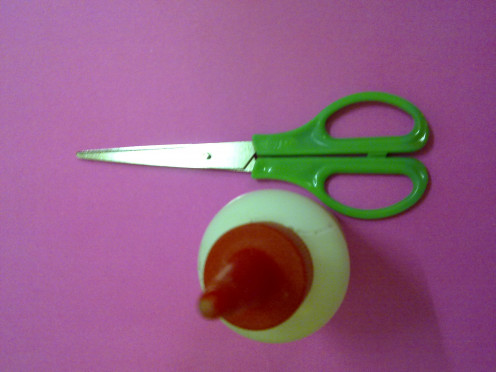
- a bottle of White glue- sticky and durable
- a pair of sharp scissors- be careful not to allow kids to handle
Step by Step Instructions:
- Wash the bottle clean under running tap water.
- Dry it with a kitchen towel. You can air-dry the bottle a couple of hours if the bottle mouth is small and narrow.
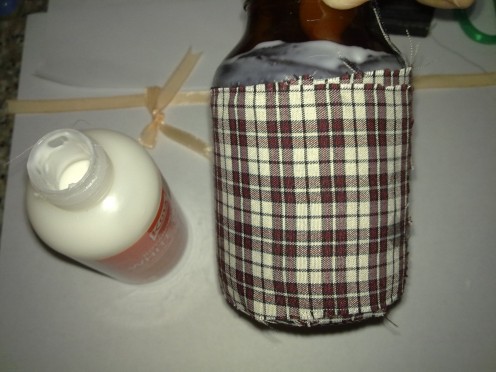
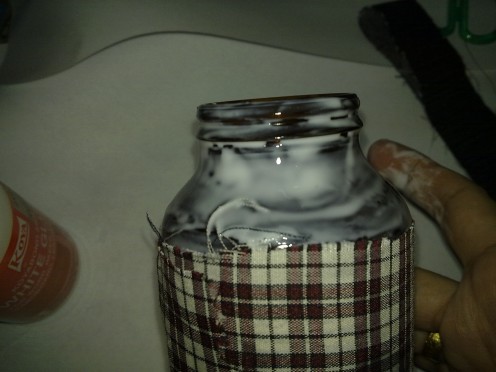
- Paint around the bottle with one coat of white glue. Ensure that the white glue is coated evenly.
- Do not apply any glue at the base ( bottom ) of the bottle.
- Paste one long piece of fabric around the bottle. If you do not have one, use small pieces of fabric and paste on top of each other, covering up any empty space.
- Smooth the fabric.
- Apply more white glue if any fabric is sticking out.
- Let it dry for 10min.
- Use a pair of sharp scissors to trim off excess fabric or dangling threads.
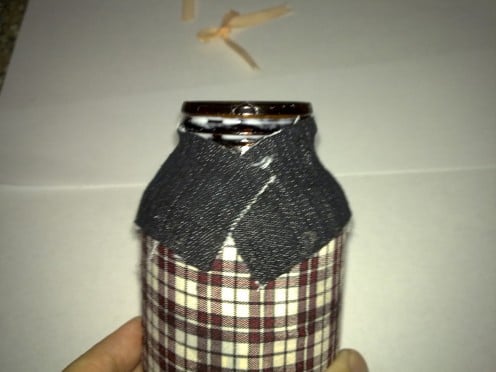
- Apply another coat of white glue around the upper part of the bottle. Paste another another fabric of different color of patterns.
- I cut the jeans cloth into smaller pieces because the shoulder of the glass bottle is curvy. Hence, I had to paste them on top of each other, adding more white glue as the jeans cloth are rather thick.
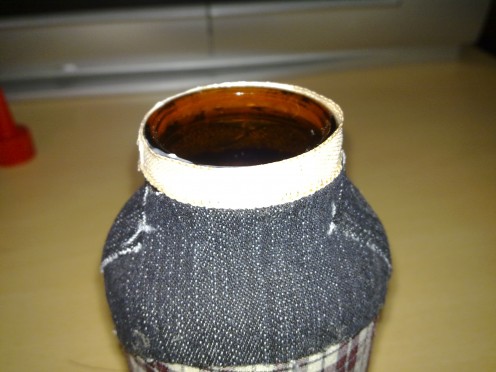
- Apply a little white glue around the neck of the bottle.
- Use the ribbon to measure the length of the neck and cut it. Paste the ribbon around the neck of the glass bottle.
- Cut two strips of ribbons roughly 8cm long. Tie two bow ties.
- Apply some white glue behind each bow tie.
- Paste one in front of the bottle and the other at the back , as photo shown.
- Let the fabric and ribbons dry completely before using the pencil holder.
© 2012 peachy

