Beach Cottage Bedroom - (the ceiling) Part 1


The Project
WIth a growing family we needed more bedrooms. In an effort to give each child their own room and my husband and I more space, we sacrificed the attached two car garage to make a master bedroom. Now I had a 24' x 24' space to work with and it was a blank slate. What a dream come true! Now keeping in mind that we had a limited budget I had to be as frugal as possible when designing and decorating. Since we are doing the work ourselves this project will take place in stages as time and money allow.
I am going to show you how we turned a dark old garage into a beach cottage inspired retreat.


Plybead board
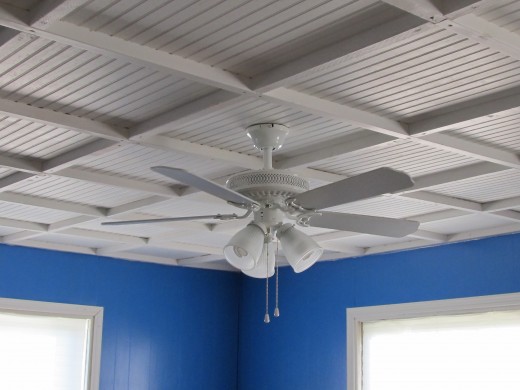
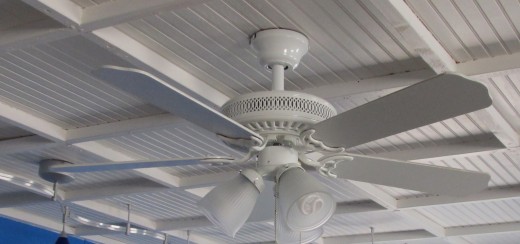
First we installed pine plybead board for the ceiling. This gave it a wainscoating kind of feel. Using 2"x2" furring strips we anchored it on the seams and then made 2'x2' squares. This added to the support for the ceiling as well as ensure the cellulose insulation that we were going to install did not make the wood sag along the truss lines. It took hours and hours of measuring, cutting and screwing the ceiling into place. Working with our arms overhead was not a pleasurable experience but the final result was work the extra effort.
Next came the insulation. Cellulose insulation was our choice for the R factor as well as the ease of installation on a low roof. (my husband was not excited about putting up the pink stuff in close quarters- or the itchy, yucky irritation that comes along with this wonderful job.)


Finishing Touches
Once the insulation was installed and the dust swept up (my goodness what a mess!!!) ... the fun job of painting all those 2x2 squares starts. The primer coat was put on by hand, and once I was no longer able to raise my arms above my head, I started checking around with my friends and luckily one of them had a paint sprayer. Lots of tape and ground cloth later, not to mention me looking like a polar bear from spraying over my head, the ceiling was finally ready for lighting.
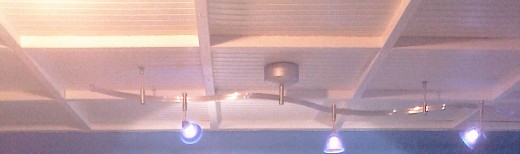
I had been saving a track light we found in a local home improvement center that was in the clearance bin. It was one of those things that when you saw it- it was so cheap that you could not resist! Now I am really glad I followed my gut on that, because once it was installed it looked amazing. (not bad for a $100+ light - on sale less then $30... oh yeah!)
Two ceiling fans were installed to complete the lighting and to add some extra airflow. All in all the room is starting to take shape- and will hopefully be my OBX retreat.
Until next time
Hopefully you I inspired you to pick a room in your house and make it into "your space". Whatever is your favorite vacation spot... it does not have to be out of sight out of mind. Bring it back with you. It will help the ease the stress and tramas of every day living.
Watch for my next hub on the walls and trim
Until then
"may you always have a seashell in your pocket and sand between your toes"
Related

How to Create an Amazing Outer Space Bedroom Theme

Rock 'n' Roll Bedroom Décor Ideas

Kitchen Makeover: Removing Brick Doorstep and Modifying Wall by the Backdoor

Coral Living Room & Bedroom Color Blends. DIY Decorating Ideas.

Gray/Grey Living Room & Bedroom Walls Décor | Plus, How To Use Furnitures & Colors In Your Grey Rooms