Easy Instructions for how to Build a Hop Trellis
As I am an active homebrewer, there was no question that eventually I would attempt to grow my own hops as well. While daunting at first based on the setups of commercial growers, I decided it could be doable on a much smaller scale. In fact, many other had ventured to do this before me. After a bit more research, I came up with my basic design for the trellis that would hold them.
Hops grow from rhizomes, which are just chunks of root cut from fully grown hop plants. They grow as bines which are basically the same as bines except they grow up around string rather than clinging to walls or trees. The are fairly easy to grow, but require a lot of sun and water.
The planting season is in early spring. I ordered my rhizomes online and kept them moist and refrigerated until it was time to plant. Planting time is in early spring.
Materials
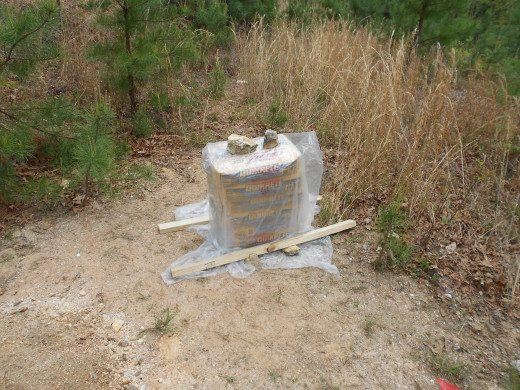
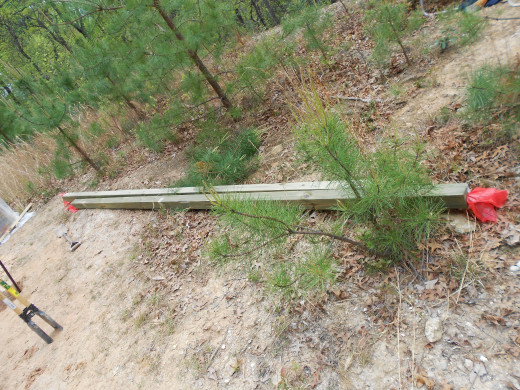
2 16' 4x4 - For the vertical poles of the trellis
1 12' 1x4 - For the crossbeam
2 large bolts - To connect the boards
2 Screws - To put next to the bolts to keep the boards from shifting
4 bags concrete - To help hold the poles in place
Building Instructions
I found these tools useful: Shovel, post hole digger, pick, drill, wrench, level, stick
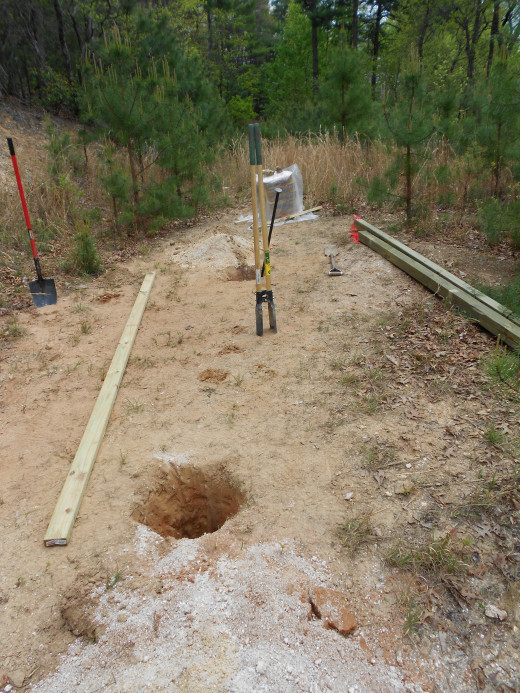
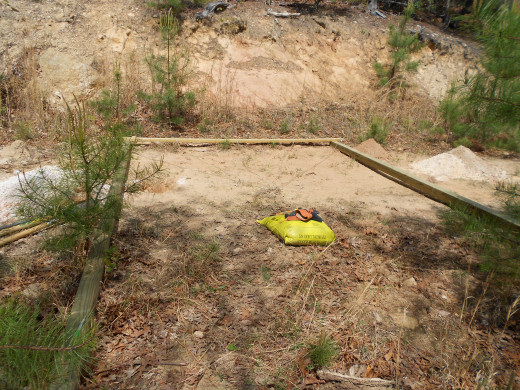
I found a relatively open flat place to plant them as the place to construct my trellis. After measuring out 12 feet on the ground (the length of my crossbeam) I dug 2 holes 4 feet deep.
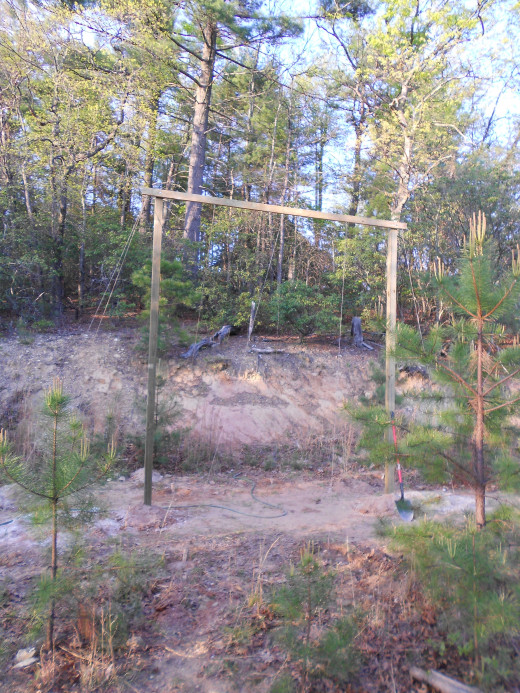
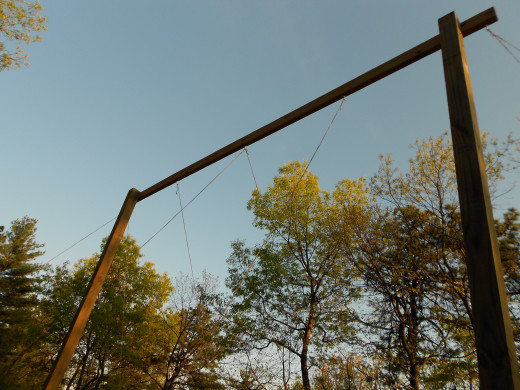
I assembled the trellis on the ground connecting the vertical 4x4s with the crossbeam, using one large bolt on each side as well as a screw to keep it from shifting.
After housing the trellis into the holes, I used a level to make sure everything was vertical and lined up how it should be.
Then I filled the holes with the dry concrete mix. After checking with the level again, I filled the holes water and used a stick to make sure all the mix got wet.
Next I topped off the holes with some of the dirt I dug out and mounded it up around the base of the posts.
I dug 8 holes around the trellis about 1 foot deep. Placed the rhizome in and filled with dirt.
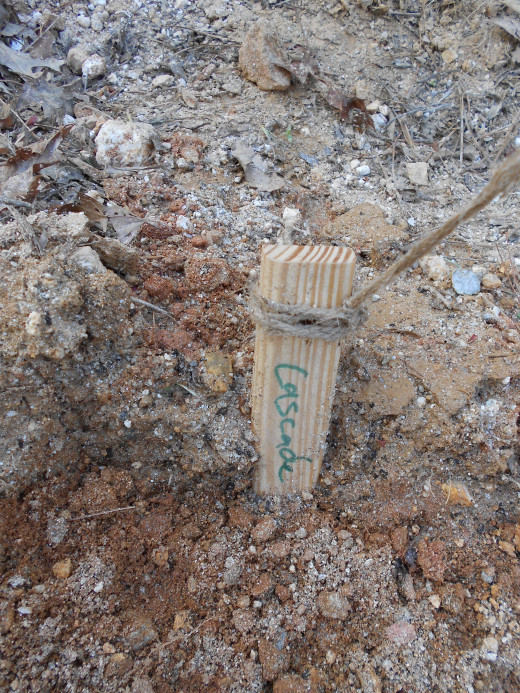
I sunk a stake on the outside of each hole and attached a piece of twine to the top of the trellis.
Final Thoughts
In all the rhizomes and the trellis cost me about $100. While I probably will not be seeing $100 worth of hops anytime soon, it is a good project and has been fun to watch them grow. They are supposed to be able to grow up to a foot a day, although I am towards the southern end of the ideal climate. My first year growth has been pretty slow and I doubt I will be able to harvest any hop cones from them this year, but the first year is primarily for root development. In future years they may be able to give me up to a pound from each plant.
On a separate, but slightly related note, in my researching of hop plants, I have had a few ideas come to me. The first thing is that many commercial hop farms are quite small. They are also a very hardy plant, that with some care can yield healthy results. Because of this and the growing trend of craft breweries, I wonder if they could help to replace tobacco as a cash crop for small scale farmers in the south east?

