Decorating Window Boxes for House Plants
How to Make a Better Indoor Garden
Over the years, I have read a number of suggestions regarding growing plants indoors. One popular theory is that if you talk to a plant, the plant will grow better.
As crazy as this sounds, some people feel that the theory has merit. Human beings inhale oxygen and exhale carbon dioxide.
Plants absorb carbon dioxide during a process called photosynthesis. Because plants need carbon dioxide in order to grow, some people have concluded that if you talk to a plant, you’re providing additional carbon dioxide, and the plant will increase in size and become healthier and stronger.
It seems to me that you would have to spend several hours every day talking to your plants in order to coax them to grow just a tiny bit. I would hope that your time is spent in a more productive manner than that.
What do you think?
Does talking to plants help them grow?
Taking Care of Your House Plants
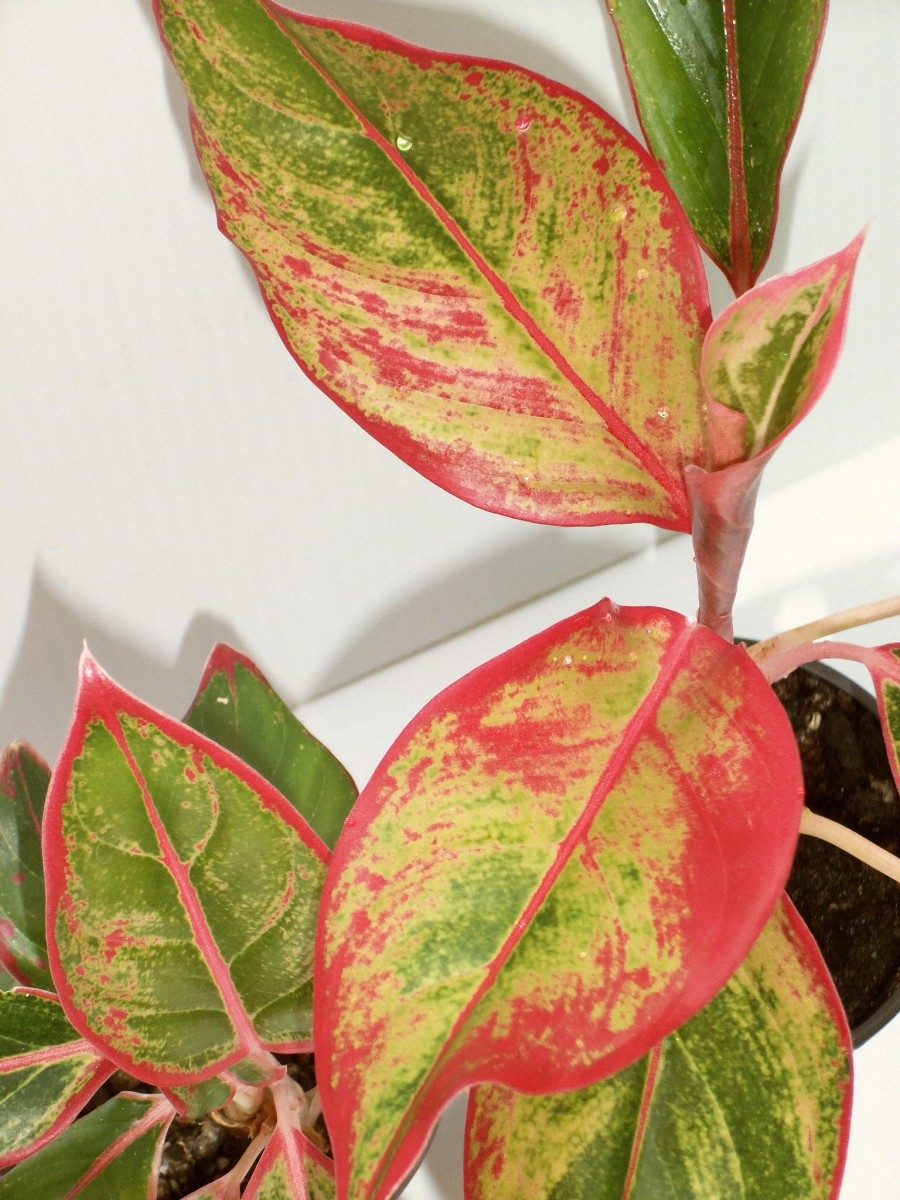
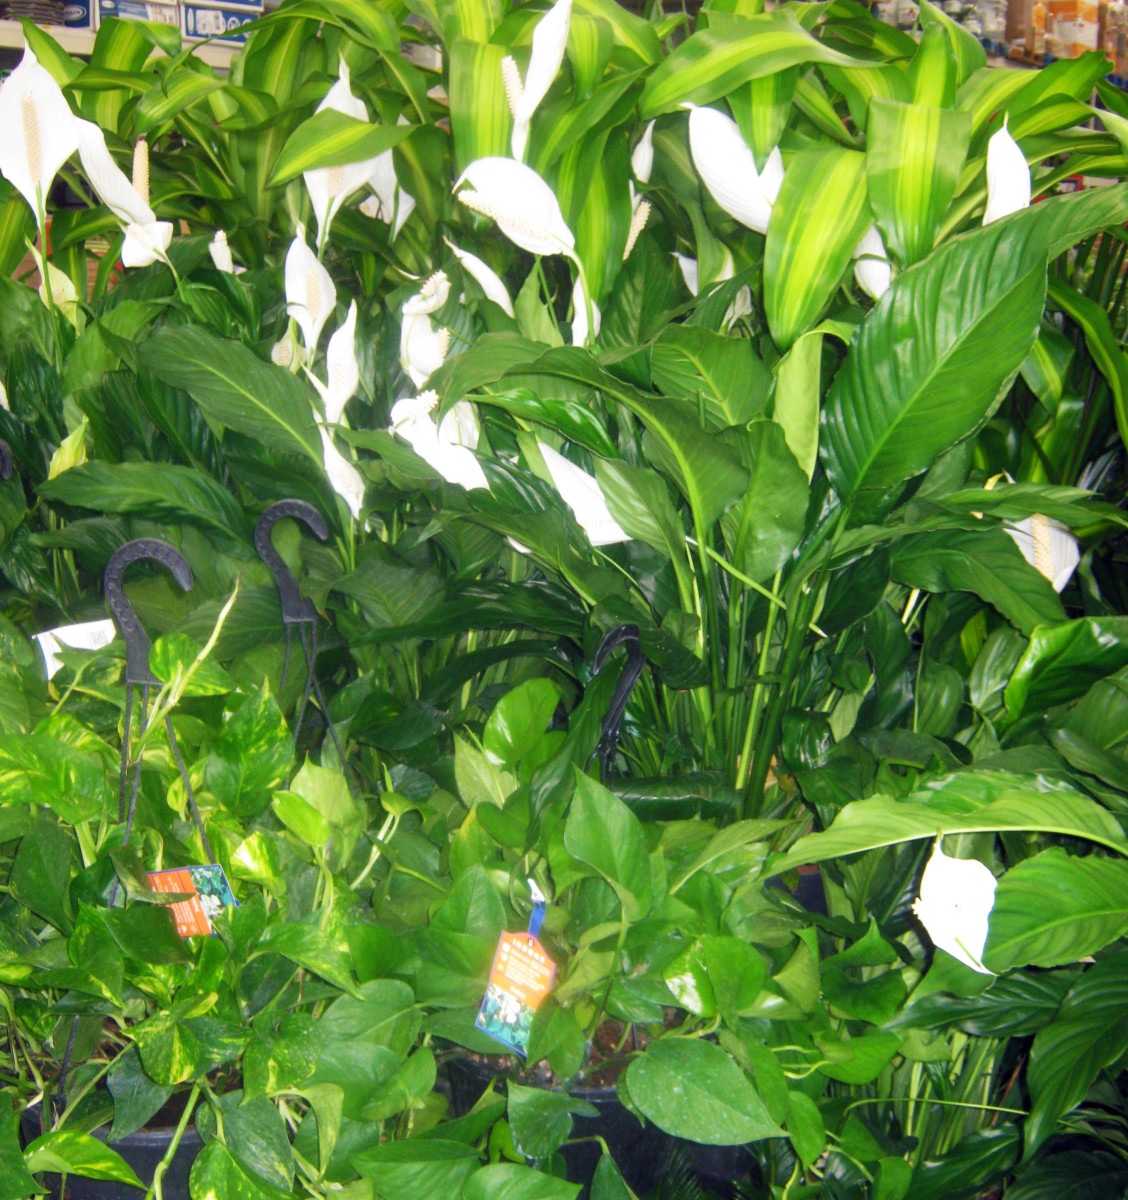
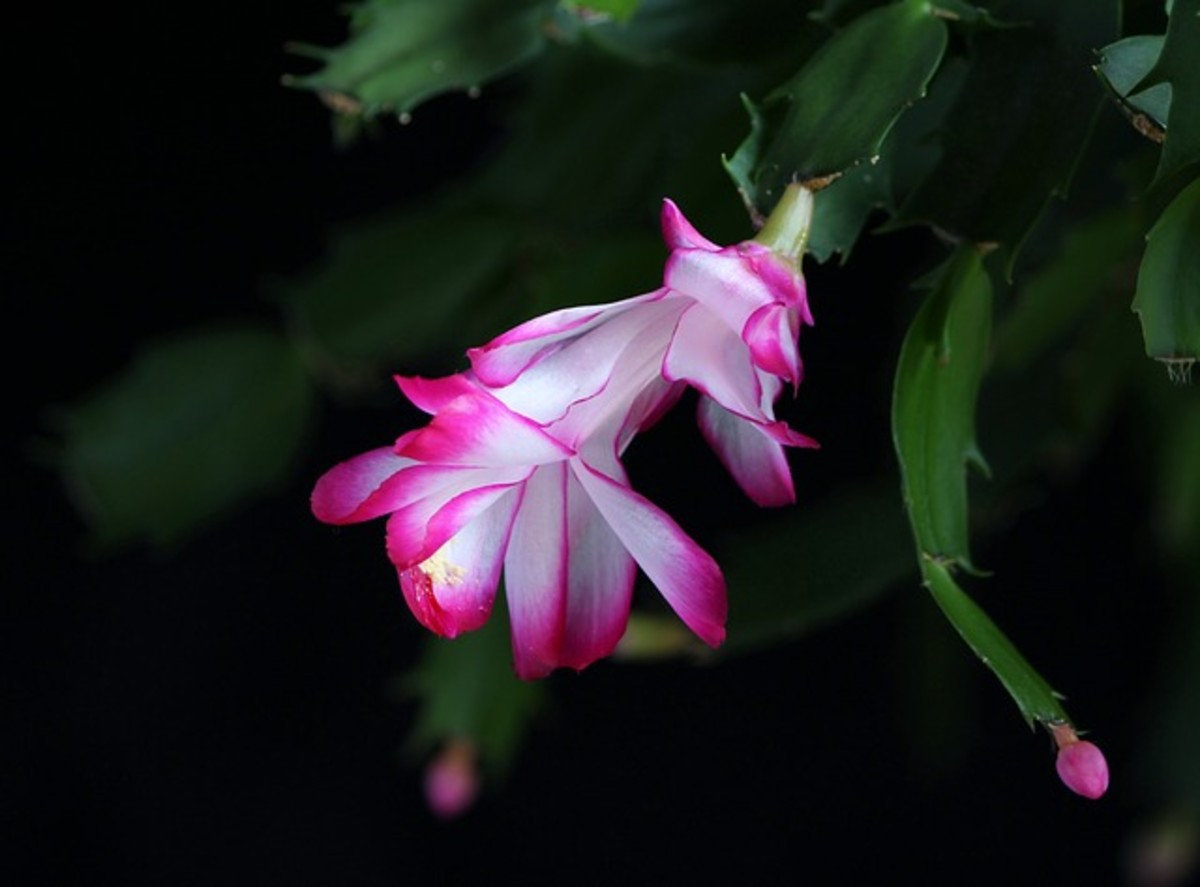
I have a theory about house plants and what causes them to stay healthy and grow stronger, taller, and fuller. It’s something that works for me, and I hope it will work for you.
Daisy Mariposa's Healthy House Plant Theory
If your house plants and flower bulbs are in decorative containers, you're much more likely to look at your plants, pay attention to them, water them, feed them, and remove dead leaves. If your plants are in ugly, old, broken containers, you're more likely to ignore your plants, forget to water them, and let them die.
Conclusion
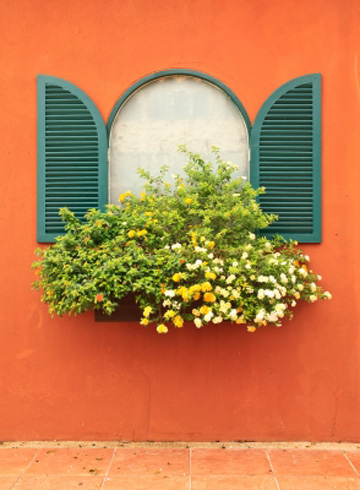
If you create decorative window box planters for your house plants, you will pay more attention to your plants and take better care of them. Your plants will survive and thrive.
How to Decorate a Window Box Planter
Supplies Needed
- Cuticle scissors or other small scissors with thin blades.
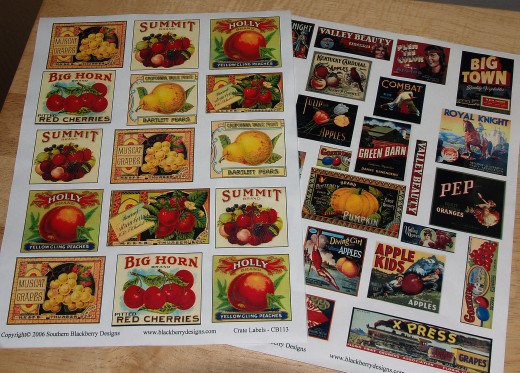
- Decoupage paper printed with individual items such as angels, butterflies, flowers, flower baskets, fruit crate labels, miniature travel posters, old postage stamps, pieces of fruit, vegetables, or other objects of your choice.
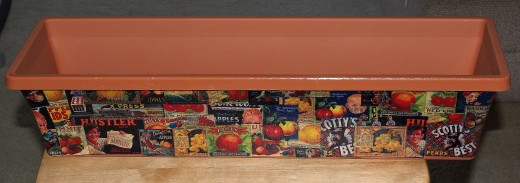
(I used reproductions of vintage fruit crate labels and vegetable crate labels.) - Disposable foam brushes.
- Small stones or imitation rocks to be used for drainage in the bottom of the planter.
- Water-based adhesive that is a combination of glue and sealer. The adhesive will be white when it is brushed onto the planter, and clear when it dries.
Mod Podge® is the brand of adhesive that I prefer. The choice of Gloss finish or Matte finish is up to you.
(My preference is the Gloss finish Mod Podge®.) - Window box planter manufactured in the material of your choice.
(I used an imitation terra cotta planter.)
What is Decoupage?
Decoupage is the art of trimming decorative pieces of thin paper and applying them to an object in layers. Among the types of objects which can be used as a decoupage base are metal trays, wooden trays, picture frames, empty wine bottles, glass vases, terra cotta planter boxes, wooden storage trunks, toy boxes, and childrens' cribs.


Have you used the decoupage technique in any of your decorating projects?
Decoupage Instructions
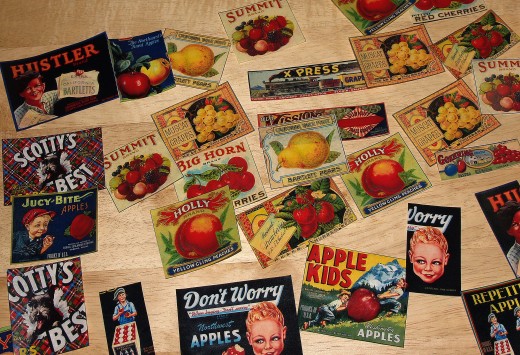
- Select the decoupage paper of your choice, and trim the objects from it. Try to leave as little of the white paper surrounding the object as possible.
I chose paper containing vintage fruit crate labels and vegetable crate labels. - Using a disposable foam brush, apply a thin coating of white adhesive to the reverse of one of your trimmed pieces of decoupage paper. Place the image on your planter.
- Repeat this process with several more pieces of trimmed decoupage paper, placing the images randomly on your planter. Let the Mod Podge® dry.
- Brush a layer of Mod Podge® over the entire side of the planter on which you are adhering the images. Let the Mod Podge® dry.
- Place additional images on the planter, this time overlapping them with some of the images you placed earlier. Again, let the Mod Podge® dry.
- "Paint" a layer of Mod Podge® over the entire sdie of the planter, and let it dry.
- Alternate layers of trimmed decoupage paper with layers of Mod Podge® until you have covered one side of the window box planter with the trimmed paper.
- You can stop at this point, or you can adhere the decoupage paper to the other three sides of the planter.
- Place a layer of stones or glass or plastic pebbles in the bottom of the planter for drainage.
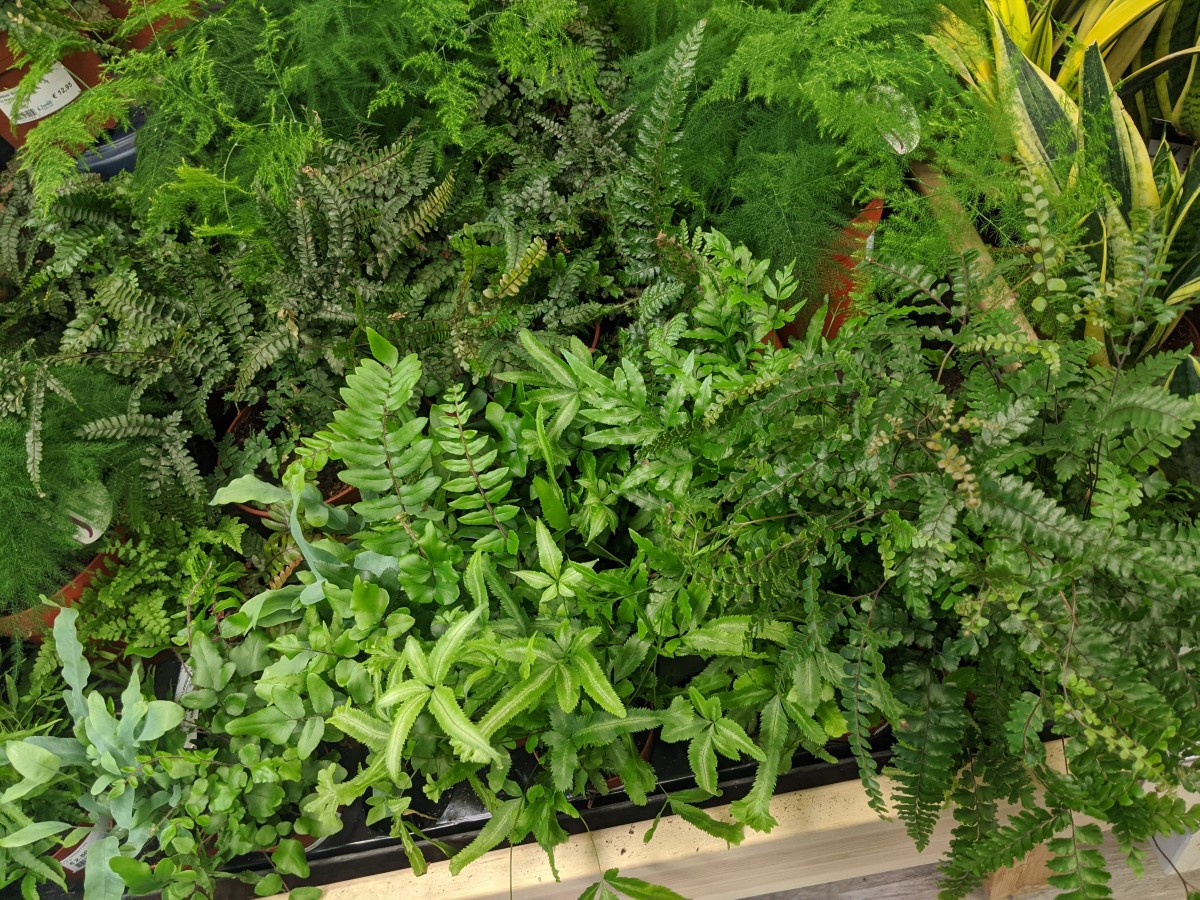
- You are now ready to plant seeds, seedlings, small green or flowering house plants, or bulbs in your decorated window box planter.


