Do It Yourself Garden Path | Stones or Gravel

Creating a Stone Walkway
Click thumbnail to view full-size


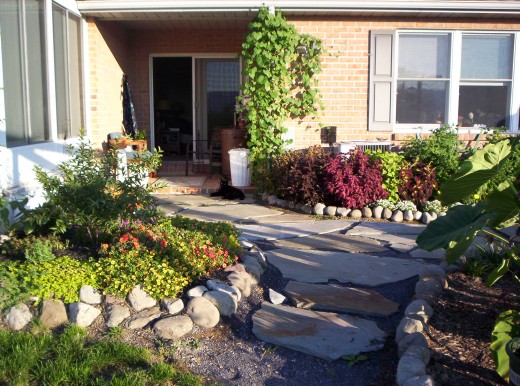
How to create a walkway
The first decision to make is where you want to walk and what other features you will be building for hard-scape design. A rock, a small pond, or patio fountain could be a consideration to enhance the garden experience. If there are electrical lines running through the area you will be placing a walking path, a call may need to be made to the cable companies or electric companies to mark the lines before excavation begins. Attain pricing from the local garden center or quarry for the kind of stone that will be used and sand delivery.
Once the area is defined for the walking path and all electrical lines are marked so not to cause damage, the initial excavation of earth can begins. Decide where to move the soil that will come from the pathway. I always consider making use of the soil in the garden areas by building up the areas that I use for bedding material for planting of annuals and also filling in holes within the yard. This soil can also be used to create new garden beds or tiers.
If the walking area is grassy, the best removal is to kill the grass with the ingredient Glyphosate which is the main ingredient in the product Round-up. This will also kill anything else green that it touches so take precaution when spraying this product. This product will kill any plant materials or weeds all the way to the root within a week making excavation much more easy to perform.
Time to Dig
The grass has been killed and it is time to begin digging the pathway. The Pickax is my tool of preference to begin outlining the walkway. The preferred depth is about 6 inches for natural stone walkways or pavers in order to protect the stones from breakage due to ground settling and weight of people. If using gravel, no less than 2 to 3 inches is needed. This truly depends on the grading and size of the gravel. The larger the gravel the deeper the sand should be for settling of the gravel when walked upon. My path was flat with no tiered steps to take into consideration.
Remove the soil from the pathway. Afterwards, I like to walk on it for a couple days to pack it down really well. Clay can be applied in the bottom for locations with sandy soils since it provides a good base for sand and not as easily eroded.
Every Pathway must be lined with a base of Sand before Placing any Stones
Two the three inches of sand should be placed in the pathway in preparation for the stones. It is now time to design the stones. Some stones will have odd shapes some will be more uniform. If variable shapes are being used, I developed a method to make life a lot easier than moving heavy stones around while deciding where to place them.
KEY: Designing The Stone Walkway with Poster Paper
Purchase enough large sheets of white poster paper to make the shapes of the variable stones. Follow these steps:
1. Choose the top side of the stones to be used and mark with a pencil on the tip to remember the side and number the stone.
2. Turn over the stone and lay a poster board on the top and trace the stone. If the stone is too large for the poster board, tape multiple sheets together to achieve the actual shape of the stone for placing in the pathway. Cut the shape to resemble the actual stone.
3. Number the stone on the poster board stone and designate top of the paper stone to match the original. You will be so glad you did this because when placing stones it is very easy to confuse one from another with a large inventory of stones laying around and flipping them can confuse the selected top from the bottom. It can and likely will change the whole design by getting one piece placed incorrectly.
4. Place the first stone. Sometimes it is easy to place the larger stone first and build around it. However, how the smaller stones will look around the larger stones and how they will fit along the walkway will be much easier to view by using the poster board method first to move them around from place to place instead of having to move the actual stones once placed. Using this method will also protect the sand from being dramatically disturbed so hopefully each stone will only need to be placed once. You do not want to get the pathway started to only have to redo the stones because they're not fitting correctly.
5. You can move poster board stones around all day long with ease to make sure the best design and use of the stones for the walking pathis accomplished. Once the poster board is laid in place for the stones, start matching up the real stones with the numbers on your poster board stones for actual placement.
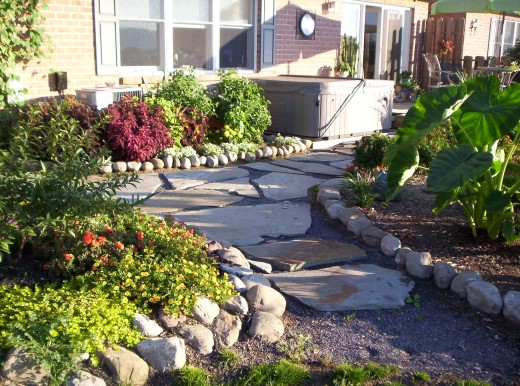
6. Stones may have varied depths and widths and should be placed for walking ease accordingly. There should be a leveling that occurs when placing each stone into the sand by nestling the stone so there is no wobbling and to asssure that the stone is firmly placed into the sand to hold the weight needed to support stepping. The sand may need to be adjusted to achieve firm support for each stone. Stones should not cause tripping by having an uneven surface for walking. Each step should flow naturally.
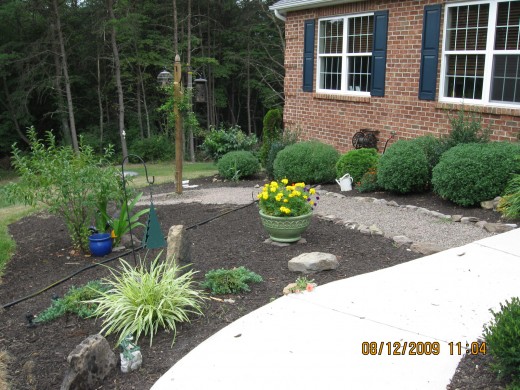
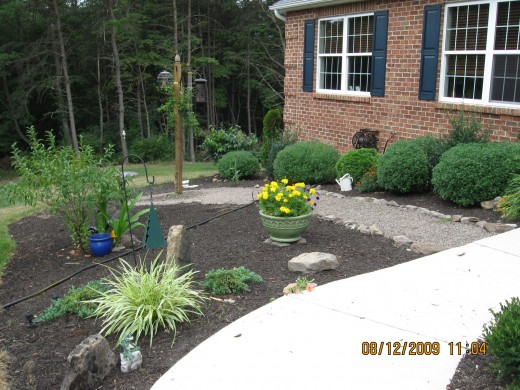
Stone Garden In Front Yard
Click thumbnail to view full-size

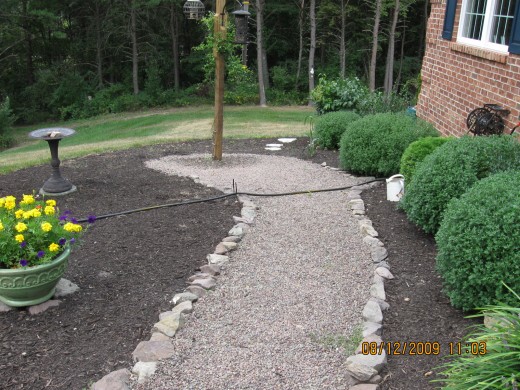
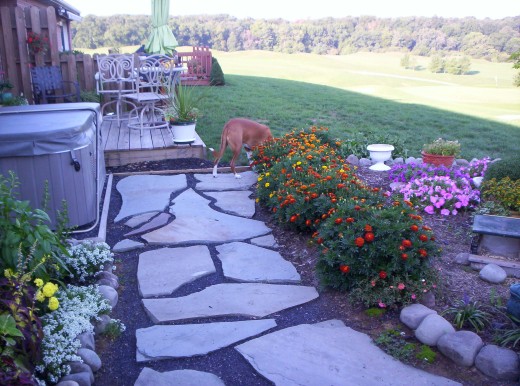
Using Gravel instead of large stones or pavers for walkways
The same method of excavation is used to create a walking path of gravel only the sand is reduced to about one to two inches. Any kind of gravel can be used, but preferably a stone easily walked upon. I like to use a rounded stone so walking in bear feet can also be a pleasant experience and so not to twist ankles or fall from the size of the stones. I like to make these natural walkways in garden areas, bird sanctuaries, or anywhere additional texture can add exciting features to your garden experience. Using various colors and textures of gravel can give a widely enjoyed experience from place to place around the house and garden. I like to use a larger rock as a border for gravel to keep it in place as small stones tend to wonder even though a deepened border was created.
Gravel Walking Path through garden area and to bird feeding station
Click thumbnail to view full-size