How to Change a Doorknob?

Why Learn How To Change A Doorknob:
Learning how to change a doorknob is one of those home improvement skills that will eventually come in handy at some point in one's life. Think about it. There are many reasons why one may want to replace those door opening thingies. First, when moving in a new property (that you own), changing the doorknobs and their corresponding locks is a good idea. Reason. You really don't know how many people may have had a set of keys to those older doorknobs. Along the same thinking, should you yourself ever loose your keys for an extended period of time; changing the doorknobs should be first thing on your mind.
Changing your doorknobs can also be done to enhance the cosmetic and functional appeal of your abode. For example, if your doorknobs have become scuffed or excessive scratched due to overuse; replacing them can give your home a "brand new" feel. Replacing doorknobs is also suggested when components of your doorknobs before worn out or completely broken. This is thesituation we will be dealing with below.
Tools & Prep:
For most doorknob replacement jobs, you probably only need two things:
- Phillips Screwdriver (most likely a #2)
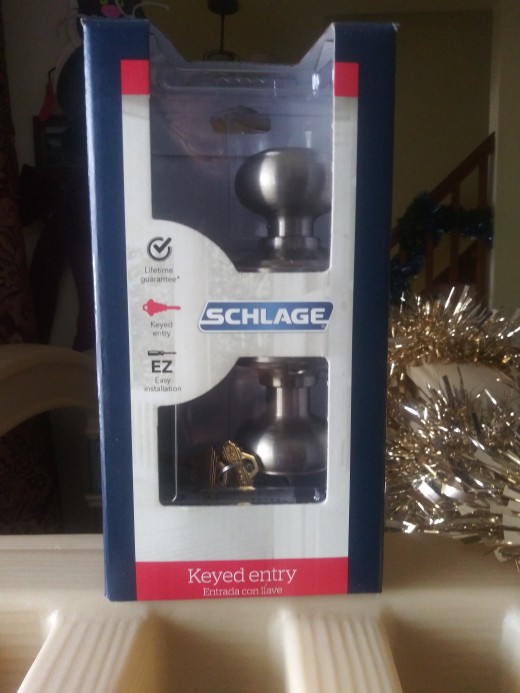
- Replacement doorknob and lockset.
We recommend that you do not use a power drill for changing a doorknob, as this can lead to unnecessary scuffing and damage to your hardware. Also, most replacement doorknob sets are for universal door cut out holes (with a few narrow exceptions). Ask your local hardware store rep if you need help in making a correct purchase.
***Note For Doorknobs w/ Hidden Screws:
: Some doorknobs have recessed screws or even hidden screws. In this case you might need an allen wrench to complete the job.
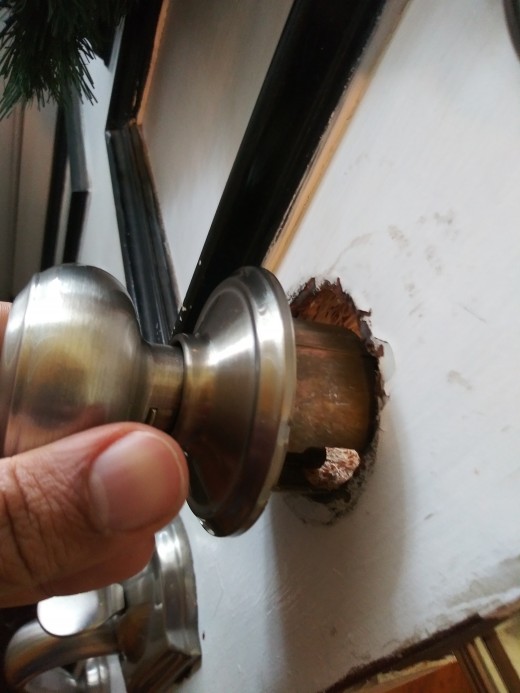
Removing The Old Doorknob:
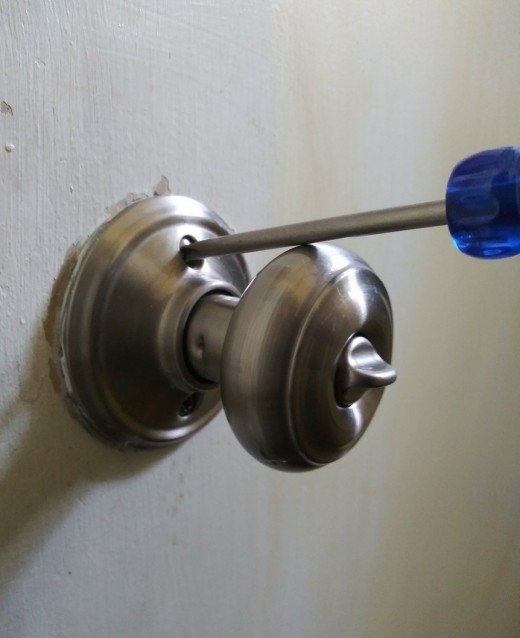
To start removing the old doorknob. Use your screwdriver and start unfastening all the visible screws. You can start with the screws on the doorknob itself (usually two). The screws on the doorknob typically hold the two end of the doorknob mechanism together. After loosening these screws, you may need firmly pull apart the two sides of the doorknob mechanism (inside and outside doorknob), until all that is left inside the door is the door knob latch.
Next you should unscrew the screws (also usually two) on the door knob latch. The latch looks like the picture above. After unscrewing the latch, you should be able to easily slide the entire latch out of the door.
***Note For Doorknobs w/ Hidden Screws:
As mentioned earlier, in some cases the screws holding the doorknobs in place are hidden. They are usually hidden behind a metallic plate at the base of the doorknob called a "rose". Fortunately, this rose can pried away from the base of the base of the doorknob in a variety of ways. First, if there are any pin-sized or slot-sized holes in the rose itself; this may indicate that removing the rose requires the insertion of the small screwdriver or paperclip in the aforementioned slot.
After the rose is removed, you may also encounter recessed screws (usually with a hexagonal shape). This is where you handy-dandy Allen Key will come into use.
Installing New Doorknob
A.) Installing A New Latch:
The first of course of business when inserting the new doorknob, is to insert the new latch (see picture above) into the door. Though a number of people have asked me before: "Can't I just leave the old latch in the door and simply attached the new doorknobs." And while this does sound like a time saving life hack, I would advise against it. Why? Simply put, the new latch in the doorknob kit will ensure compatibility with the new doorknobs. The old latch won't.
When inserting the new latch, make absolutely sure that the the angled portion of the bolt (the part that sticks out of the latch) is facing the door frame (i.e. the direction the door is closing). Also make sure that the latch is flush the rest of the door siding. You can secure the door latch with screws and the screwdriver.
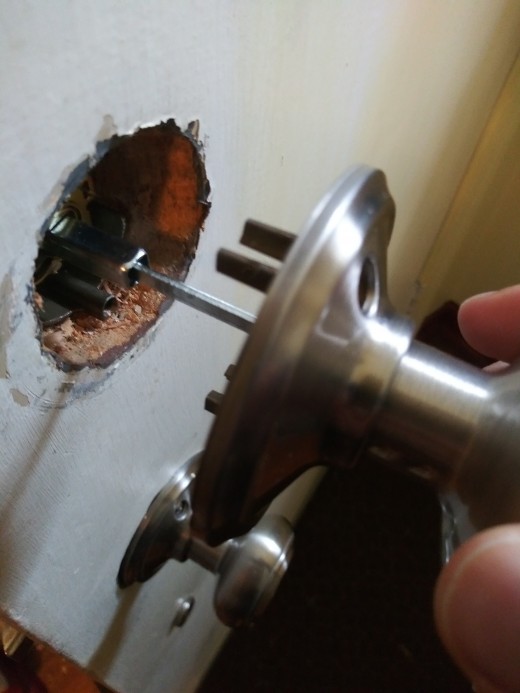
B.) Install Outside Doorknob/ Housing:
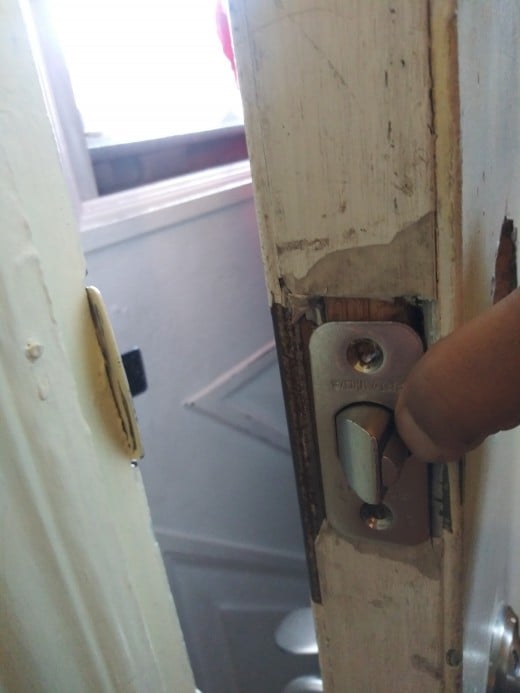
First, a little clarity on terminology. The outside doorknob is usually the doorknob that has a spindle sticking out of it. In addition, it may also be the same side of the doorknob that has a keyhole. Generally speaking, you must insert this side of the doorknob into the door first because the long spindle will pass through the latch when properly inserted (as see in the picture above). The long spindle will also help to properly orient your placement of the second half of the doorknob.
Note: If your doorknob has a handle or lever, make sure that it is pointing away from the door edge.
C.) Install Inside Doorknob/ Housing:
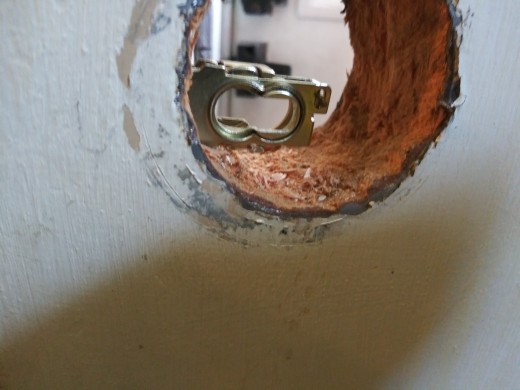
Using the spindle from the opposing doorknob as a guide, attach the other (interior) doorknob to the remaining side of the doorknob. Often by design, the inside doorknob can only fit onto the door in one orientation because of the shape and orientation of the spindle. The picture above shows the placement of the remaining doorknob over the spindle.
Now insert and tighten the screws on this doorknob and move onto the next step.
Note: As in the last step, if your doorknob has a handle or lever, make sure that it is pointing away from the door edge.
Test Your Work
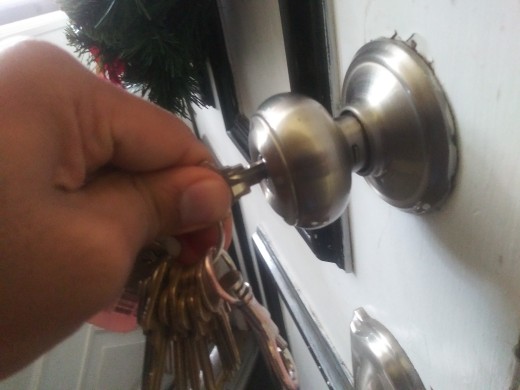
You are never truly done until you test your work. Therefore, you should test all functional aspects of your newly installed doorknob to make sure it meets your requirements. Above all else you should test if:
- The doorknob turns properly
- The latch works properly and the door actually closes shut,
- If the doorknob utilizes a key, make sure the key can both lock and unlock the door properly. (Make sure that someone is inside residence to let you back inside in case the key does not work).
Additional Ideas:

Given the near universal sizing of all doorknobs, it is very easy to comparison shop and find unique doorknob options both online and off. For example, the doorknob listed above (inspired by The Beauty & The Beast) can be found on Etsy for $40.00.
Furthermore, if you purpose in changing your doorknobs is mostly cosmetic (for renovation); you should also consider replacing other parts of your door's hardware. For example, the door hinges and the strike plate can be changed at very low cost to give your door a more uniform look.
Thanks for reading. If you like this tutorial please share our content. That is all the thanks we need.
This article is accurate and true to the best of the author’s knowledge. Content is for informational or entertainment purposes only and does not substitute for personal counsel or professional advice in business, financial, legal, or technical matters.


