How To Update A Lampshade
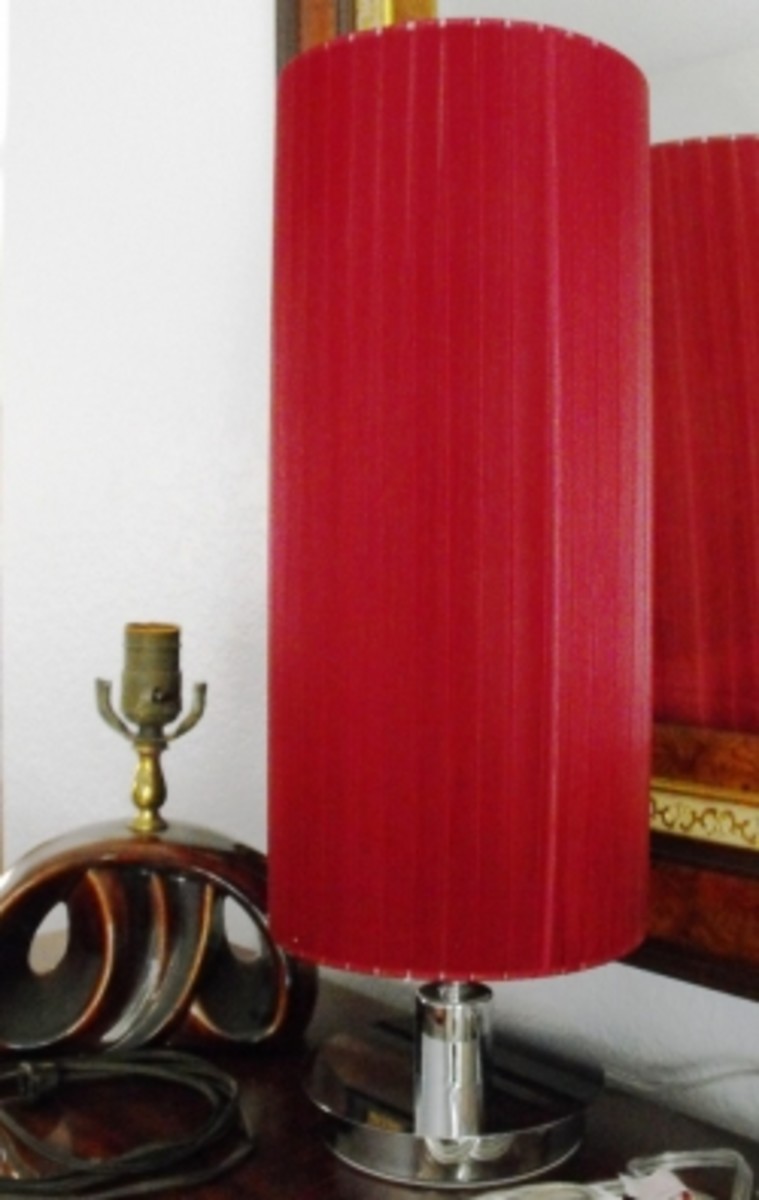
An outdated or old lampshade doesn't have to be the end of a perfectly good lamp. Sometimes a simple bump can ruin a shade even when the lamp itself is without damage. There are several options to update the shade and make it a lamp that will not only be usable again, but will also be a decorative statement in your room. Here are some simple ways to update and redeem your lamp.
New Shade New Lamp
The most immediate way to update a lampshade is to simply buy a new one. Be careful, however, when choosing a replacement shade to notice the type and style of the metal framework that is used in the lampshade. The framework of lampshades vary from lamp to lamp. This is the key to getting a good fit on a shade and it looking correct.
The first thing you will need to know is what type of wire framework is in the lampshade. Does it have a screw on frame, bolted down frame, clip on frame or does it sit between the base of the bulb and the socket? It is important to get the correct frame. Imagine having flipper shaped shoes on for a mountain hike. It doesn't work and neither does the wrong lampshade. This frame work is also know as a lamp harp. Take a look at it and identify how it is attached to the lamp and how it sits on the socket.
The height of the lamp shade should typically be approximately between 1/3 and 1/2 the total height of the lamp itself. Shades that are taller or extremely shorter will look like they don't belong with the lamp. If you have a shade that you are replacing, measure it both in height and in diameter, then try to keep as close as possible to those measurements to maintain the balance of the look.
Once you have the framework image and the measurements in hand, you are ready to shop! Keep in mind the overall décor of the room, the colors of the furnishings, and the purpose of the lamp. Look for a shade that will meet all of these needs as it can be a central focus and overwhelm the entire room if it is off! A Victorian lamp screams at you in a modern style room. Resist purchasing a CUTE lamp if it doesn't complement the room. Lamps typically last a good long time, so choose something relatively timeless to get your money's worth.
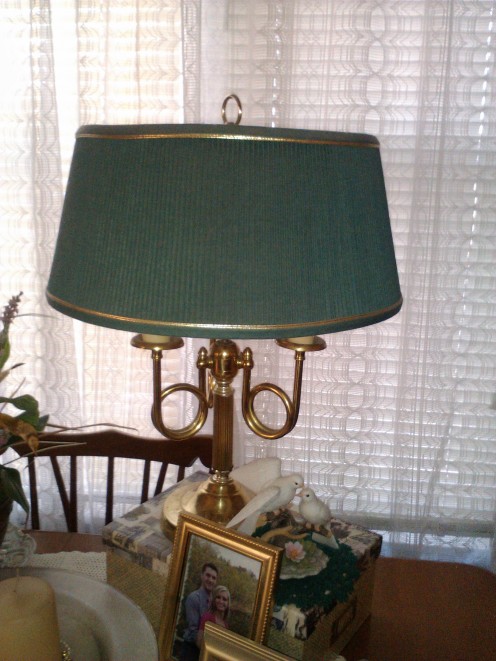
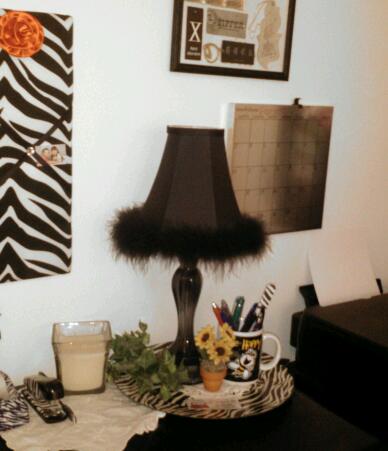
I purchased a dark green pleated shade for a candelabra style lamp to help tone down the elegance of the lamp and bring warmth into a country style living room. It had a bright white shade with a gold trim. The lamp looked out of place. Now it is a perfect reading lamp which blends well with the room's décor. The lampshade gives the lamp, and often the entire room, a personality. A lampshade with a feather boa trim kicks up a flashy fun look into my office. Keeping it all in one color tone helps to keep it from battling with the zebra accents while the boa adds a softness that an office can often lack. The feathers are a soft element amongst the cold harshness of office supplies and hardware. What if you don't find a lampshade that will fit or one that you like?
Evaluate Your Options
You have gone shopping and still have not found the shade that flips your switch. Now what? Well there are two options:
- Buy a new lamp with a lamp shade and toss the old one.
- Roll up your sleeves and begin this do-it-yourself lamp shade recovery.
That's it. They sound easy enough, well....the first one does. Actually, with these step-by- step directions, you can take a stained, ratty old lamp shade and have a cute and sassy shade in a few short hours. It took only a few simple tools and it was fixed in no time at all.
My living room is a contemporary country room with the earthen tones of brown, tan and hunter green with a splash of brick red. Stained and ratty does NOT match. I searched the entire four state area and there was no shade that would fit the socket on the floor lamp my father had kept in his shed since my high school days! I really needed this lamp. I wanted this lamp. I did not want the stained and dingy shade. I am not, however, the type of person to toss the lamp and buy a new one, so that left only one option for me: lamp shade recovery.
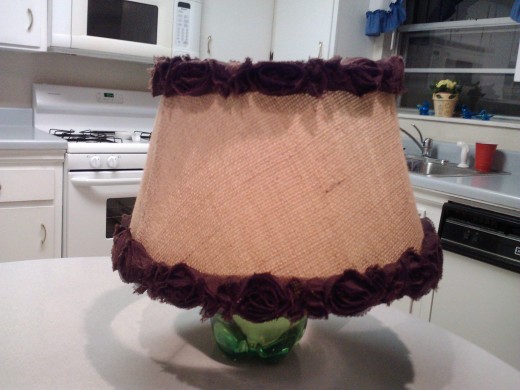
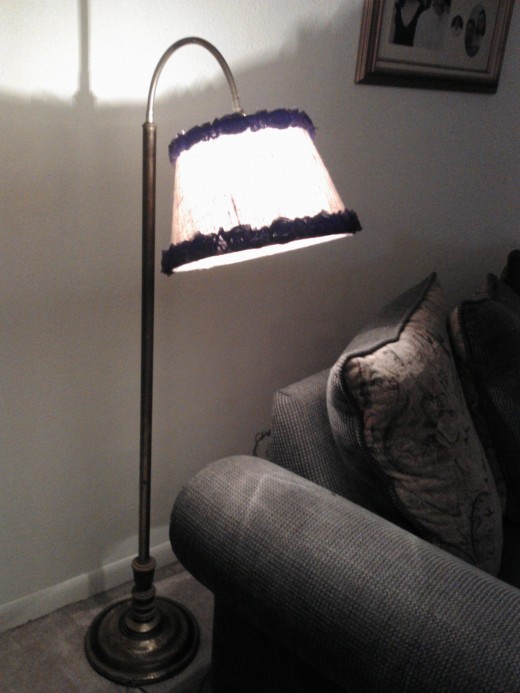
Project Lamp Shade Recovery
The first step to recovering the lamp shade is planning color, texture and design. For me, this was a set of simple decisions. A silken texture would not go with my room, so I opted for something woven. There is a LOT of green in the room, so I decided to go with something tan or beige. This would also allow more light than a darker color. Last, but definitely not least, was the design. I wanted something "soft", but not too frilly. Now it was time to head to the craft store. I LOVE Hobby Lobby, by the way!
I chose a simple burlap to cover the shade in a medium beige tone. The burlap had texture, yet would allow light through the open weave. For trim I chose a dark brown for contrast in a flower type design. It was soft without the frills. It took a half yard of the burlap and two yards of the trim. With a coupon I downloaded off the internet, it was less than $10 for the supplies! Perfect! Now to get it done! I couldn't wait to get home!
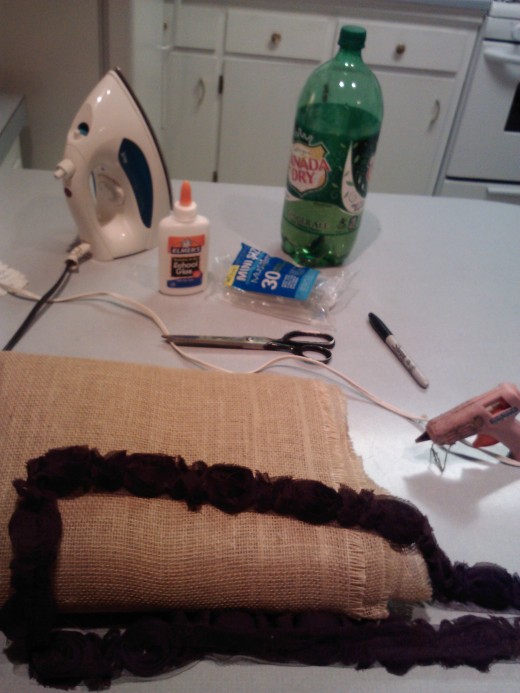
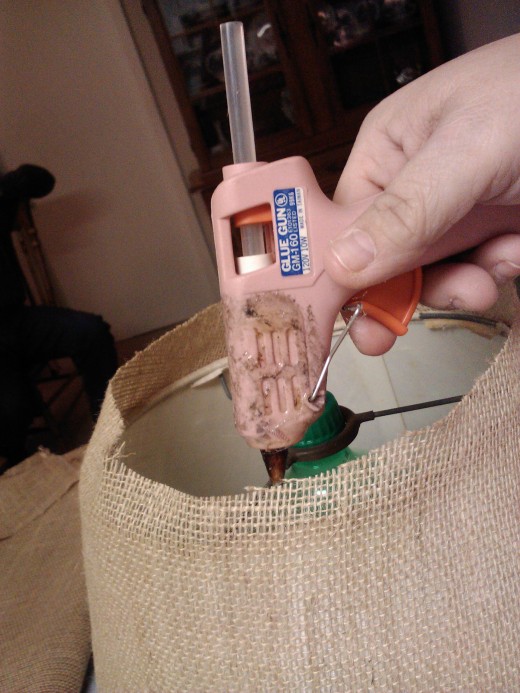
I gathered the supplies, then decided to attack the shade! I used an iron to make the fabric as smooth as possible, a HOT glue gun to withstand the heat from the light bulbs, several glue sticks, Elmer's glue, scissors, a sharpie, a 2 liter pop bottle, fabric, trim, bleach, water, and of course, the shade.
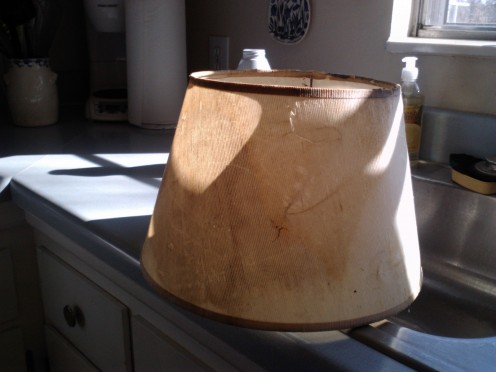
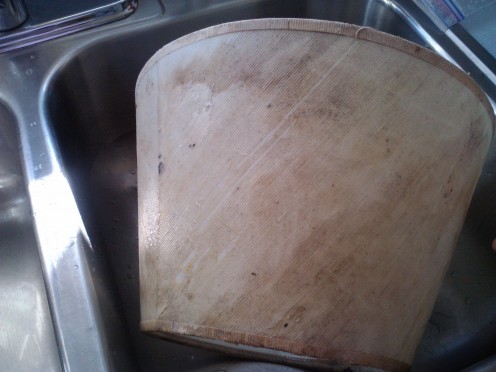
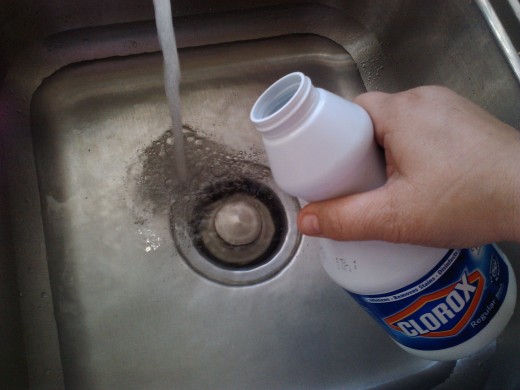
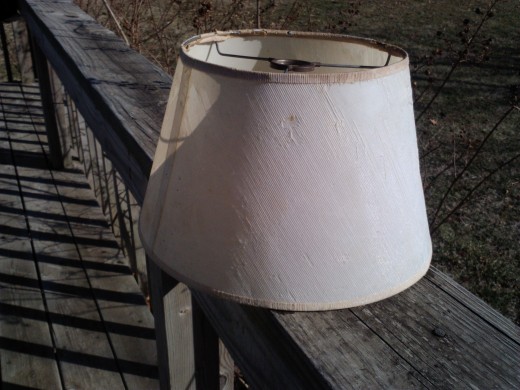
First I needed to remove as much of the stains and general crud off of it as I could. I brushed it with a soft bristle brush. Some of the strings had rotted and came off immediately. I decided the best option was to eliminate the staining. I filled the sink deep enough to submerge the entire shade and added a few tablespoons of bleach. I dipped the shade into the bleach water and rubbed it by hand. I left it about 5 minutes, rinsed it off thoroughly with cool water, patted it dry with a paper towel, then placed it outside in the sun. I figured what the bleach hadn't gotten completely would bleach out more in the sunshine. It took about an hour to dry thoroughly. It was important to get it completely dry before placing the new fabric on it. Trapped moisture could lead to rusting of the wire framework and discoloration of the fabric.
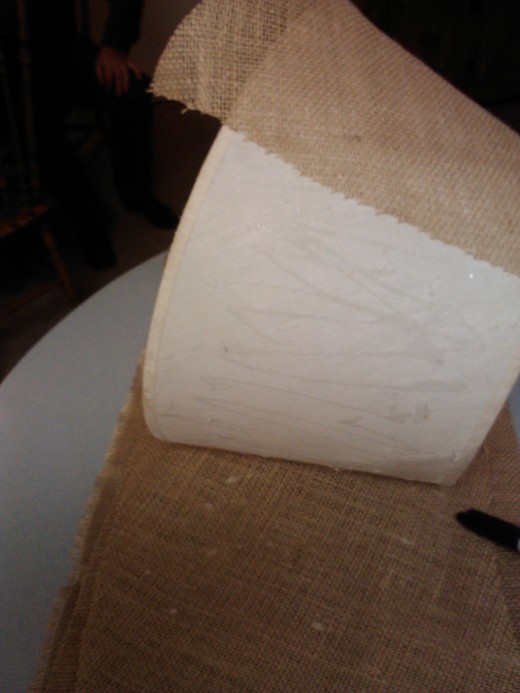
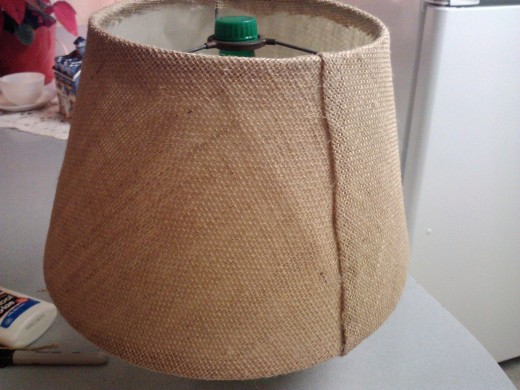
Next, I marked the point on the shade that was directly across from seam. Then I placed the seam of the shade on the fold of the fabric and using a sharpie, I marked the material at approximately one inch away from the top edge of the shade and one inch below the shade while rolling the shade along the fabric. This allowed for overlapping the top and bottom edges. It is important to cut the material long enough to overlap at the seam as well. Cut along the sharpie lines.
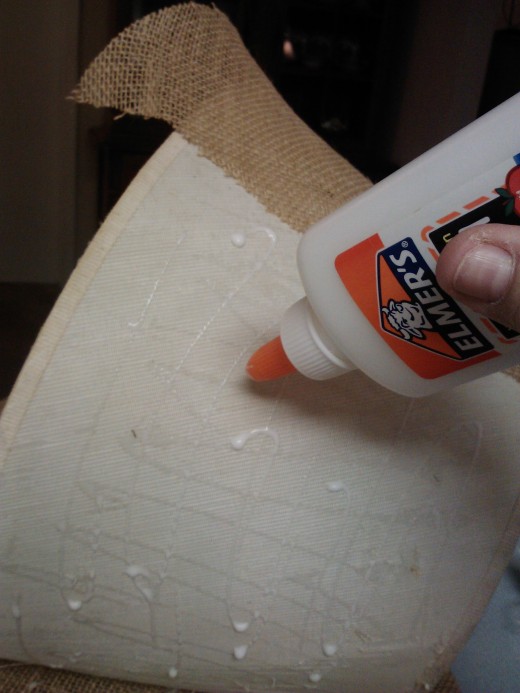
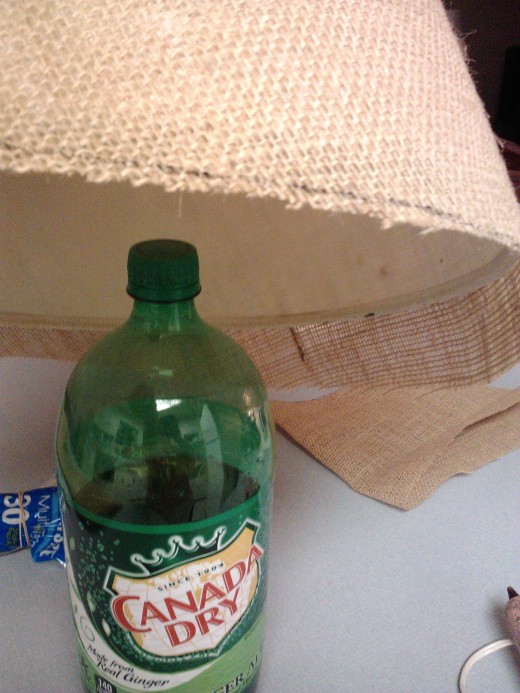
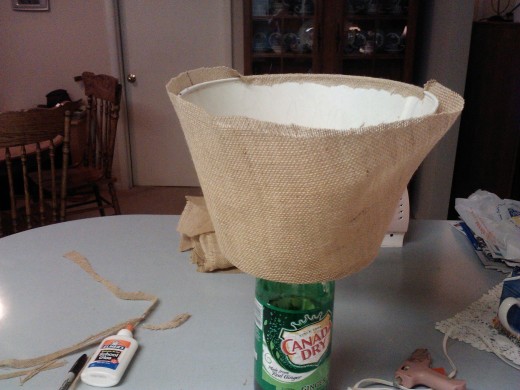
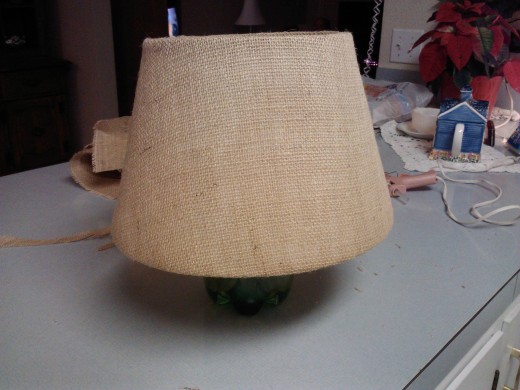
In order to work more easily with the shade, place it on top of a 2 liter pop bottle. The bottle holds it securely in place and allows you to use both hands to apply the fabric. Using a thin glue like Elmer's glue, or a spray on glue will help to hold the fabric in place while you secure it. Place a line of hot glue along the top edge and begin working your way around the entire shade working from the center around. When you arrive at the seam line, be sure to glue both the edges down completely, making sure to glue with the top edge folded over to seal it off. Last, but not least, flip the shade over and glue down the bottom edge.
Add the trim, being careful to keep it as straight as possible and tucking the ends under before trimming off the edges. Place shade on the socket, add bulb, flip the switch and enjoy!
Make It Your Own
Whatever you decide to do with your lamp shade be sure to make it your own. Take a moment and decide what will "speak" to you. What is your style? Ruffles may be adorable or vintage may look excellent, but if it isn't really your style, then it will not look right at all in your home. You will struggle through your creation and will not enjoy it when it is done. Step back and take a look around, plan how it will look in your room before you do anything, then move forward with your plan! It was fun and relatively easy to recover the shade. It turned out to be both more economical and less time consuming than purchasing one! Good luck and have fun and be proud of yourself for all your hard work!
Learn More About HubPages And Me
- prektjr.dc on HubPages
Hello!! I began hubbing to expand my horizons while helping others to expand theirs! I can't believe it has been a year already! Wow! I have...
Quick Poll
Would you toss the lamp or do the lamp shade recovery project?
Text and Photo Copyright Deborah M. Carey 2013 Updated 2015


