How to Organize a Project/She Shed
My Dream She-Shed
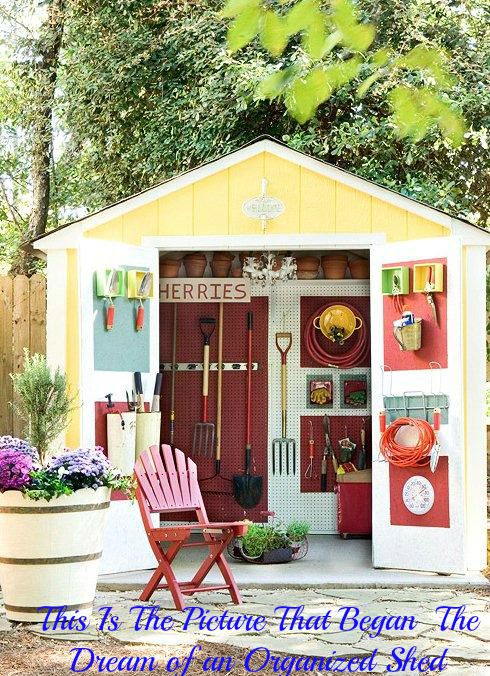
How This Project Began:
For over a year now I have salivated over the beautiful and organized She-Sheds. I have had a picture hanging in my office for over a year and a half wishing for the pretty and organized space. My shed is very small (quite a dilemma since I cannot enlarge it because I live in a townhouse), but I thought it could still be organized. Do know it is still a work in progress but isn’t everything a work in progress with me? That is the fate of a DIYer/Organizer. :)
Before you begin this journey with me, you must imagine what the space looked like before the project. The space was full of stuff piled up everywhere. There were no storage shelves, the walls were bare with the studs showing and the rafters were exposed in the ceiling. Oh yeah…and a bare lightbulb was the only light fixture and the floor was a dull concrete slab. It was just a mess.
To Do List:
Step One:
· pull everything out of the shed and placed it into the yard
· dispose of old flowerpots, broken tools, and all other junk
· add the pegboard and other board material
· paint the back wall
Step Two:
· find storage systems
. purchase a shelving unit
. purchase hooks to store items on
. pegboard and a banquet table as a planting station
· add floor panels to the ugly and colorless cement floor
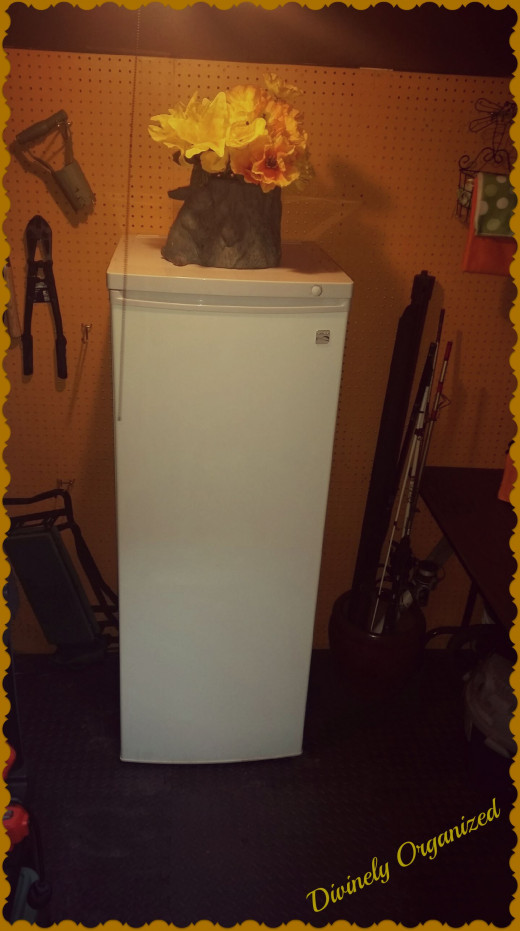
· move the freezer back into the space
Step Three:
· divvy up the small space – find a place for the following
. fishing equipment (hubs)
. gardening equipment and paraphernalia (me)
. tools – large and small (hubs & me)
. blower, trimmers, clippers etc. (hubs & me)
. ladder (hubs & me)
. miscellaneous stuff (hubs & me)
. storage for summer items (cushions, chairs, umbrella, etc.)
Complete the Project:
Once my to-do list was made it was time to take action. I hired a handyman to hang the pegboard and other board material. I am thinking that was something we could have done ourselves, but we did not have the tools nor the time, and I decided sometimes it’s just better to hire a professional. The price was reasonable and the job was complete in a day. Which made me very happy.
The problem was and is the size of the space and the items we need to store. I was hoping I would have space for upcycling and storing pieces of furniture, but I don’t think that’s going to happen. I just had to face the fact that I cannot stretch the space and get on with organizing the space. :)
We placed the freezer in the most convenient place and worked everything else in around it. The storage shelves we purchased are a big help for packing and storing seasonal items, but it is bulky. We also added a couple of shelves on the walls as well. The shelves removed a lot of things from the floor area which helps the space to appear less cluttered (Just like I like it). Using vertical space is always a positive storage maneuver. Once my to-do list was made it was time to take action. I hired a handyman to hang the pegboard and other board material. I am thinking that was something we could have done ourselves, but we did not have the tools nor the time, and I decided sometimes it’s just better to hire a professional. The price was reasonable and the job was complete in a day. Which made me very happy.
Organization:
We will purchase more plastic bins to house seasonal items and label each bin so that we know what is where for next year's summer season. Although I am enjoying my summer, I am looking forward to storing summer “stuff” and moving into cozy fall and winter.
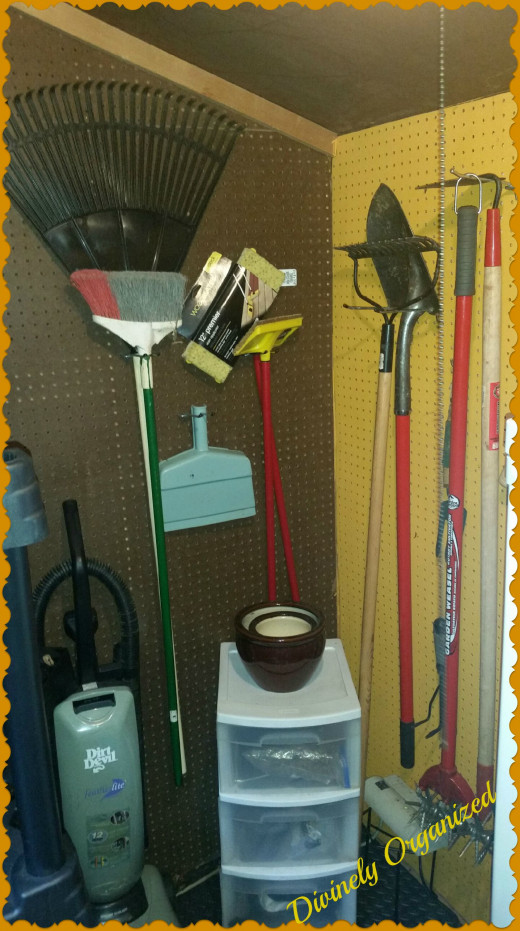
We purchased hooks to hang tools on the pegboard. I like this system because I can see everything at a glance. It’s easy and cost effective storage.
Wall Organization
Finalizing the Project:
Finally, we had a banquet table that we intended to dispose of, but it fit perfectly on one wall of the shed. The height of the table is perfect for potting flowers or working on projects so we decided to keep it. It also provides extra storage underneath. I am thinking of sewing an under the table curtain to hide the storage. Wish me luck with a sewing project because sewing is not my most favorite thing to do. :)
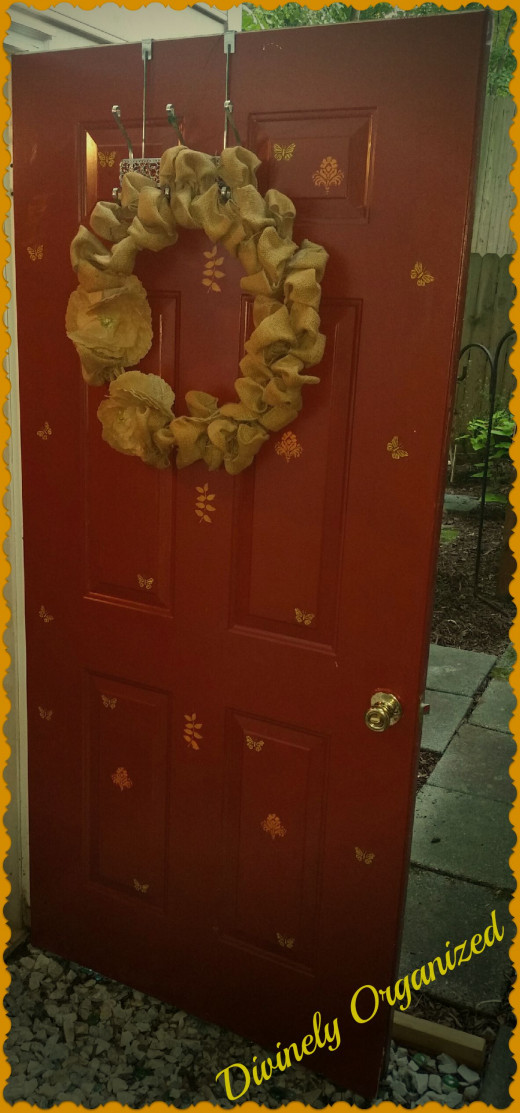
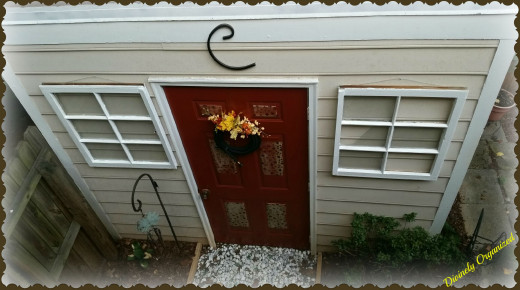
Once everything was in place, I added a few things to make the space attractive. I added an upside down wire flower pot as a shade for the exposed light bulb. The over the door hook with a wreath and the stenciling on the inside of the door were added for aesthetics only. On the outside, I hung another wreath made from a soaker hose and flowers (a DIY project). I also added the letter C, which is the first letter of our last name, and decoupaged the puppy paws paper onto the door panels.
The Outside:
The space in front of the door of the shed used to hold water and get muddy when it rained. To alleviate the issue we added white rocks and to add a little sparkle hubs added a few colorful rocks as well. The colored rocks were simply for sparkle. To stabilize the rocks and keep them from moving around, we added dry cement and wet it down to hold the rocks in place. As a final touch we found a couple of old windows and added one on either side of the door.
The space is not as large as I would like it to be, but it is finally organized and I can find anything I need. Also adding the table does add a workspace for me and although I don’t have space to store a lot of painted pieces, I do have a space to paint and to work on DIY projects…weather permitting.
I am never completely done with a project. I am always tweaking but for now this is what we have. Let me know what you think of the area or share your perfect she-shed with me. I would love new ideas from you to help me with my continuous tweaking.

