How to Screed your own Cement, Concrete or Base Sand and Gravel
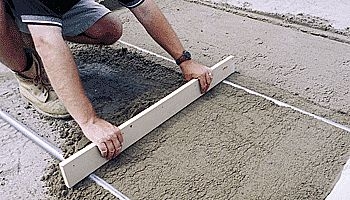
Instructions for screeding concrete and cement
Step by step Instructions: The basics of what screeding is and how it is performed. Also some tips and tricks to make your job allot easier.
Things you will need
- 2x4 slightly longer than the width of the area you wish to screed.
- Flat point shovels
- See my article on Concrete Forms before mixing any concrete or trying to Pour the Cement or screed anything. http://hubpages.com/hub/howtomakeformsforconcreteslabs
- If your Forms are not built right from the start, you are more than halfway to a Big Mess.
- The process of Screeding is an easy way to make your surface flat from one side to the other. Notice that I did NOT say level. You can make it level or you can make it sloped... That is your choice. But the screed will make it flat between the two guides. If you need water to run off to one side then simply lower the Form Boards a tad on that side.
- The most important parts of screeding are: The Form Boards which act as guides which the screed slides on top of, and the length of the screed. It needs to be a foot or so longer than the maximum width between the guides.
- Forms need to be put down tight to the ground and secured in place that they do not move around on you while you are working with it. Your guides (top of the forms) can be made out of a variety of materials... Metal pipes work very well but are not very flexible and are difficult to work with. They also need to be secured into the ground. But without interfering with the top that the screed slides on.
- Homeowners are best advised to use wooden 2x4's or 2x6's which work well and can be side screwed to the stakes so as not to interfere with the screed. See my article on making Concrete forms at http://hubpages.com/hub/howtomakeformsforconcreteslabs
- For a curving walkway you can even use slices of "Masonite" that you have cut on your own table saw. (Just remember to attach it to the stakes with flat head (drywall type) screws going from the inside of the form to the stake on the outside.) And Use a ton of stakes to keep it in place.
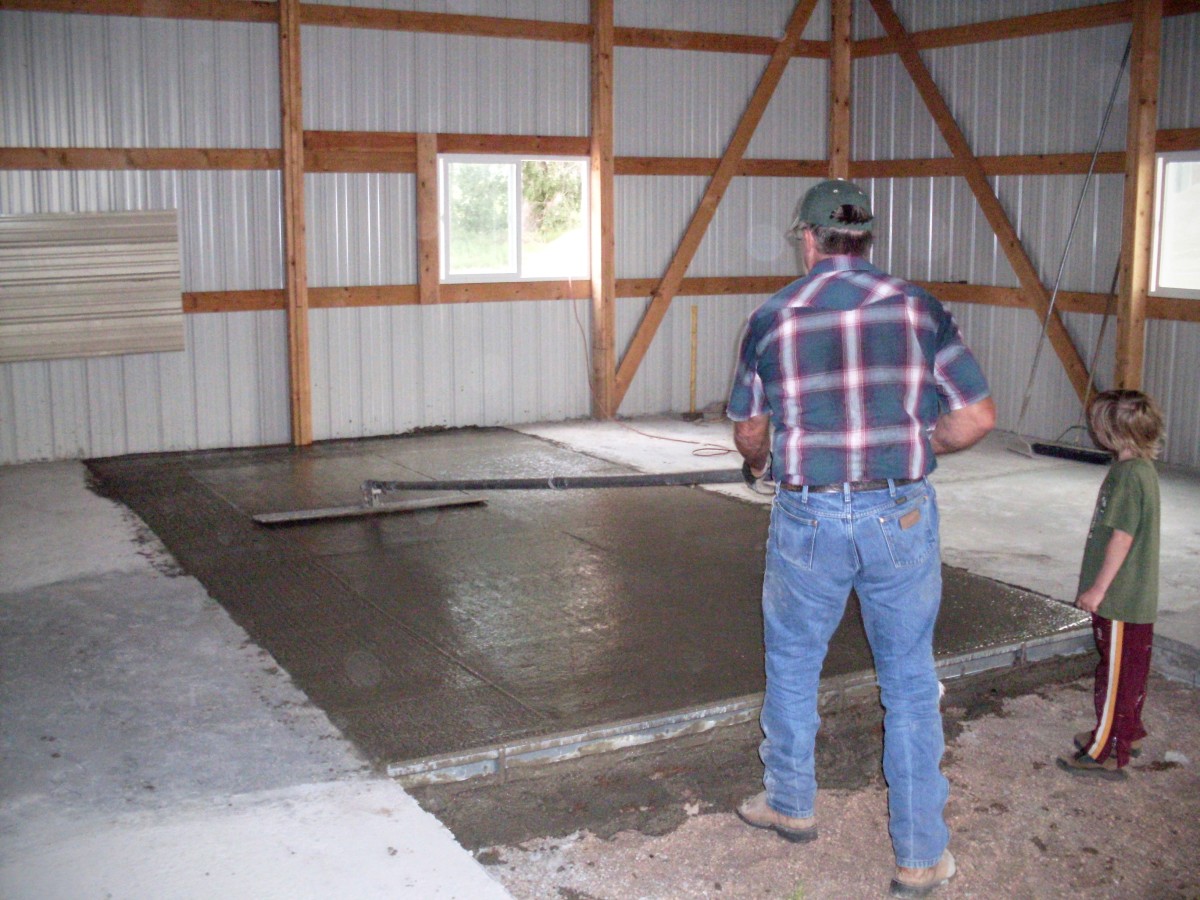
- Your screed should be something very rigid but light enough to work with. It will be laid across the top of the guides and "shaken" back and forth from side to side. This is why it is important to make sure your screed is wider than the width of your guides at the widest point of the project. Personally my favorite Screed is a special made aluminum tube about 3 meters long. Its lightweight, lazer straight and has a flat edge on the bottom that is perfectly adapted to its task.. I am thinking to buy another one and make my own power screed. Check back later for another "How to" : "How to build your own Power Screed."
- Whether you are screeding cement or sand... Overfill the area starting at the uphill end and pull the excess material into the low spots... shaking the screed from side to side as you go. If you need more material, stop and add it before continuing.
- When you have screeded the surface it should be fairly flat and with no holes or major bumps in it. IT will probably look a little wavy on top but don't worry about that just yet.
- Getting rid of the wavy affect will be done in the next step/Article: Floating the concrete.
- (That article (How to float concrete) Will be under construction in a couple of weeks and its URL will be added shortly. You can add me to watch list and are welcome to come back and see the new updates.)

