How do you Build Forms for a Concrete Slab? You can make it.
How to make Forms for Concrete Slabs is...
Step by step instructions Written for the do it yourselfer who wants to pour their own concrete slab... Maybe you want to pour a slab for a Patio,Jecuzzi or shed? This article will tell you how to make the forms needed.
For information on Screeding and Concrete work, see my other articles:
See also this excellent article from the Quickcrete Company on how to use premade paving forms and adding colors to the concrete for a look that never wears or washes away...
- http://www.quikrete.com/athome/walkmaker.asp
- QUIKRETE® - Building Paths with the WalkMaker®
The QUIKRETE® Companies are the largest manufacturers of packaged concrete in the United States and an innovative leader in the commercial building and home improvement industries.
Understanding the work...
1. Understand the concept of a form and you will be in a better position to make what you need.
The form not only acts as a box to hold the concrete while it is setting up, But it also serves as a Level for the top of the concrete and a guide for when you screed the top.
2. Part of the forming process is the dirt work that is done before you make the actual Box of the Form. You will want a level area to work with. You will also want this area deep enough that the top of your concrete will be at the level you prefer. This is especially important if you are pouring a slab next to an existing structure.
Use you tape measure and determine how much digging you need to do.
Drive a few stakes in and run some string lines across the area tight and level.
You can buy string line levels at the local Home Improvement Center.
As you dig and level the area, measure from the strings down to the ground until you have the desired depth evenly across the entire slab.
If you need the slab to have a slope or grade to it, so that water runs off properly then position your string lines with this drop in mind and set your forms up to make this slope.
3. Lumber
For a 4" slab, you can use 2x4's as your forms... If you want a 6" thick slab.. you can use 2x6's etc.
Lay the Form lumber in place where you want the form to be. Measure the distances from any existing structure to insure that your position is correct. Cut your Form boards to the proper length and overlap the ends. Use Wood screws (Star drive deck screws are preferred) to attach the Form Boards one to another and make the Box. Be sure that your top edge is even and without any nails or things that would obstruct the Screeding process. You will drive stakes next to the box to hold it where you want it. Be sure to drive the stakes deep enough to hold the form securely in place. The stakes will also prevent the sides of the box from bowing out with the pressure of the concrete. Be liberal with your stakes. Better to have too many than not enough. There is nothing quite like the feeling of watching your form fall apart when you need it to hold together.... Lost time, effort and concrete means lots of clean up and financial loss. Make sure the form is strongly built and well staked.
4. You will probably notice about this point that your lumber is not exactly the right width... ( a 2x4 is actually only 3 ½ inches wide) This is ok don't sweat the small stuff.
You are only worried about the position of the Top of the Form... not the bottom. (See Step 5 :you can always fill a hole at the base of the form with packed dirt.)
When you have your boards in place and have formed the box, Position some stakes next to the boards (on the Outside) and drive them in deep.
Use long stakes, drive them deep just leave enough sticking up out of the ground to attach your form Boards to.
Now measure and make sure that the top of the form is at your height required... If not... raise it up or lower it down until it is the right height. then Screw it into place.
Star Drive deck screws make this a much easier task.. you can back them up, move the lumber and make corrections easily this way... Much easier than with Nails.
If there is a little gap at the bottom of the form... No problem its normal at this point.
Now attach the form boards to the stakes with wood screws. (Again: I prefer star drive deck screws for this as you can remove and reuse them more easily)
Use your level frequently and get the top level correct. If it needs to be sloped.. do that with the forms at this time. make all corrections at this stage of the game... once you start mixing and pouring concrete its too late for last minute changes.
After you have the form in place where you want it and Have well secured it to the stakes...
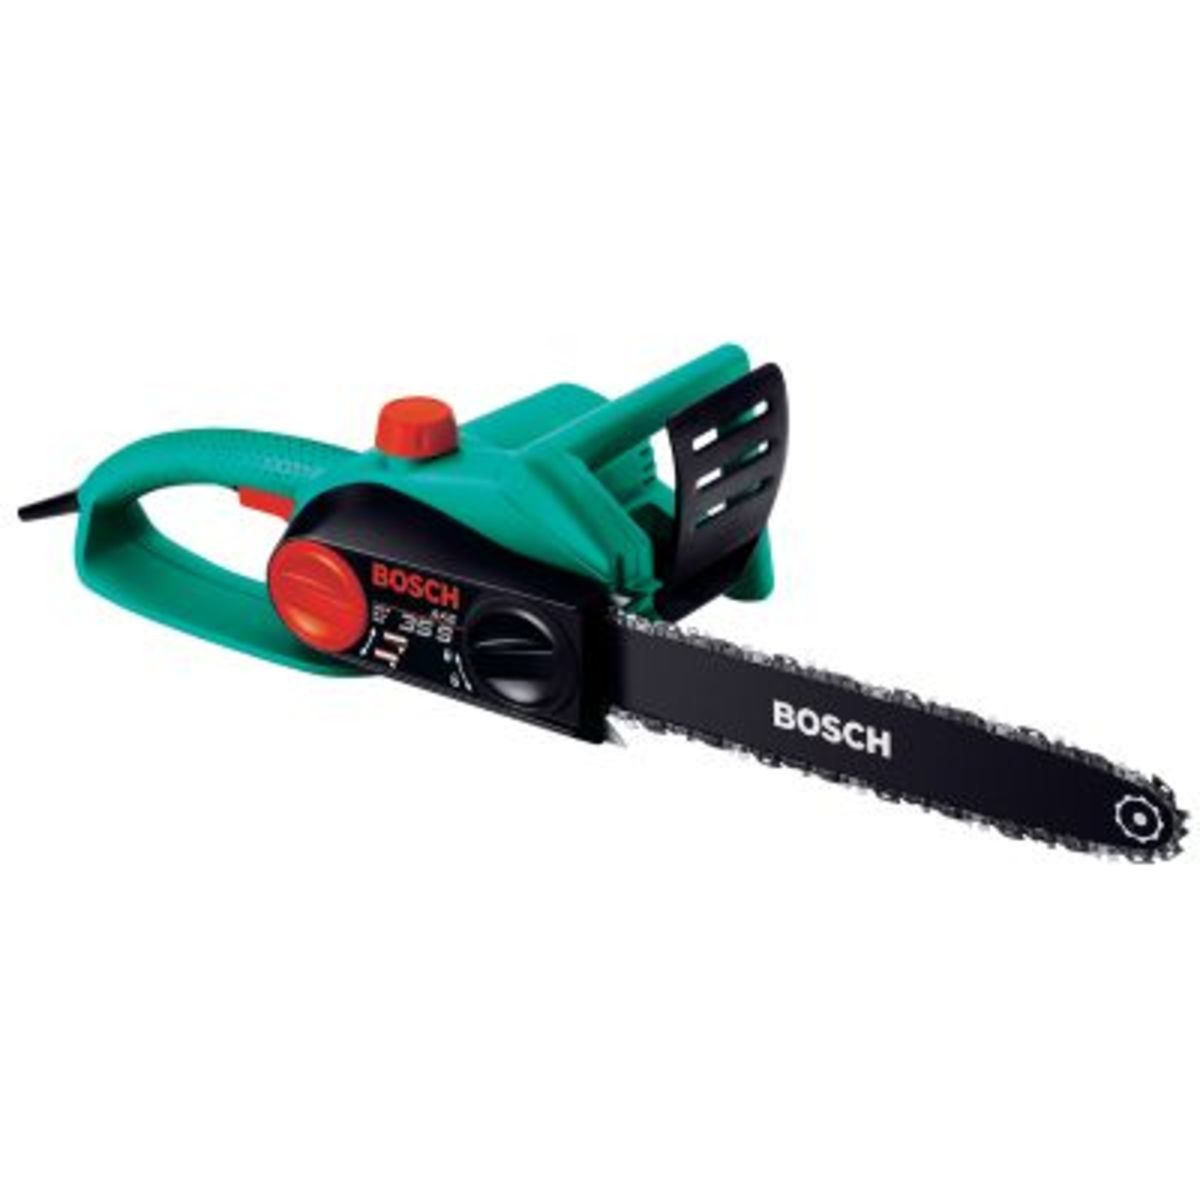
You can go around the form with a saws-all or circle saw and cut off the tops of the stakes flush with the top of the form. (use a Cordless)
Again: There should be nothing that protrudes above the top edge of the form. If there are any nails, screws or stake tops, or any other thing in the way...Get Rid of them.
5. Remember those little Gaps at the bottom? Underneath the form? Now you can go around the edge of the form and add some dirt to any gaps you see under the bottom of the form.
Do this by digging from the inside of the form edge and adding it to the OUTSIDE of the form.... Remember that the edges of the slab needs to be thicker and not thinner than the desired slab depth. It is better for you to dig a sort of "Footing" around the edge on the inside than to have places were the concrete is not as thick as it should be...
6. If the area to be poured is larger than 8 or 10 feet wide you may also want to divide it and pour it in drifts. This will help when you are trying to screed the concrete and also when you float it. To do this just stake down another form board through the middle and do the pouring in a couple of sections... when one section is dry enough you can remove the partition board and then screed from the cement to the other side of the form.
7. Before pouring the concrete you may want to coat the inside face of the forms with diesel fuel or Kerosene so that you can more easily remove the forms when you are ready after the job is finished.
If you want a Rough texture for walkways etc: Wait until the top of the concrete is starting to get thick and then take a broom and lightly rake the broom ever the top evenly and carefully.
Test the cement in a non-visible area first: If your brooming looks too rough wait awhile longer before brooming the area... it is a little better to have the appearance smooth and "Lightly Broomed" than get hasty and have it too Rough.
Things you will need:
Wood for forms
Cordless drill
Screws (I prefer Star Drive deck screws... they are much stronger and easier to use)
Stakes of wood (2x4's for extra strength and you can split some of them to make 2x2's for reinforcing trouble spots.)


