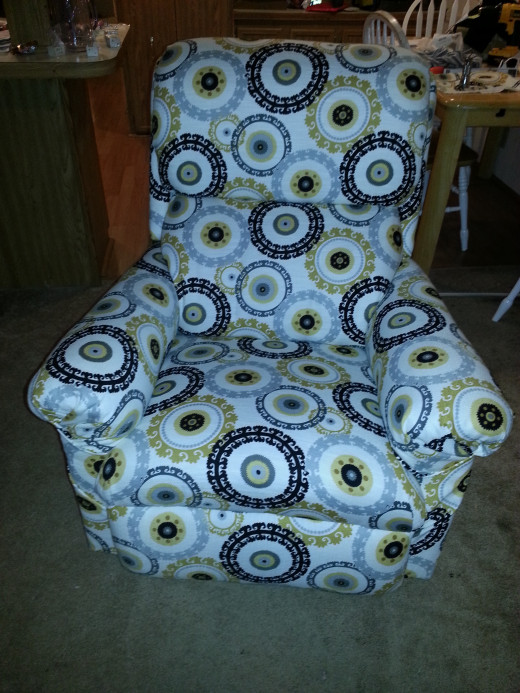
How to reupholster an old recliner.

Finished reupholstered recliner.

What you will need
1. An ugly recliner
2. Basic sewing / crafting knowledge
3. 6 -10 yards upholstery fabric
4. Staple gun and staples
5. Upholstery needles
6. Upholstery thread
7. Scissors
8. Optional: Buttons, tassels or other decorations you would like to add.
Upholstery needles

Some background
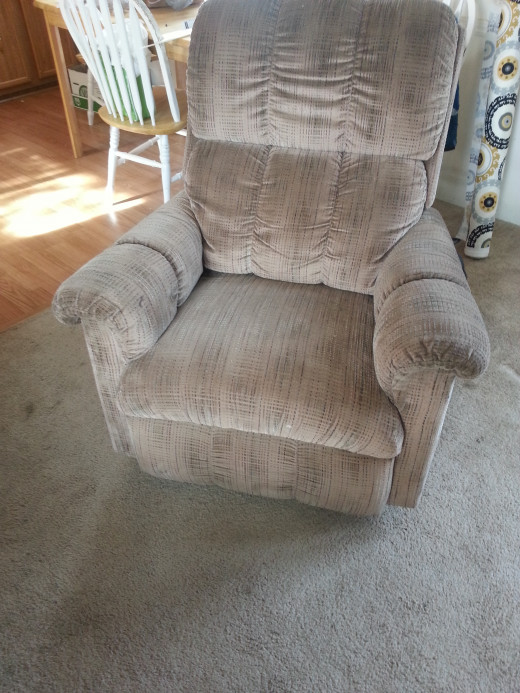
When my mother moved into her house sitting in the middle of the living room was this light brown lightly paint splattered recliner that smelled faintly of cigarette smoke and strongly of interior paint. I was in love. The owner had used it to take breaks in while fixing the house up. Mother said I could have it. Here was an item I had been looking to purchase and it had just been offered to me for free. Much to the dismay of my husband, I quickly loaded it up into my pickup.
Once home I gave this lovely new addition to my living room a good scrub down with soap and water. When it was dry I gave it a nice heavy heaping of upholstery refresher. It was perfect! We used this chair for at least 3 years this way. I can even recall a few times I was guilt-ed out of it by my husband. “You never let me sit in the best chair in the house” he would plea.
I’m not sure when it happened, but one day I realized that I had been blinded by love. My beloved old recliner was really a hideous eye sore! What was I going to do? How did this happen? Please don’t tell my ugly old chair, but I did visit a few furniture stores. I nearly had a heart attack when I saw the prices of these new chairs. Some of them just as ugly as mine, but lacking the history me and my chair had together.
It seemed I had three options: 1. New expensive comfortable ugly chair. 2. New pretty expensive uncomfortable chair. 3. Free comfortable ugly chair. The choice was easy. After all what’s the best part of a recliner? That’s right. The comfort level. I easily decided to keep my very comfy ugly chair with the unbeatable price of free, plus it was conveniently located in my living room.
Feeling discouraged by the lack of pretty and comfy chairs and guilty for trying to replace my faithful chair I returned home. While staring at my chair from the kitchen, it hit me. Why not reupholster my chair?
I waited for one of the usual weekly 50-60% off coupon (upholstery fabric can be very expensive) from my local craft store to be sent to my phone and then set off for supplies.
Measuring your chair and choosing the fabric
I figured based on the surface of my chair it would be safe to buy 7 yards of fabric. I only ended up using 6.
Measure the surface of your chair. Run a tape measure for the bottom front of your chair, to the bottom back. Be sure to keep the tape measure close to the form of the chair. Each side of your chair will be around a yard (that’s 3 feet). Calculate how much you need by dividing how many feet your chair measured up to be by three. Be sure to add a yard or two to that, just to be sure you have enough. Plus if you have enough extra left over you can make matching throw pillows.
Be sure to select your fabric from upholstery fabrics, or choose something very sturdy.
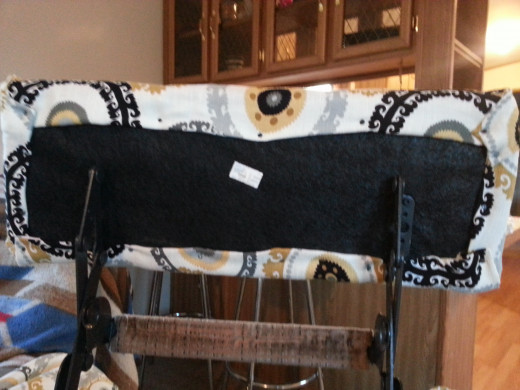
Back rest removed
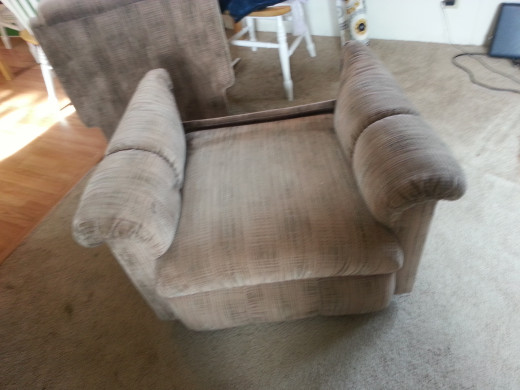
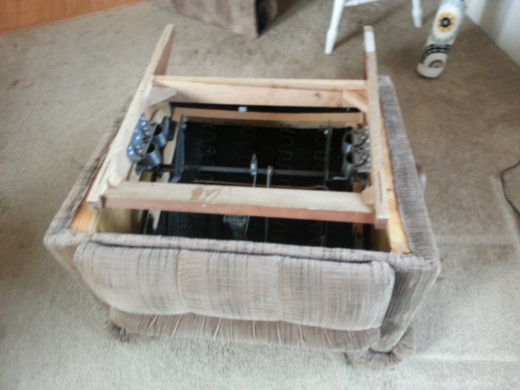
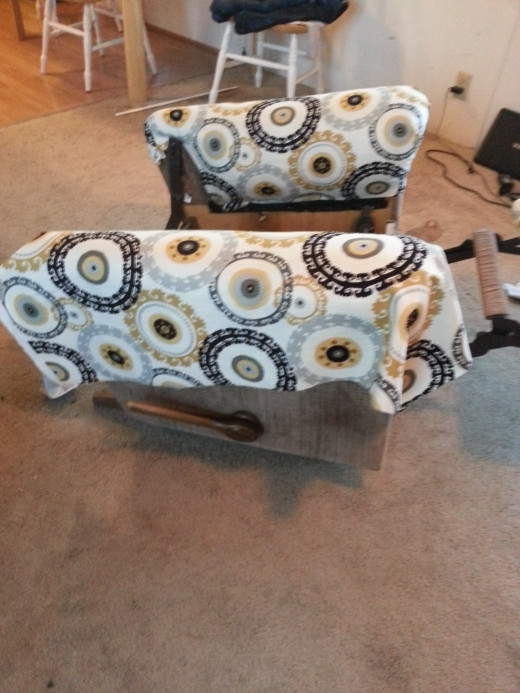
Getting started
Take your chair apart as much as you can. Roll out your fabric and lay one of your chair pieces on the fabric. Roughly wrap your fabric around your piece where you will need it covered. You’re just trying to get a rough idea of where to cut. You can mark your with chalk or just fabric eye ball it.
You can cut each piece as you go or make all your cuts at once. I made my cuts one at a time. This allowed me to use some extra fabric from that cut for other pieces of my chair.
Rolling out all your fabric and lying your pieces on it will also give you a good idea if you have enough.
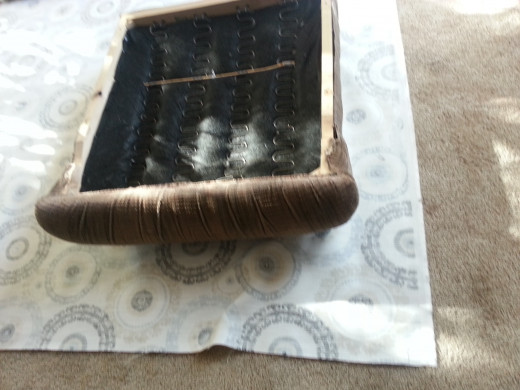
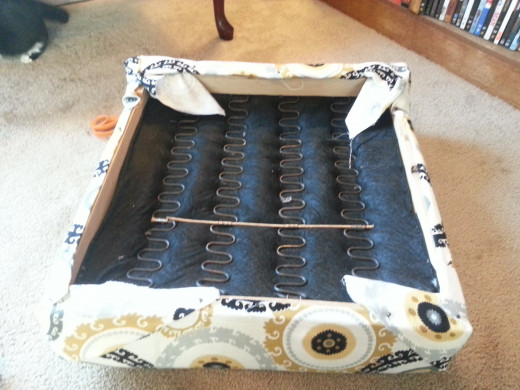
Covering your chair
Position your fabric piece on your chair piece. Once you have it aligned nicely add a staple into an area that will not be visible or will not be easily visible. Make sure to staple into the wood frame of the chair, or they will come right out.
Place your staples far apart at first. You don’t want to have staples everywhere if you decide you don’t like how the fabric is aligned. Once you are happy you may staple away until your heart’s content.
Work from piece to piece until all your chair pieces are covered.


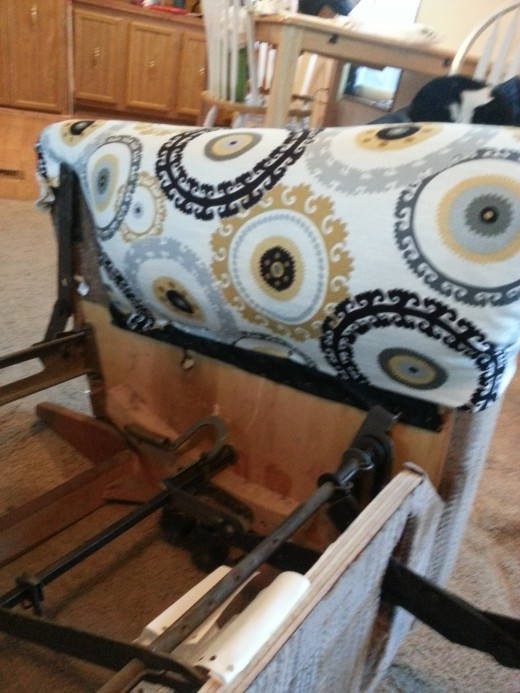
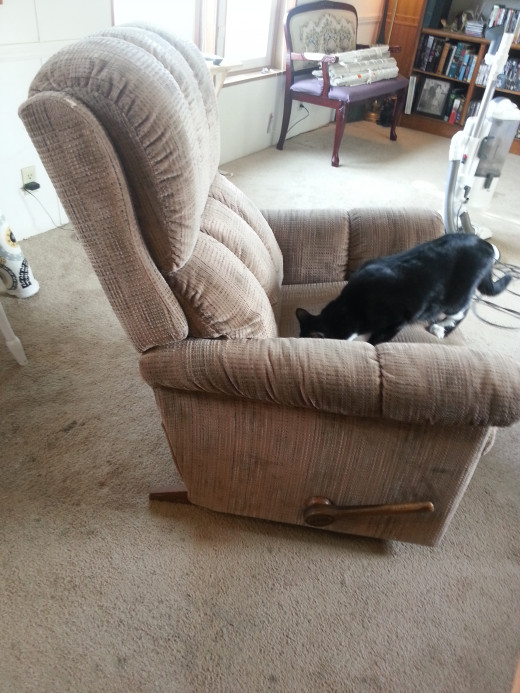
The foot and back rest
Depending on the construction of your chair, for the foot rest and the area around your foot rest you may have to use some glue. My foot rest was mostly metal, I used some glue and even some stitching with upholstery thread.
The trickiest bit was the back rest. You will note from the picture that my chair had two big cushion pieces and was tucked in in the middle. Mine had unnoticeable buttons on it. To cover these tuck your fabric up in the fold as tight and smooth as possible. Once your fabric is in place carefully stick your curved upholstery needle in the fold and sew it along the middle of the crevice until secured. One to two rounds should be sufficient. Keep in mind your stitch length can be fairly long.
Now you should be ready to clean up and put your chair back together.
You will note that in my pictures I used upholstery tacks. The only reason I used the tacks is that they were very cheap, and after buying my other supplies I couldn’t afford a staple gun. The following week I borrowed one and went to town reinforcing.
Once reassembled sit back and enjoy! Kick those feet up and be proud of yourself.
I would love to see your before and after!