- HubPages»
- Home and Garden»
- Home Decorating»
- Interior Design & Decor
Save Money: Reupholster Your Furniture Yourself

One of the key words here would be reupholster furniture INEXPENSIVELY therefore save money....
If you have antique furniture pieces that are worth mega bucks, give them the attention they deserve and let a professional do the honors. Yes, it can be costly but well worth it.
However if you're like me, and you need to squeeze out another year or three out of your living room set, (just till the lottery..) you do have the option of doing the recovering yourself, which will save quite a bit of money. I'm not suggesting you rip the couch apart right away, but a good place to start might be a footstool.
Tools you will need:
- Scissors (sharp, you want to cut not massacre the fabric)
- Staple gun (Heavy duty manual is okay but an electric one is easier on your hand)
- Staples 3/8" or 1/2" (with pointy tips, they go into the wood easier)
- Flathead screwdriver (preferably with long handle)
- Hammer (for an occasional staple that sticks out and for deco nails) =>
- Decorative nails (optional)(from your upholstery fabric shop or hardware store) get a few extra, these bend very easily
- Decorative trim or gimp (optional)
- 2" thick quilt batting (really only needed if the stool is a little saggy, but at the same time batting will smooth out little bumps, lumps and corners)
Fabric requirement:
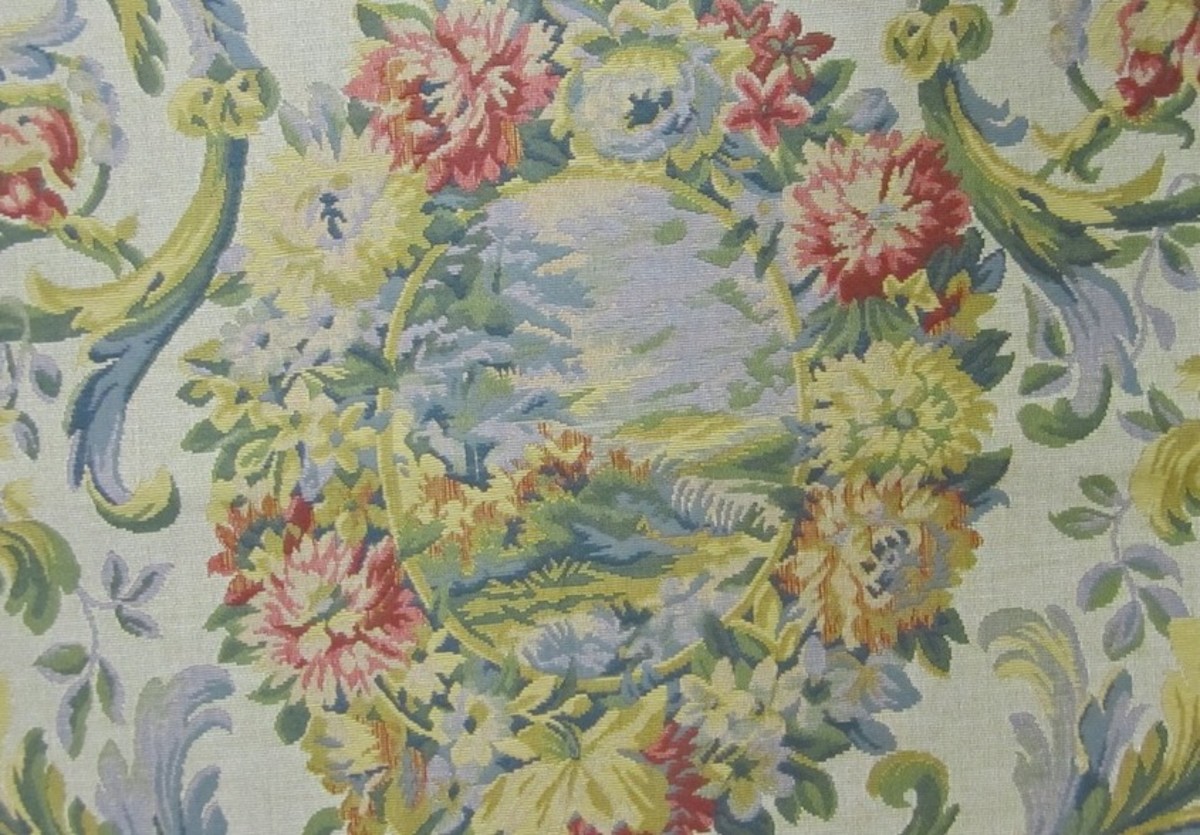
Obviously upholstery grade fabric is the best. Which usually has a strengthening compound on its wrong side for more durability. However if you found a piece of material at last weeks garage sale that has a solid weave, is non-stretchy and the right color scheme, go for it, use it. Most solid fabrics will give you a few years of service.(When redoing larger pieces, buy the most expensive fabric you can afford; it's a big job but it will give you a sense of accomplishment too)
Congrats! You've got the footstool, the tools and the fabric in front of you. Now what do you do?
Only ten steps to a new footstool.
1)Unscrew the legs. (If legs show usage dents and scuff marks give them a bit of a face-lift by sanding and re-varnishing. Remember you will need the smallest amount of varnish as it goes a long way also look for the one that has a darker color pigment added. That should cover most of the scrape marks.)
2)Remove the covering on the underside of the stool. (Usually it's a light weight cardboard that's stapled on. If an older model stool it's a piece of burlap or canvas like fabric.) Try to remove it carefully so it can be reused. If it's beyond hope, not a big deal just use an old pillowcase instead.
3)If your footstool has deco nails, remove them now.
4)Take off the old cover, otherwise it could get too bulky.
5)Use your old cover as a pattern to cut out your new fabric. I like to leave a bit extra all around to make it easier to handle. (the excess can be trimmed off at the end.)
6)If you need to use batting, cut it 1" smaller then the pattern and center it on the wrong side of your fabric.
7)Center stool on top. (Using the four points north, south, east, and west) gently pull fabric over the edge, place two staples in the center of the side farthest away from you (north), next the side closest to you(south), making sure you have a bit of tension. Now do the same for east and west, careful not to distort the grain of the material. Keep adding staples all around till you get to the corners. Occasionally checking to make sure there are no wrinkles in the fabric. Fold the corners like when wrapping a present and staple. Depending on the shape of your stool, if you need tucks, fold them equally on each side, symmetrically then staple.
8)Add deco trim and nails. (upholstery deco nails are made of really soft metal that bend very easily, so the trick is to hit the nails head-on straight) Some of the old pieces of furniture were made of good solid hard wood. Hard wood being very hard (Ha-ha obviously hence called hard wood) If the deco nails refuse to be pounded in find a very fine drill bit and "pre-drill". The drill bit should be a smidge thinner then the actual deco nail.
9)Re-staple the undercover, re-screw legs and TAD-AH done. Nothing to it, right?
10)Bragging time...Show it off as if it was your first born.
It's not as hard as it sounds. When recovering a couch or chair the steps are pretty well the same as for the footstool except when it comes to creating the pattern pieces. Use an old sheet, fold, pin, tuck and mark the pieces as accurately as possible. Don't forget to leave seam or folding allowances when cutting your fabric. When buying fabric for a couch or chair, most upholstery fabric stores have charts that show the basic amounts needed. Remember to allow extra for design matching etc. I always buy a couple of yards extra.(it won't go to waste because you can always make arm protective covers and throw cushions.
You might feel you need a bit more how-to-info, there are some really good books on basic reupholstering available, which show step-by-step how-to pictures. Your local library probably has a few. My Mom's old (1973) copy of 'Simply Upholstery' published by Sunset books is quite good and covers all the basics. It seems they bring out new editions periodically.
Thirty or so years ago my in-laws gave us the most hideous couch set ever. It was a saggy monster in a brown and tan floral, yuk. First time my mother-in-law saw it recovered she didn't believe me that it was the old set from the cottage. I sure was proud of my first reupholstering job. That couch set was with us for quite a few years. It was the first of many, hmmm I actually have never owned a new set, I'm waiting for the lottery...
You can do it. Good luck to you.
Book titles to check out :
- 'Complete Step-by-Step Upholstery' by David Sowle & Ruth Dye
- 'Reupholstering at Home' by Peter Nesovich
- 'Sewing Edges and Corners' by Linda Lee (I really like it, I got this one for my daughter and it's quite easy to follow)
- How To Make An Eco-Friendly Shopping Bag
You will need one meter or yard of medium weight of cotton denim (not stretch-denim) Poplin, Twill, a polished cotton or a light weight upholstery fabric. Using a 45 - Tips For How To Shorten Jeans!
The problem most have with getting jeans shortened is that they don't look the same anymore once the original hem has been cut. Here I'll give you the basic and easy way. The problem most have with getting... - Tips For How To Shorten Jeans!
The problem most have with getting jeans shortened is that they don't look the same anymore once the original hem has been cut. Here I'll give you the basic and easy way. The problem most have with getting... - 10 Easy Steps To Custom Fit The Waist Of Pants!
Most garment manufacturing companies seem to think that waist sizes of pants jump 2 inches at a time. So if you’re an in-between size you either have to wear your pants too loose (and you wouldn’t think... - 1 Year hub-versary!
October 22nd 2007 a day in history... my history that is, a year ago I found my new home away from home. HUBPAGES. To give you the long tour (the short one is just too boring ...I've always wanted to be a...


