Transition From Container Garden To Plots In 5 Easy Moves
I am so very excited about my gardening efforts for 2014. This year I am making the transition from container gardening to plots in about 5 easy moves. The past few years have bound my garden to a small patio. This year, I have room to run.
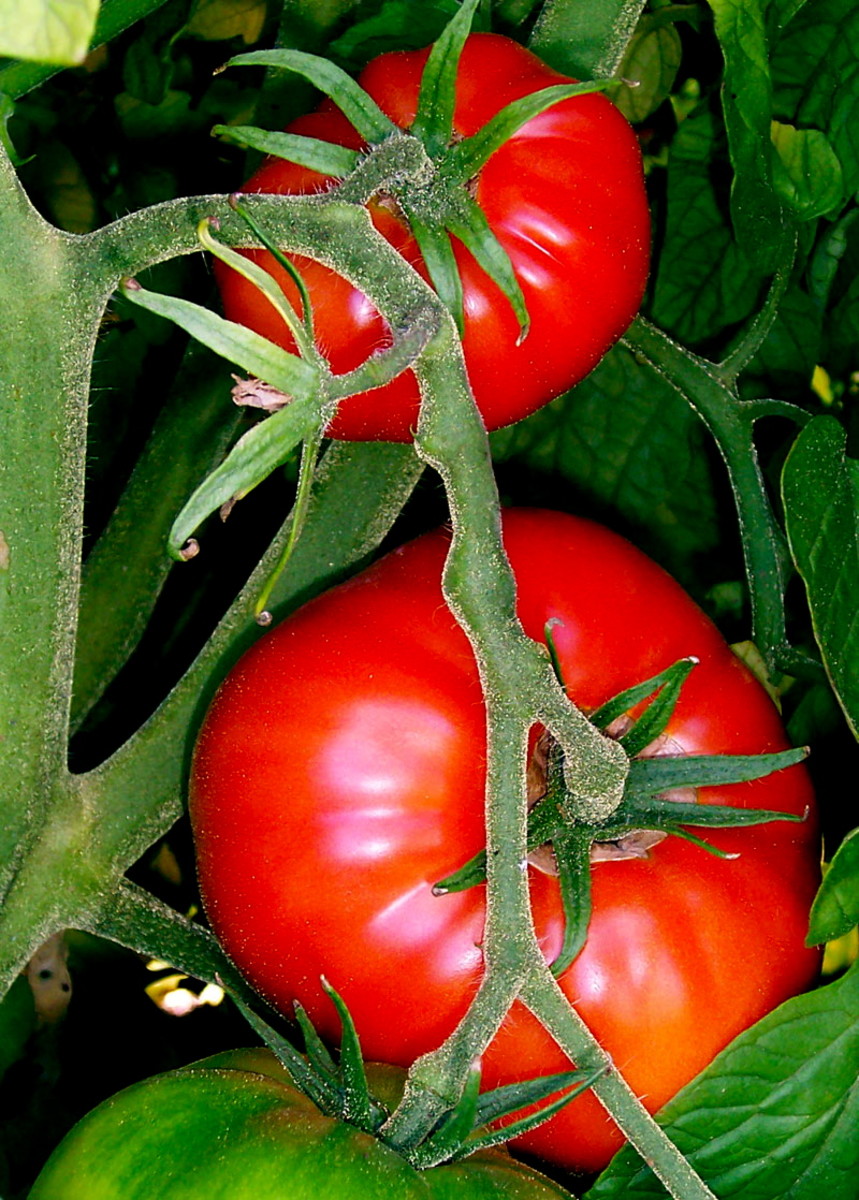
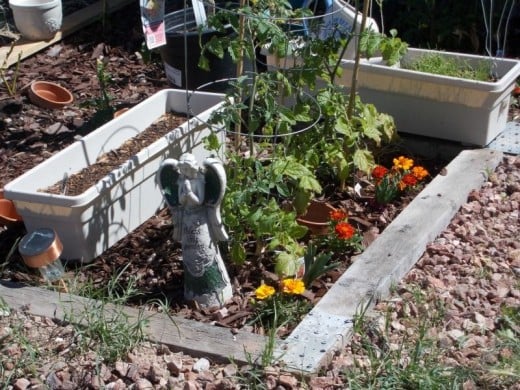
Starting a garden plot with a few feet of plantings helps take the strain off of your back and your budget. Start small. I have limited time with which to work, so I chose to install one row at a time over the course of a month. The tomatoes went in first. The area you see with wood pieces is about what I want to dedicate to the veggie garden. This yard of mine has been a neglected weed and sand pile for years. Slowly, row by row, and planter by planter, it will become the garden paradise I want it to be. There will be issues for my summer, as this is a desert and it gets frightfully hot. Taking the time now to dictate the garden boundaries will allow me to resoil and replenish season after season.
Time required: About 45 minutes
Difficulty: easy
Cost: Under $50
Materials:
- Three Tomato Plants
- Several Lengths of Wood (2x4's)
- 2 bags of garden soil
- 1 bag of mulch
Tools:
- Shovel
- Rake
- Hand Trowel
- 3 Tomato Cages
Instructions:
1. The first thing I needed to do was place a border on the area I wanted to use for gardening. I started with an area about 3 feet long by 6 foot. This is large enough to hold three tomato plants.
2. From there I dug out the gravel that was dirt bound and removed soil until I struck rock free sandy dirt. I estimate about 6" of topsoil and junk was removed from the area. This will be replaced by added garden soil and mulch.
3. I then added a bag of garden soil (Miracle Grow, of course) and dug the holes I needed to put my tomato plants in. I made sure that the new enriched soil covered at least 2/3 of the hole I dug. The tomato plants are set in the area designated for them and then covered again, level with the soil from their pot.
4. Set a tomato cage around the plant and then mulch around it. Give it at least two inches of wood chips for retaining moisture. I do this where I live because on warm days the soil will dry out quickly.
5. Water thoroughly and check back everyday to make sure the soil is moist or at least not dried out. Learning to balance watering is the key to a green thumb gardener.
Although I am still a firm believer in container gardening, I love the opportunity to let my precious plant babies run free and live their lives to the fullest.
After I planted the tomatoes, my container grown peppers went into the next few rows. In time I will fill all of this space in, but for now, the peppers are budding, the tomatoes are setting, and I am once again enjoying the gems and rewards of spring.
If you have the desire to garden, but are unsure how to start, go get a tomato plant, a pepper, and plant them in a small area, like the one I described. Water every couple of days or as needed. I promise, once you get the feel of gardening in your hands and life, you will want more plants, a bigger space, and more exotic veggies. It only takes one plant to get you going.
What would you like to grow if you have the space and time?


