Make Money Online Writing Articles: Get Paid to Write!
About Writing Articles for Money
Article writing is one of the most common internet money-making ideas, and if you love to write, this may be just the idea for you! Although article writing will not produce fast income, the residuals paid from articles can add up, and the best part is, long after you quit writing articles, you will still make money on those same articles with Google and other means! Here is a one-year plan to help you get started. As you learn, you will find plenty of additional money-making ideas to help boost your income and earn money from online writing. My own goal is to work my way up to fifty dollars a day from various sources. After two years of work, I have seen my income increase to two dollars a day for the rest of my life, even if I never work again.
Remember, for online writing you will need a reasonable grasp of grammar and spelling. Without that, your articles will never earn any money! In addition, poorly-written articles may get your account banned at a writing site, and may even get you banned by Google. If you need to hire someone to proofread your articles, you should do it. And don't randomly add words as "OK" to your spell-checker, either. Realize that your spell checker doesn't know whether you mean "its" or "it's," "their," 'they're" or "there," or "lose" or "loose." If you consistently need help understanding these common word choice errors, then invest in a good grammar book!
If you are planning to write a lot of articles (more than a few hundred) to make money, there are several software choices that may interest you. One is a mind map, which is a visual way to link related topics. Although I find that for myself, mind maps do not work that well, because my way of thinking is too interconnected for the software to be able to reproduce the connections accurately enough, for many people mind maps are a great help, and there is plenty of free software to search for. Just find the mind map software that suits you.
Another software package you may want to invest in is a writing suite. Obviously you can use free software like that available from Open Office, but I find that with so many hundreds of articles, office software is not really suitable; so I have found that Liquid Story Binder XE is my tool of choice, and I have used and reviewed Liquid Story Binder XE extensively, not only for my internet writing, but for a series of four books I am currently working on.
Warning!
Never, ever click on your own ads. Never, ever, ask someone to click on your ads. This is a violation of Google's Terms of Service. You risk having your account banned for life, and it's just not worth it for the sake of a few pennies.

Make Money Online with Article Writing -- Week One
- Day One -- First, you will need to get an Adsense publisher ID in order to maximize the ways to make money online. To do that is free: simply start a blog over at Blogger. After you have contributed about ten posts (one per day), you will get into the habit of writing. The posts don't have to be great literature; simply decide on something you want to write about, and start writing!
- Day Two -- Get a notebook that will be dedicated to writing articles online. Don't use it for anything else. The next time you see a question posted that you have an answer to, don't answer it; instead, write it down as an article idea for later. Start brainstorming your favourite topics and writing down ideas. If you do this for ten minutes each day (or even once a week) you will never run out of ideas for articles!
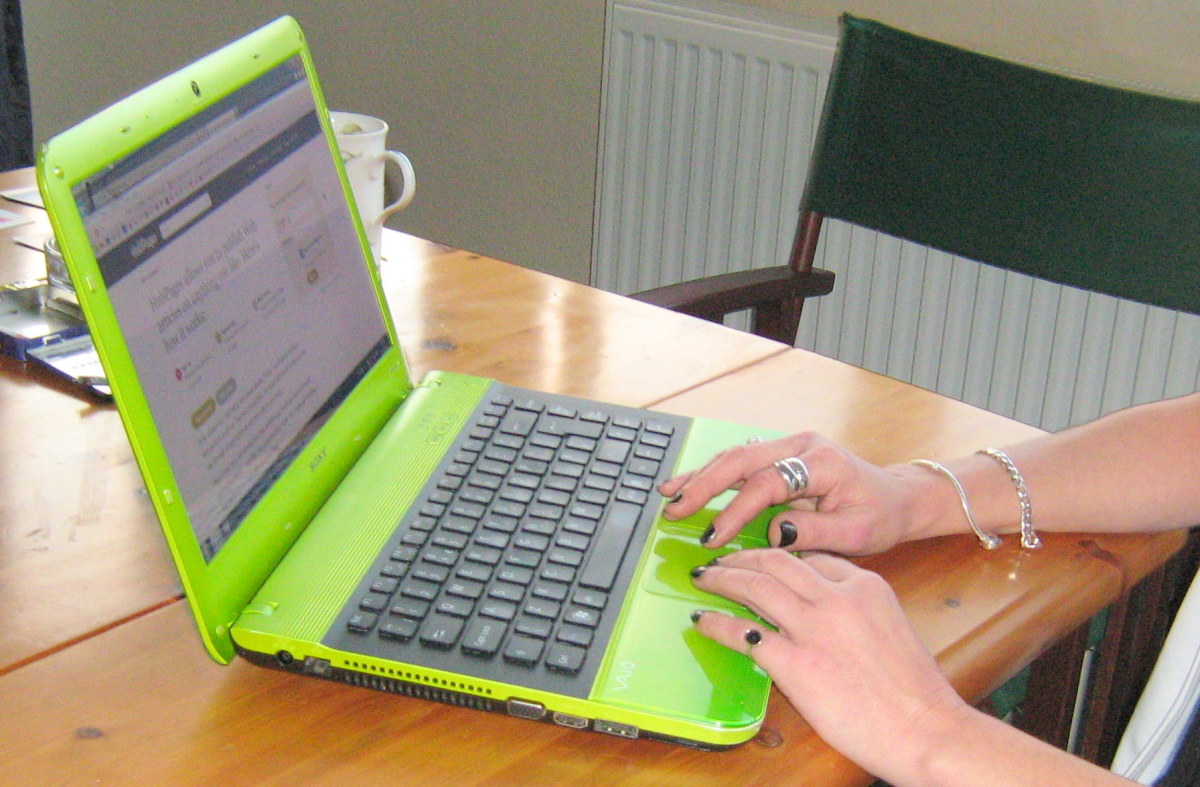
- Day Three -- Get your workspace organized. You will spend a lot of time at your computer, so make sure that you have a pleasant, attractive space with plenty of room for a drink and whatever else you may need. A bulletin board or white board may come in handy.
- Day Four -- Don't forget to keep writing!
- Day Five -- Set up a spreadsheet. You will use this to keep track of your articles and interlinks.
- Day Six -- Set up an accounting package to keep track of your payments. Good financial records are a must, because the first day you get paid, you are a business owner. Congratulations! Don't forget about your taxes!
- Day Seven -- Review your blog posts so far. Are they starting to fall into categories? Review your article ideas and categorize them.
Week Two
- Day One -- Keep writing more blog posts. If you get on a roll and are able to write more than one a day, learn how to schedule them so that they get spaced out, and you don't end up publishing twenty in one day, and nothing else for months.
- Day Two -- Learn how to use the Google Keywords tool. In the box on the right, where it says "Website," enter in the address of one of your blog posts. Either it will come up with some good keywords, or it won't find any. If it doesn't find any, that may mean that either your blog posts are too short, or it may mean that you do not have enough keyword density. If your blog posts are less than 100 words, it may be time to go back and lengthen them. If your posts are more than 100 words, in the left-side box, type in a word or two of what your post is about. That word or phrase should be repeated twice for each 100 words you write, so go back and fix those blog posts so that they reflect the new keyword density.
- Day Three -- Refine your keywords. Go to the Google Keyword Tool again, and where it says "Columns" click there. Check the box that says "Estimated Average CPC." Type in the address of one of your blog posts, then click the column header that says "Estimated Average CPC." This will give you the highest-paying keywords first. Rewrite your blog posts to include these high-paying keywords if they are applicable to your content.
- Day Four -- Continue writing!
- Day Five -- Continue to write and keyword research a blog post each day. Enter your blog posts into a spreadsheet. You will be adding a lot of columns to it later, but make sure you have the site name (Blogger), the category your article is in, the name of the post, and the URL of the post (the web address in your browser). This will save you a lot of time and hassle later.
- Day Six -- Write another blog post.
- Day Seven -- Apply for a Chitika account for your blog.
Why Interlink?
You may have the greatest content on the internet, but that will do nobody any good if people cannot find your content. A interlink is a link where one piece of your content links to another piece of your content.
In addition, interlinking can be another way to increase your revenue. Because the other sites pay either in Adsense revenue or in pays per view, you can make significant additions to your online income by leveraging your content.
Week Three
- Day One -- Apply for an account at art.com. This will allow you to add art to your website, and to make money if someone buys something from art.com.
- Day Two -- Apply for an account at allposters.com. Again, allposters.com will pay you a commission if someone buys a poster through your link.
- Day Three -- If you did not receive an Adsense ID or an Amazon ID, re-apply.
- Day Four -- Start interlinking your articles. Use different anchor text and write different copy.
- Day Five -- Continue interlinking. It will take a little time to catch up.
- Day Six -- Continue interlinking.
- Day Seven -- Continue interlinking.
Week Four
When you are all caught up on your interlinking, start browsing through the pictures available at art.com and allposters.com. Add at least one relevant picture from either site to each blog post. Don't forget that you are posting one blog post and interlinking that to other pieces of your content every single day! However, by now the process of writing a blog post, finding a relevant Amazon product, finding keywords and refining your blog post, and adding a picture from art.com or allposters.com should start to become much easier and faster. Just continue doing this until you have the process down to about half an hour. Don't forget interlinking -- but again, this process should take no longer than another half an hour, even if you are using a lot of different, because with multiple tabs open on your browser, you can semi-automate the process!
Design Software

Week Five
This week, explore Zazzle. It's very easy to create products that are relevant to your blog posts on Zazzle, and signup and design will take only a few minutes. Zazzle is a print-on-demand company, so it is easy and free to set up a store, put products in the store, and begin selling products. Whether it's a saying on a T-shirt, or a public-domain photograph, a design you have made yourself, or a photograph you have taken yourself, it takes only a minute or two to design a product and post it for sale. If you feel adventurous, check out Zazzle's Quick Create and create up to 100 products at once!
Week Six
Day One --Add a Zazzle flash panel to your Blogger blog.
Day Two -- Start thinking about branching out on your writing. Explore different revenue-sharing web sites, and decide which one is best for you. Although obviously I'm a big fan of HubPages, you might find the options a bit confusing. If so, take a look at some revenue-sharing sites and try those instead.
Day Three -- Create your first article at a revenue-sharing website. As soon as it is published, don't forget to backlink it and to enter it into your spreadsheet!
Day Four -- Add columns to your spreadsheet for each of your other content sites. Fill in all the places you have interlinked with a Y if you have done it. If you've fallen behind, now is the time to catch up.
Days Five through Seven -- Continue to post one blog post, and one article, find appropriate art.com or allposters.com illustrations, do your keyword research, and interlink each blog post and article. If you have time, create a Zazzle product.
Weeks Seven and Beyond
Simply follow the plan for days Five through Seven of Week Six. As you continue to increase your article library, interlinks, and Zazzle products, you should start to see a significant increase in your blog traffic and article traffic. However, once you have a hundred and fifty articles on one site, it may be time to switch for a while to a new site and build up a library of a hundred and fifty articles there, because that way you will be able to begin linking those articles together. Once you start interlinking articles, people will stay on your content longer, and you will build up a following of loyal readers, who will be more likely to continue to buy products through your links, or click on an ad. Additionally, if one site should be abandoned, or change its policies, you will not lose your major source of income. It's always a good idea to diversify!

