Recording Studio Basics - 3 Tips & Zoom to a Gold Record
After many years of experimental trial and error in my recording studio Mixing & Mastering audio works, I've developed a wealth of knowledge and several invaluable techniques which if properly applied, can help to enhance a rather flat and uninspiring song by potentially turning it into a more dynamic and higher quality product. Some of these techniques I'm sure you've heard before and others maybe not, but even if you are familiar with the following concepts, they can still be tweaked, contorted, and mindfully manipulated further to achieve an even richer, potent audio sound.
Here's my first list of absolute essentials which must be used in the Mixing & Mastering phases of post production. They will not miraculously turn your beloved songs into products of perfection, but I'm highly confident of the fact that if you're not implementing these techniques now, if used properly from this point on, they should greatly enhance the overall texture and quality of your future work.
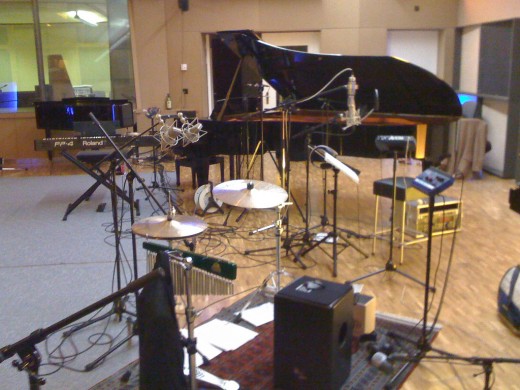
A significant portion of my recording & post production is performed and achieved by using Audacity Software combined with the LAPSDA plugins. The additional plugins provide an even bigger treasure chest of additional effects to be summoned and utilized in concert with the basic software. This program combined with the two powerhouse digital multi track recorders contained within my studio, the Zoom R24 and Zoom R16 endow me with almost limitless creative options and flexibility. The capabilities of both units empower me and partners with total control from the very inception of the song, right on through to the sweetening up process, and then the final stages of Mixing & Mastering. It's been over two years since I first started recording with Zoom multi track digital recorders and subsequent to this hands on experience, I've come to the conclusion that they are two of the best, most versatile, user friendly products in their class for the price. They are certainly not perfect, but there is not a brand on the market today which can audaciously claim this designation. That being said, let's move on to the subject at hand, recording basics.
- Note: I find recording in mono ( Especially Guitars ) is the best way to get a good base or raw sound from which to mold and shape later on in the overall process. If you add effects in the recording stage, then wish to tweak or change the sound, or decide to remove a certain effect during post production, it may be extremely difficult or even impossible to accomplish. Adding effects to a raw track after recording is much easier to achieve. A good rule of thumb I usually adhere to is "RRAEL" or "Record Raw - Add Effects Later".
Zoom R24 & Zoom R16 REVIEW:


TIP # 1
>>> GENERATE SILENCE
In a previous article I explained how to create, copy & paste an additional audio track to convert a single mono into a dual or two track stereo effect. So at this point I'll assume we have two tracks in view on the mastering sofware.
1. Point, Click, & Highlight the very beginning of ONE track
2. Go to the top of the menu bar and click on "SILENCE" or it may say "GENERATE SILENCE"
3. a pop up box should appear in the middle of the screen ( On Audacity, your software may differ )
4. We need to generate an extremely minute difference in track playback so it will be applied in "MILLISECONDS"
5. This is where your ear for music and individual taste plays an important role. a good place to start is anywhere between 10 - 90 Milliseconds. try different samples to see which suits your musical taste best.
6. LEGEND: 0.010 = 10 milliseconds, 0.020 = 20 milliseconds, 0.030 = 30 milliseconds etc. Fill in the number and click OK
- This technique separates the playback timing of the two tracks ever so slightly. It will not only liven up a flat lifeless mono sound but will also add depth and dimension to the audio with a slight reverb effect as well. Experiment to find out how much "Silence" generated sounds best.


TIP - #2
>>> PANNING
One of the most important and basic techniques used by professionals and the home recording novice is the art of "PANNING". This can turn an audio mess into a quality piece of work. If you don't use this technique on all instruments, the signal of each will usually sound as if they are melded together, no separation if you will with far less clarity hence, the quality may be compromised. Not to say that the song will not sound good, it might actually sound fine to the untrained ear, but it will not sound as clear and multi dimensional as a properly panned piece. This is how I define the "Art of Panning".
"The art of separation and placement of each instrument, vocal, or sound in its proper realm within the songs entirety to produce a piece in which all elements compliment each other."
Where do you begin? Which instrument or soundtrack do you start with? Even if you implement my tips and techniques the fact still remains that trial and error will still be your ultimate guide. And believe it or not, you will assuredly get a completely different answer from just about every one you ask in response to each of these questions. From my experience, I always pan each track before adjusting volume levels and I prefer slight variances in these levels on the two different tracks of the same instrument, this seems to create a deeper and wider sound. As I make adjustments in panning, the actual volume levels may get tweaked slightly in the process and if they don't actually change, it can still produce the illusion of change.

Panning Guitars & Vocals: 2 Stereo Tracks
- Start with the volume & panning knob in the middle on both tracks
- Slowly move the panning knob on one track to the left and the knob for the other track to the right (As you slowly move the tracks in the opposite direction you can hear the sound getting wider). As you move the knobs in small increments stop and take a listen, then proceed to your desired result.
- TIP - For added dimension, do not pan both tracks in the same exact location, a slight variance in one produces a more professional sound. The same with volume, one track slightly lower than the other can produce the illusion of layering or two different instruments playing the same thing at the same time.
Panning Drums: Multiple Tracks
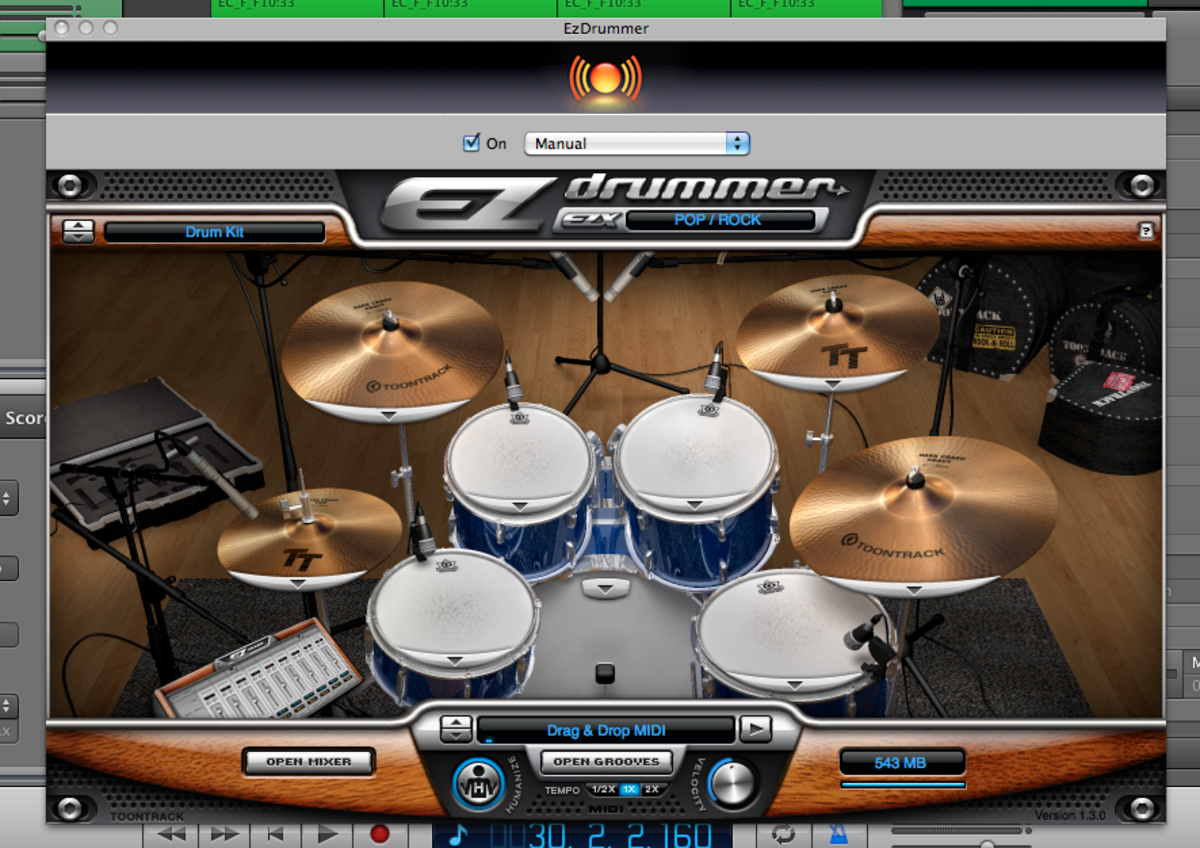
- This is unquestionably an art form in itself and really requires extensive experimentation on your part to find that perfect mix. Assuming you probably have a minimum of 3 tracks for drums, I usually start with all tracks in the middle and go from there. I place the snare, hi-hat, & symbols together in the background with the kick drum slightly wider and more toward the front to encompass and accentuate the entire song.
- If you record with enough mics you can simulate or create a surround sound effect by panning each individual tom drum in a separate space within the stereo field. You can try panning the first tom directly in front, the second slightly to the left, and the floor tom all the way to the back, and so on. Adjust volume to taste.
Note - You can also "HARD PAN" any instrument or sound you prefer all the way left or right. It's easy to accomplish and will create an excellent effect for certain instruments in certain songs.


TIP - #3
>>> EQ & DELAY
I combined both EQ & Delay because the two effects can actually change the sound of an instrument unlike the previous techniques which change sound placement or just add reverberation.
EQ - Very simple to use. It's an effect which essentially allows you to adjust the low, mid, & high range of any instrument. There's no secret formula here, just experiment and adjust to your taste.
Delay - A very simple yet vitally important element applied to enhance ambience & mystical transients of a recording. Even just a slight delay effect on almost all instruments and vocal tracks, can fill in those empty spaces with a magical, almost non existent element. Try it on all instruments including drums, I think you'll be surprised at how this simple yet powerful effect can really enhance the overall texture. Start with the minimal settings and work your way up from there. Once again, there is no perfect guide or setting, it's all a matter of individual taste.
Below is the sequence in which I make sound adjustments when mixing. Give it a try.
- EQ ( Additional Effects )
- Panning
- Volume
It's not an absolute science, use your imagination and create a unique sound. Try different sequences and experiment with all aspects of audio recording, I think you'll be amazed at what you can come up with.

-
TIP - Try to find an inspirational space when recording, a small 5X5 room with clothes and other "stuff" laying all over the place might inhibit your mood thereby fostering a lack of creativity. Try an open space where you can breathe, a living room for instance, or any other wider area, this should allow you to expand your thoughts, ideas, and imagination.
Thanks for visiting, I hope you found this article helpful.
And who knows? If you implement some of these Tips & Techniques you might be well on the way to producing that first ( another? ) GOLD RECORD.



More Related Articles:
- Zoom to Grammy Awards with the R24?
My review of the new Zoom R24 Multi Track Digital Audio Recorder - How to get a 'Powerhouse' Kick Drum sound from your ...
Are you still trying to get that professional kick drum sound from your home studio recordings without spending hundreds of dollars on sound replacement software? - Rock & Roll Hall of Fame Inductees - The Good, The B...
The Rock & Roll Hall of Fame, a place where musical Icons are celebrated, adored, and worshiped by fans from every continent on the planet.


