TENOZEK 13,000 mAh Dual-USB Power Bank Review

Overview
I received the TENOZEK 13,000 mAh power bank from Tmart.com to review. It comes in both the black and white color, which I received the latter. Today we will be taking a look at how this power bank holds up with the competition and if it is the right one for you.
Technical Specifications
Category
| Details
|
|---|---|
Material
| PC & ABS
|
Color Options
| Black/White
|
Output
| Dual-USB 1A, 2A
|
Input
| Micro-USB 1A
|
Dimensions
| 5.51 x 2.56 x 0.98"
|
Weight
| 9.88 oz
|
Capacity
| 13,000 mAh
|
The technical specifications are pretty standard. I would consider advertising the PC ABS material is really just a more technical term for the harder plastic. It is a cost effective material that does not sacrifice on durability so I approve. I personally have no preference in power bank material whether be it plastic or aluminum, but it may factor into your decision. I find that there is a risk of scratching with paint coated aluminum power banks, but so far that has not happened to me.
Packaging
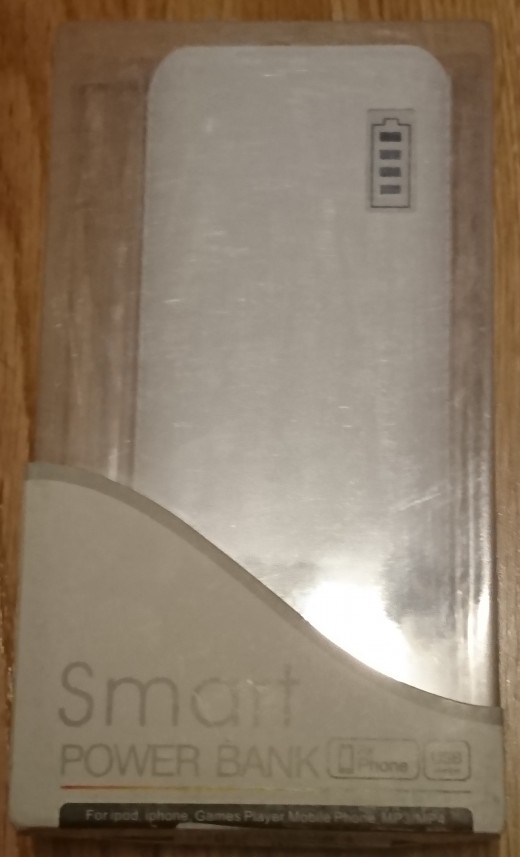
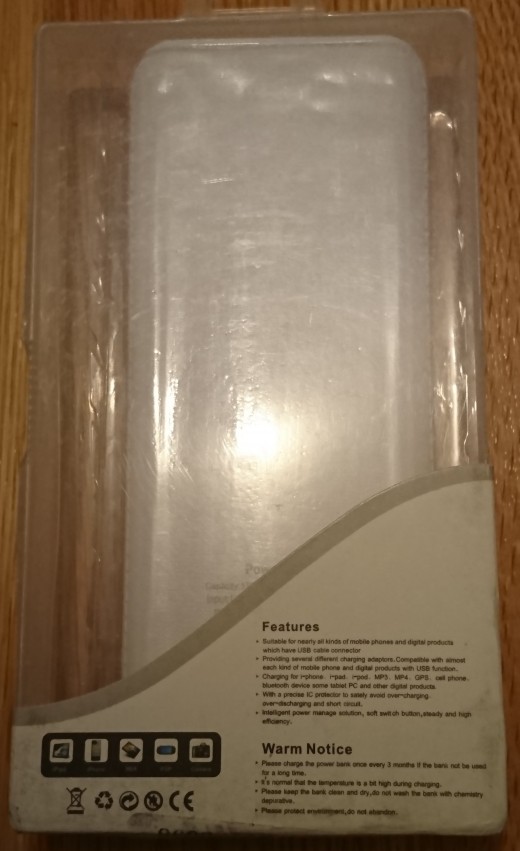
The packaging is pretty standard. One thing you'll notice is the "Warm Notice" on the back of the packaging. It states that it is normal for the power bank to be a bit warm when charging. I have noticed this on some power banks, but not others. It also states that the power bank should be charged at least once per three months. I suspect this is due to keeping the calibration in-line and preventing the complete depletion of this power bank. Since lithium-ion batteries have IC controllers, it is never a good idea to completely deplete the battery regularly unless you are performing a charge calibration.
Unboxed
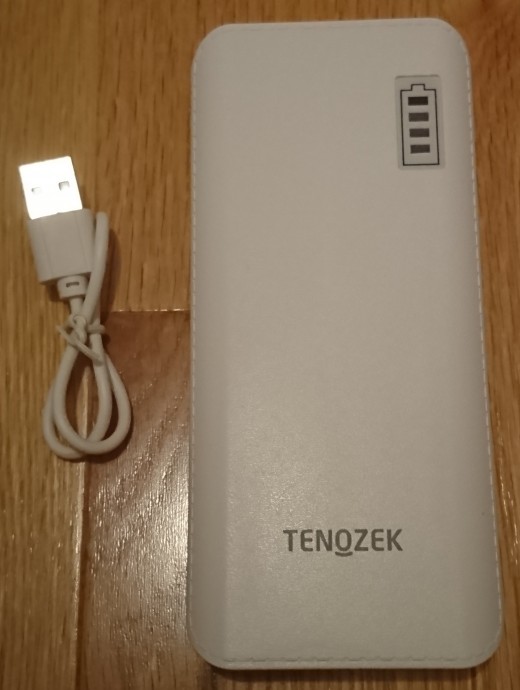
Once unboxed, you can see that the contents are pretty straight forward. Aside from the power bank, the charging cord is included. This is a micro-USB to a standard USB Type-A cord.
The power bank itself is interesting too. You'll noticed sewn seams around the edges. This isn't actually there, but rather just plastic bumps to give it that faux-leather like look. However, it still feels like plastic for the most part. Nevertheless, I do applaud the overall construction of this power bank with a near unibody design. It was difficult for me to find out exactly where the plastic components were infused together so I do like this construction.
Battery Indicators
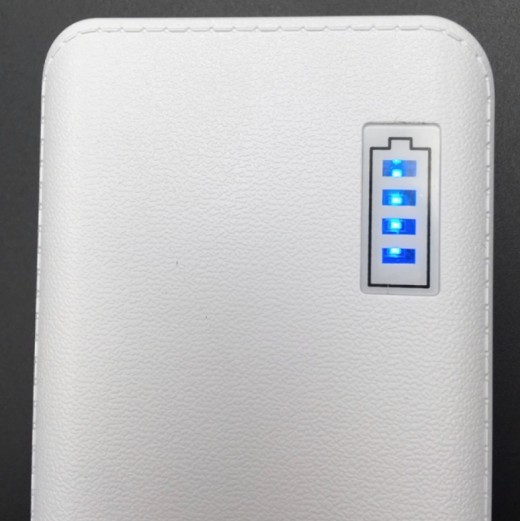
Zooming in closer, you can see the battery indicator. It defaults back to the standard four LED light indicator where each supposedly represents 25%. This is probably my biggest dislike of the power bank.
You can tell that each "window" and light are not isolated from one another so you will get a lot of light bleed especially in dimmer lighting conditions. I would have preferred if the lights were raised right up against the transparent window and have separation between the lights.
As for a high capacity power bank, the 25% increment probably isn't as accurate versus a percentage based display. I would usually let it slide on lower capacity power banks since they would only be capable of one or two recharges anyways.
Note: Use A Reputable Charger!
There have been enough horror stories about chargers catching on fire or exploding. Tear downs have been done on cheap no-name chargers showing the poor insulation and safety standards. I highly do not recommend cheaping out on a charger especially when dealing with power banks. If you need a reputable wall charger, I have linked one below that I use as my daily driver.
Input Port and Power Toggle
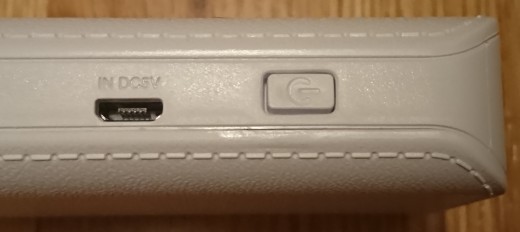
Does this count as mildly infuriating? Yes, totally! Aside from the power button and micro-USB port alignment, this is a pretty standard setup you will see on most power banks. This port is solely used for recharging the power bank.
This close-up also provides a better look at the faux-leather finish that I was describing earlier. The sewing effects are really just plastic bumps, but still overall remains pretty rugged.
Quick Note: Back Side
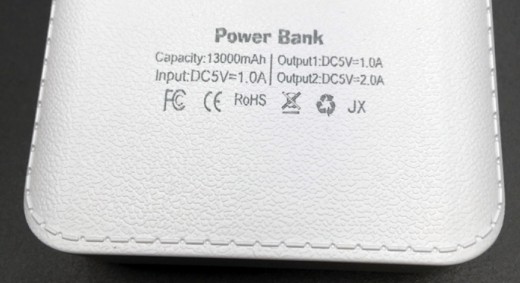
Before I jump to the output ports, I do want to show the back side of the power bank first. The reason lies in the labelling. Notice how the outputs are labelled "1" and "2" with the second one capable of a 2A output.
This is important when we look at the output ports. I believe this could be better labelled for consistency.
Output Ports

In the previous picture, we can see that the outputs are labelled Output 1 and Output 2. In this image, we have "A" and "B". Naturally, I would correspond 1 as A and 2 as B, but you never know especially in my actual testing. I would much rather see the labelling clearer and just have the current beside the output port.
I would like to note this because my charge test was based on Output 2, which I didn't find it going up to speed. Let's take a look at my charge test next.
Charge Test
I tested this power bank with my Sony Xperia XZ which has a capacity of 2,900 mAh. This is slightly lower than the average smartphone so your charge time will most likely be a bit longer than mine from what you see in this charge test.
I stress again that I used Output 2 or "B" for this test, which is supposed to deliver up to a 2A current. Let's see if it is able to deliver.
This charge test was started at the 15% critical mark. This is where all Android phones are supposed to prompt users to charge their device as battery level has reached a critical low.
Time (Minutes)
| Percentage (%)
|
|---|---|
0
| 15%
|
15
| 24%
|
30
| 33%
|
45
| 42%
|
60
| 53%
|
75
| 64%
|
90
| 74%
|
105
| 82%
|
120
| 88%
|
135
| 90%
|
150
| 93%
|
165
| 97%
|
180
| 99%
|
195
| 100%
|
The total charge time was 3.25 hours or 3 hours and 15 minutes.
The total charge time was leaning towards the longer than average end. It started off well up to the 70% mark and that's where it began to slow down. Normally, chargers would slowdown to trickle charge at the 90% mark so I found it interesting that this power bank slowed down much earlier.
As I mentioned earlier, I tested this power bank with Output 2. It is supposed to be able to deliver up to an 2A output. It did not reach as high as I expected in my testing. Initially, the power bank was delivering 1.2A to 1.3A fluctuating a little here and there. Near the end, the power bank was delivering about 690mA or about 0.7A. One potential contributor could be because of my phone's temperature regulator. As it approached the 70% mark, my phone's internal temperature was recording at 98.6 degrees Fahrenheit. After restricting the current flow, the temperature drastically decreased until full charge.
After that one charge, three of the four LED indicators remained lit so it appears it is good for another three charges or so. This is on point with the listed capacity.
Final Thoughts
This power bank retails for $15.99 USD over on Tmart.com with free worldwide shipping so the price can't be beat in my opinion.
As for the power bank itself, it is somewhere in the middle of the line of all the ones I have reviewed. Starting out with what I like about this power bank, I would have to say it is the design. It's taller rather than flatter so it makes it easier to carry on the go. While it doesn't exactly fit into my pocket or anyone's pockets easily, the taller cylindrical shape allows it to easily slide into the water bottle mesh net in most backpacks. My backpack doesn't have a mesh night, but it fits right into the side zip pouch.
There are a couple things I would look to improve. The first is the labelling on the output ports and back. I would like to see this being consistent either by numbers or letters. Output 2 does indeed correspond to Output B since it does go over the 1A output current, but still there is a bit of guesswork which I don't like. The second improvement is a better battery indicator. I would have liked to see the lights more visibly and without light bleed. This just makes it easier to track the battery level at a glance.
Overall, this power bank is good for those on a budget. You can definitely buy this power bank without breaking the bank and it will get the job done extending the usage time of your device to over a day.
© 2017 Theo


