WordPress - Install an FTP client on your local computer
In my last hub I had explained how to create WordPress pages that were fully textual in nature. If you missed that then here's the link: Putting it all together.
In this hub as promised I'm going to take a look at how to include images within your WordPress pages. To include images in your WordPress pages you will have to:
- Have the images created and stored somewhere on your local computer
- Have an File Transfer Protocol client software on your local computer
- Know how to use the FTP software on your local computer to transfer images from the folder they are in on your local computer to a folder in your WordPress installation that is on your Hosting computer
- Finally you would need to know how to use the WordPress page editing tool to include these images within your WordPress page
You will have to obtain FTP client software (Oh Yes! there is FTP Server software as well) and install this on your local computer. This is because most M.S. Windows operating system based computers, such as XP, Vista, Win 2000 and so on do not have an FTP client built in. Fortunately there's a ton of excellent FTP client software available on the Internet for Free. I'm going to describe how you will download and install the FileZilla FTP client on your local computer in this hub. The FileZilla FTP client is quite a popular FTP client and is completely free for download and use.
Here's the URL: Download the Filezilla FTP client
As soon as you click the link provided you will be taken to the FileZilla project page, which will open in a new tab in your Browser. You can download the FileZilla FTP client software. Take a look at diagram 1.
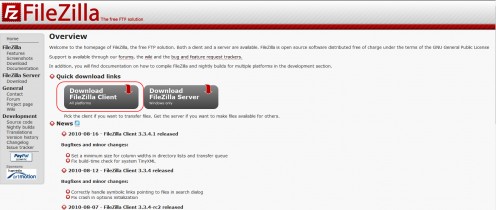
Click the left hand side button to download the FileZilla client for all operating systems. Take a look at diagram 2.
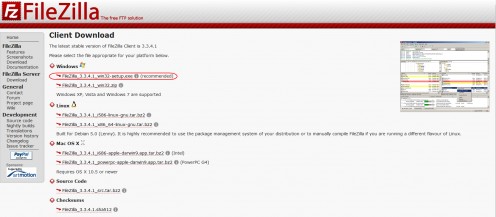
Click on the link that will download the FileZilla FTP client for M.S. Windows. When you click this link the Browser's file download system will kick in and you will be prompted to download the FileZilla FTP client as shown in diagram 2.
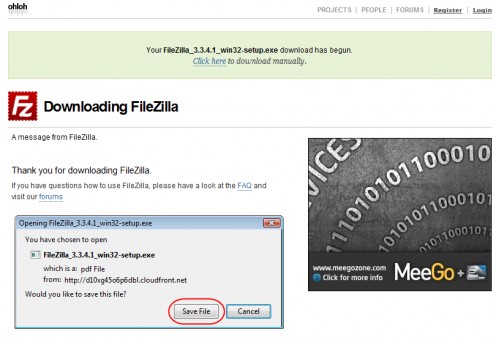
Click on Save File to download and save the FileZilla FTP client software to a folder on your hard disk. Once you have the FTP client saved to your hard disk simply double click the file to install the FileZilla client on your local computer.
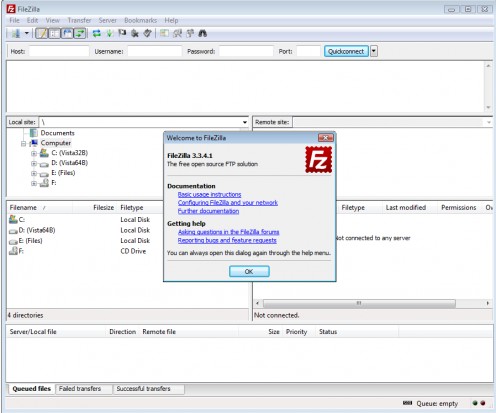
The installation is a breeze. In just a few seconds the FileZilla FTP client software will be installed on your computer ready to be configured. The file name of the latest version of the M.S. Windows FTP client is FileZilla_3.3.4.1_win32-setup.exe.
Take a look at diagram 4.

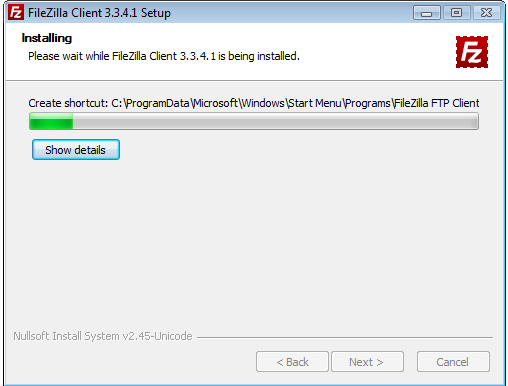
The FileZilla FTP Client software install process begins. Take a look at diagram 5.
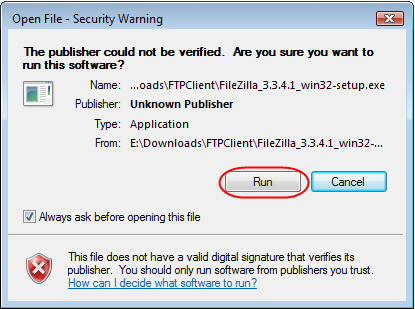
Please follow the instructions on screen. All are pretty self explanatory. Simply go with the defaults and you should really be absolutely fine.
In my next hub I'm going to provide details about how to configure the FileZilla client you just installed so that you can connect to your Host Web server and upload images currently on your local hard disk to a folder in your WordPress installation so that you can then include these images in your WordPress pages.
Ivan Bayross
Open source tutorials

