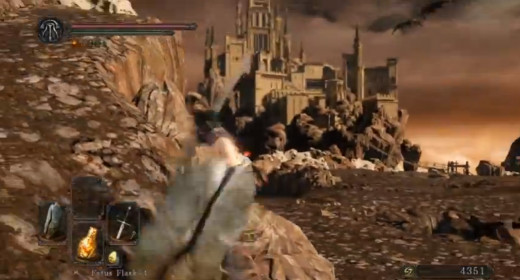
Dark Souls II Walkthrough, Part Forty-Three: Dragon Aerie


Ahhhh! Dragons! You may have thought offing the Guardian Dragon would be the end of the scaly beasts, but it was just the beginning. The Dragon Aerie is constantly patrolled by feisty dragons, and they're quite eager to singe the flesh from your bones. Hopefully you didn't find that last battle with a dragon too difficult, as the ones barring your path ahead are just as tough...
Dragon Aerie
- Make your way along the bridges past the Bonfire. You'll see a cave at the end of one; a ghoul just inside the cave will charge you down. Kill it at a range if you can.
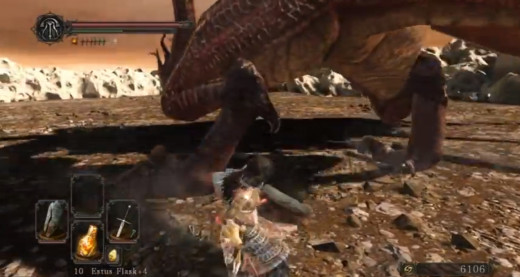
- Enter the cave. There's a clearing ahead, with a path leading outside at the far end. There's a dragon out here, every bit as strong as the Guardian Dragon you just fought - and every bit as vulnerable. Be careful fighting up here, as there's a hole in the ground which is easy to miss and stumble into. It's not an automatic death, but it's a painful fall. Be careful, too, of the camera angles - they seem to go a bit wonky up here, especially compared to what you braved while fighting the Guardian Dragon. Killing the dragon will earn you a Flame Quartz Ring +2.
- This dragon, as well as others you'll confront here, will not respawn after it's killed. Consequently, it's not a bad idea to take them out even if it is rather difficult to zip through their perches and flee before they can put you down.
- Explore the dragon's roost to find corpses bearing a Boltstone, a Darknight Stone, and a Soul of a Brave Warrior. There's also a crystal lizard that will drop a Titanite Chunk, a Twinkling Titanite and an Old Mundane Stone sitting idly up here, and if you check the cave atop a small incline on the roost you'll find another lizard carrying two Large Titanite Shards, a Petrified Dragon Bone, and a Raw Stone. Last, smash up the nest the dragon was so carefully guarding to find a corpse. It holds a Dragon Tooth.
- Before leaving, reenter the cave. There are two small passages to the left. The second, behind three eggs, has a corpse that carries a Radiant Lifegem and third wriggling lizard that will drop a Large Titanite Shard, a Twinkling Titanite, and a Palestone. The other path, as well as a bridge on the dragon's roost, lead to the same place. You'll find a corpse on the edge of a ledge here, carrying an Old Radiant Lifegem.
- Continue crossing bridges. There are more ghouls to fend off. At the end of this path is another clearing guarded by another dragon; you can either take it head on or look for a side path, which will guide you to a set of hidden eggs masking a Petrified Dragon Bone and a ramp up to the dragon's roost. There's a Soul of a Great Hero on the left side of the dragon's arena, a Large Soul of a Brave Warrior on the far end of the arena, a crystal lizard up here has three Titanite Shards, a Twinkling Titanite and a Magic Stone, and if you check the cave in the rear of this area you'll find a ghoul - and a great platform for sniping a third dragon.
- The path out of here leads to said third dragon's platform. Kill it if you haven't already and look around for yet another crystal lizard, as well as several corpses. They carry a Firedrake Stone, a Dragon Charm, a Ring of Evil Eye +1 and a Soul of a Great Hero.
- The path continues, and not for much longer. Eventually you'll cross a waying bridge and make your way to the next area, the Dragon Shrine. (No worries - the bridge is perfectly safe, despite how it may look.) Make doubly sure to light this thing, or you'll face a loooong walk back through Dragon Aerie should you die in the Dragon Shrine.
Related
-
Dark Souls II Walkthrough, Part Forty-Two: Aldia's Keep - Guardian Dragon
-
Dark Souls II Walkthrough, Part Twenty-Nine: Doors of Pharros - Royal Rat Authority
-
Dark Souls II Walkthrough, Part Forty-Seven: Nashandra and New Game +
-
Dark Souls II Walkthrough, Part Twenty-Seven: Shaded Woods - Ruined Fork Road
-
Dark Souls II Walkthrough, Part Thirteen: Huntsman's Copse - Undead Refuge


