Growing Herbs as Simple as 1, 2, 3.

First Things First
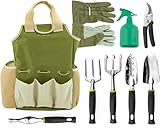
Growing herbs from seeds is fun and easy. All you need are: a good source of light, the right containers, dirt, oh and of course water. Give them what they need and herbs will grow like crazy. You don’t need to be a master gardener to grow your very own herbs from seed.
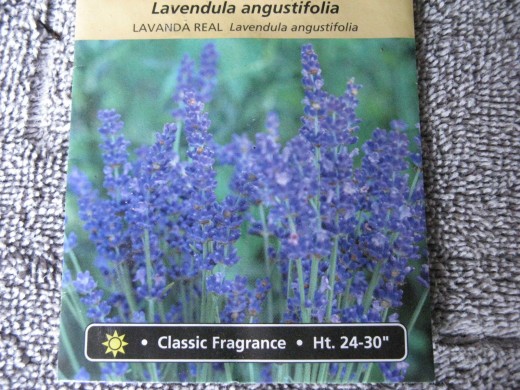
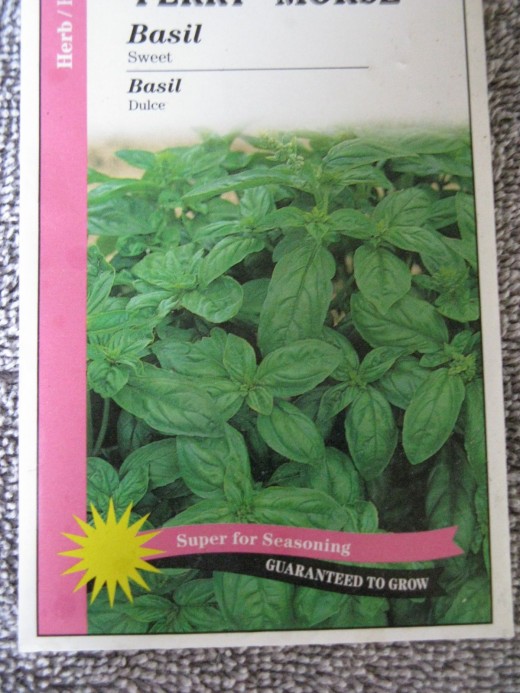
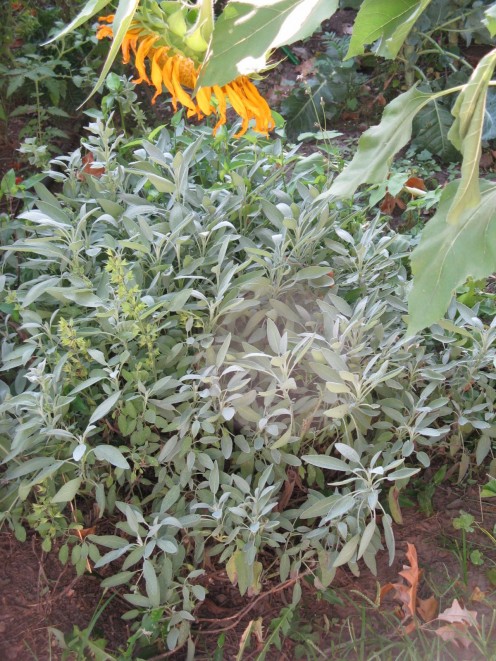
First decide which herbs you want to grow. Seeds can be found in garden centers, seed catalogs and even in the store where you buy your groceries. The easiest herbs to start are basils of any kind, thymes, sages, lavender, chamomile and rosemary. But don’t be afraid to try ones that are unfamiliar like borage, coriander and yarrow. Starting from seed is the same for all of them.
Clear Plastic Storage Boxes, Large and Small


It's the Light
The proper amount light is important. Without it, your seedlings will be spindly and weak. Choose a sunny window, the south and west sides of the house are best. If you plan on starting a lot of herbs, an inexpensive light stand can be built from wire shelving and shop lights. If you choose to use a light stand, set it up with a timer. The herbs will need about 16 hrs of light for maximum growth.
Seed starting sets can be found in garden centers, seed catalogs as well as some big box stores like Wal-Marts, Meijers, and K-marts. These trays come complete with a dome to seal in the moisture. The draw back of these systems is that they tend to be pricey and are not very durable. It is just as easy and less expensive to make your own.
All you need are clear plastic storage boxes with clear lids, since herbs need light for germination.. The size that will comfortably hold a pair of dress pumps or running shoes is perfect. The plastic storage boxes have several advantages over professional seed starting systems. They are cheap, they are the perfect size for the kitchen counter top, they are extremely durable and work like a charm.
Getting Started
Once everything is in one place, light, containers, soil, seeds, and patience, it is time to get to work. Fill each seed box about 2/3rds full of seed starting mix. Add water and mix thoroughly. Seed starting mix and water don’t really like each other very much and are really hard to mix together. It helps to use a trowel, wooden spoon or your hands to make sure that the water and mix are well combined. The mix should be damp but not mushy. If it’s too wet, add more seed starting mix a little and a time. Mix again. Do this until you get the right consistency and damp all the way through. Now gently tamp down the seed mix to make sure that all the air pockets are gone. The seed box is ready to plant with the herbs you have chosen.
Penny vs herb seeds


Always Wash Your Hands
Get all your seed packets together and carefully read the growing instructions on the back. Here is were you will find out how long it will take your seeds to germinate and whether they need to be under the soil or on top. But before you open a single seed packet, wash and dry your hands. Most herb seeds are very very tiny and dark colored. Watching those tiny little seeds disappear into your damp dirty hands and then trying to get them from your hand into the seed box, its almost enough to make a grown gardener cry.
Gently shake the packet of seeds so all the seeds get to the bottom of the packet. You don’t want to see all those tiny seeds flying into the air when you rip the seed packet open. Pour the seeds into the palm of your hand and gently sprinkle them into the seed box. (garden catalogs sell seed dispensing gizmos for tiny seeds, they are more trouble then they are worth). If they need light to germinate just pat them in gently. If they don’t, pat them down and cover them with a light layer of dry potting mix. Snap on the lid and let nature do her work
Just sit back and watch them grow.
The seed boxes provide a closed environment with the right humidity and warmth to encourage quick germination. Keep an eye on your seeds; you will be surprised at how much faster they will pop up inside the boxes. Make sure that the soil stays uniformly damp and to prevent “damping off”, caused by molds in a damp warm gardening environment, use a strong tea of chamomile or calendula. Use it instead of plain water. Both of these herbs have anti fungal properties that can help prevent losing your seedlings.
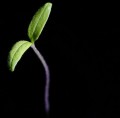
Keep a close watch on your seedlings. The first seeds are the leaves present in the seed embryo, it is the second set of leaves that emerge that you are looking for. These are the “true leaves” and will look totally different from those that first poked through the potting mix. When these first true leaves appear, it is time to thin out your seedlings. Pull out the smaller, weaker seedlings and leave room for the more vigorous seedlings to grow.
4 inch pots and flat inserts

Time to Plant UP
Once the seedlings reach the top of the seed box, it is time to move them into larger quarters. Any container will do, small flower pots, the black flats that annuals come in, square or round four inch pots. Being an avid gardener, there are probably tons of them in your garage or basement. If the pots are used, wash them with soap and water with a little chlorine bleach, then rinse well and air dry. As with the seed boxes, this keeps you from introducing any harmful molds or bacteria.. Once dry, fill them with potting soil and gently tamp down.
It is okay to use regular potting soil, just don’t buy the cheap stuff. Take your finger, an unsharpened pencil or a chop stick and poke a hole in the soil. Poke one hole in each section of a flat or 3-4 holes in a four inch pot. It is very important to be gentle with the seedlings. The idea is to remove them with their root system intact. A flat tooth pick, the sharp end of a pencil or a chop stick are well suited to this task. Using the tool of your choice, slip it gently under the seedling and gently lift it up. Gently using your tool, lower the seedling root first into the waiting hole. The hole should be wide and deep enough so the roots go as far into the soil as they can. Now gently firm the soil around the roots and a short way up the seedlings stem. Put your plants back under the lights, keep them watered and wait for spring.
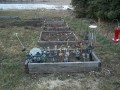
See How My Thymes Just Love our Boxes

Below are all different the herbs I have started in shoe boxes

Last Step Until Spring
Once the seedlings reach the top of the seed box, it is time to move them into larger quarters. Any container will do, small flower pots, the black flats that annuals come in, square or round four inch pots. Being an avid gardner, there are probably tons of them in your garage or basement. If the pots are used, wash them with soap and water with a little chlorine bleach, then rinse well and air dry. As with the seed boxes, this keeps you from introducing any harmful molds or bacteria.. Once dry, fill them with potting soil and gently tamp down.
It is okay to use regular potting soil, just don’t buy the cheap stuff. Take your finger, an unsharpened pencil or a chop stick and poke a hole in the soil. Poke one hole in each section of a flat or 3-4 holes in a four inch pot. It is very important to be gentle with the seedlings. The idea is to remove them with their root system intact. A flat tooth pick, the sharp end of a pencil or a chop stick are well suited to this task. Using the tool of your choice, slip it gently under the seedling and gently lift it up. Gently using your tool, lower the seedling root first into the waiting hole. The hole should be wide and deep enough so the roots go as far into the soil as they can. Now gently firm the soil around the roots and a short way up the seedlings stem. Put your plants back under the lights, keep them watered and wait for spring.
Herbs Started from Seed


Links to my other Hubs
- HOW TO BUILD A CHEAP PLANT GROW LIGHT FOR ALL YOUR SEED STARTING NEEDS
Are you an avid gardener like me? Are you already anticipating the arrival of your seed catalogs? I know I am. Do you drool over the big grow lights and trays for starting seedlings but like me don't have... - An Inexpensive Way to Start Seeds
Now that you have read my hub on how to build an inexpensive light stand for your plants, I am going to tell you about a cheap and easy way to start your seeds under the lights . This is a gardening trick... - A Walk with Wildflowers
Would you like to meet some of my friends? They are the flowers that I see every time I walk the bike trail near my home. I started this summer and am always amazed at how many beautiful wild flowers grow... - Walking with Wildflowers II
Butter and eggs, also know as toadflax, gets its name from the yellow petals, the butter, and the orange petals, the eggs. Butter and eggs can be found growing along the roadside, in open fields and... - A Time Line of Western Herbalism Part I
It is easy to see how important herbs were in the daily lives of ancient peoples. When traders from these ancient cultures traveled to distant lands, they took native herbs with them. The medicinal herbs of... - Quick, Easy and All Natural Facial Mask for Tired Winter Skin
Is your skin suffering from the rough winter weather. From cold to warm, from warm to cold, icy winds, dry winter air. Winter is hard on the skin, making it drab and dull. This is an easy and quick...
Links to Newer Hubs
- CAROL'S HEALTH HUBBLET # 2 EASY LAVENDER TONER
I just had to get this out. It pairs up with my avocado facial. This is recipe for a toner that has no rival and it is easy and totally free of the chemicals that fill most cosmetics. All you need is ... - From India to the New World The History of Ginger
Ginger is a spice we are all familiar with. It flavors ginger bread cookies, goes into pumpkin pies and is served fresh with sushi. But what is ginger, where does it come from and how did it get into our... - Herbs that Should be in Every Kitchen Cupboard
These herbs should be in your kitchen cupboard There are a few simple herbs that should be in every kitchen cupboard. They are safe and effective for treating a few of the common ills that plague all... - Carol's Health Hubblet No. 1: Say No to Colds and Flu
It's also the time for catching the cold or worse, the flu. Both are caused by viruses. It takes 14 days for your body to eliminate the cold and flu viruses. The symptoms come on slowly, often... - How to Make a Rice Sock
This is simple the best heating pad in the world. It is cheap, its green and it works like a charm. You only need three things A BAG OF RICE-the 2 pounder is the perfect size A LONG SOCK-knee high... - A Time Line of Western Herbalism Part II: The Middle East, the Link between East and West.
The Trade Routes from East to West and Back Again When the people of Asia began trading with Mesopotamia is lost in the mists of time. As long ago as 4000BC, the area surrounded by the Tigris and... - http://hubpages.com/hub/Carols-Health-Hublet-No-3
- http://hubpages.com/hub/canariesinthekitchen