10 Fun Techniques for Photographers


Trying something new is always a great way to get out of a rut or to expand your arsenal of tools. Depending on what type of camera you have, you may not be able to do all of the techniques below, but this list is meant to inspire you to try new techniques, some even touch on the post production phase of Photography.
There may be some modifications if your using a Point and Shoot camera that will allow you to achieve certain looks like those listed below, just as there may be some ways to accomplish the same Point and Shoot effect with a DSLR.

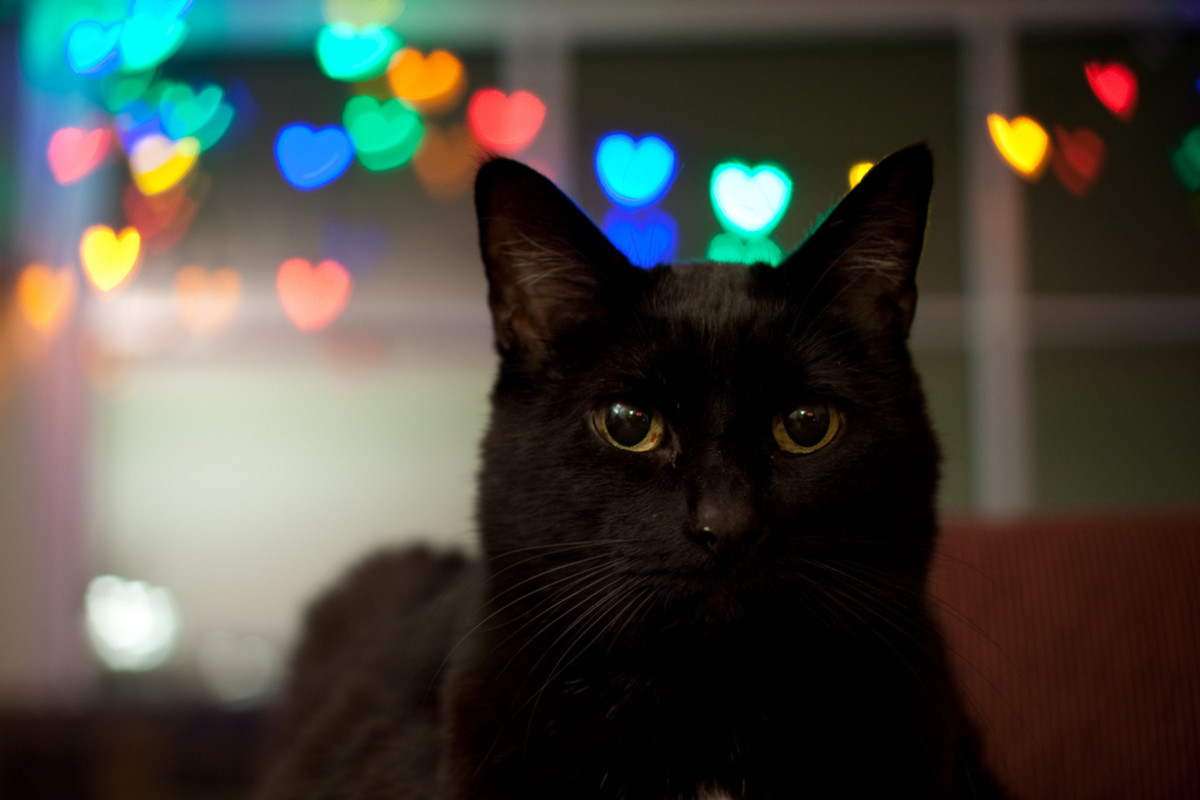
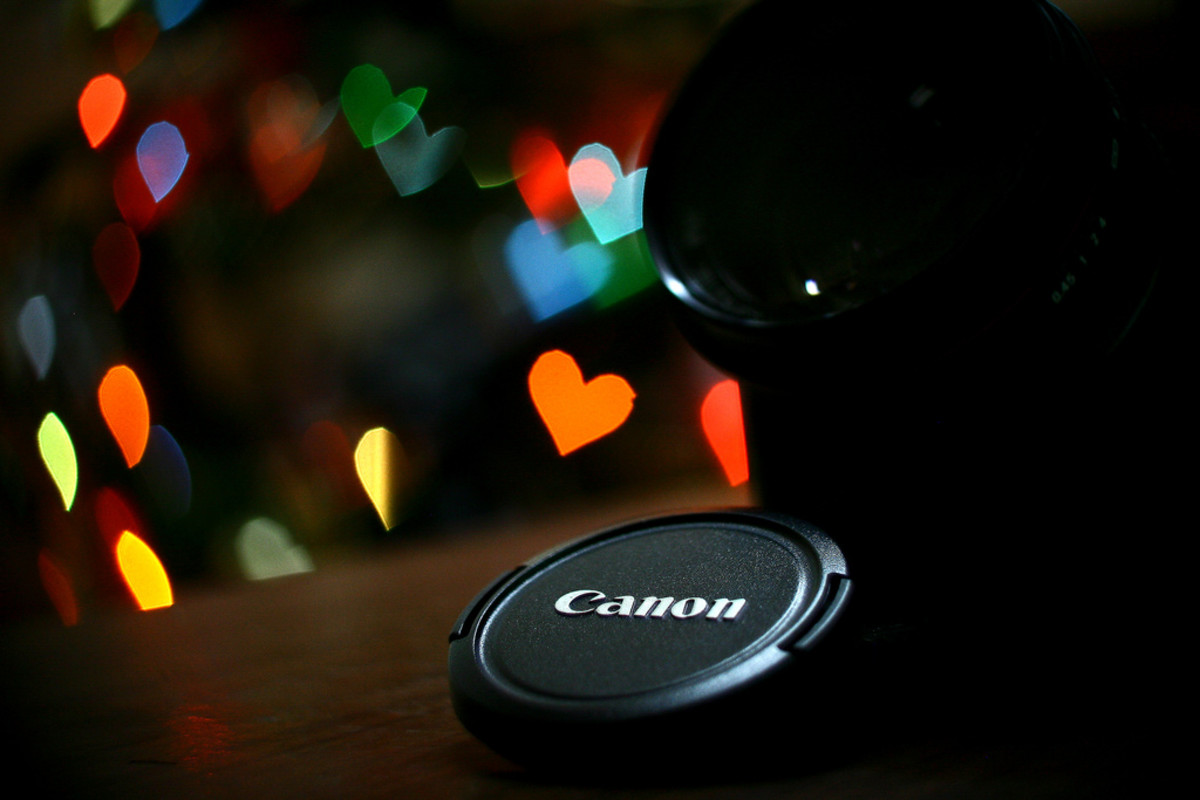
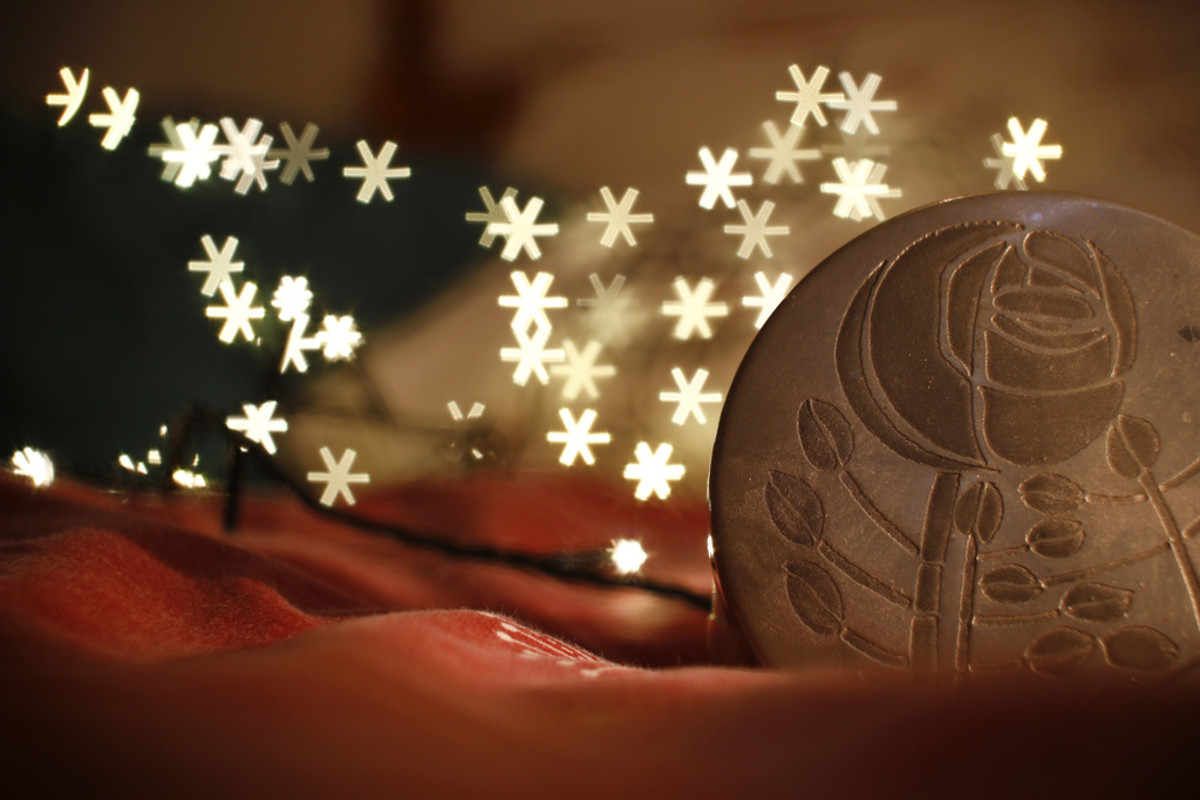
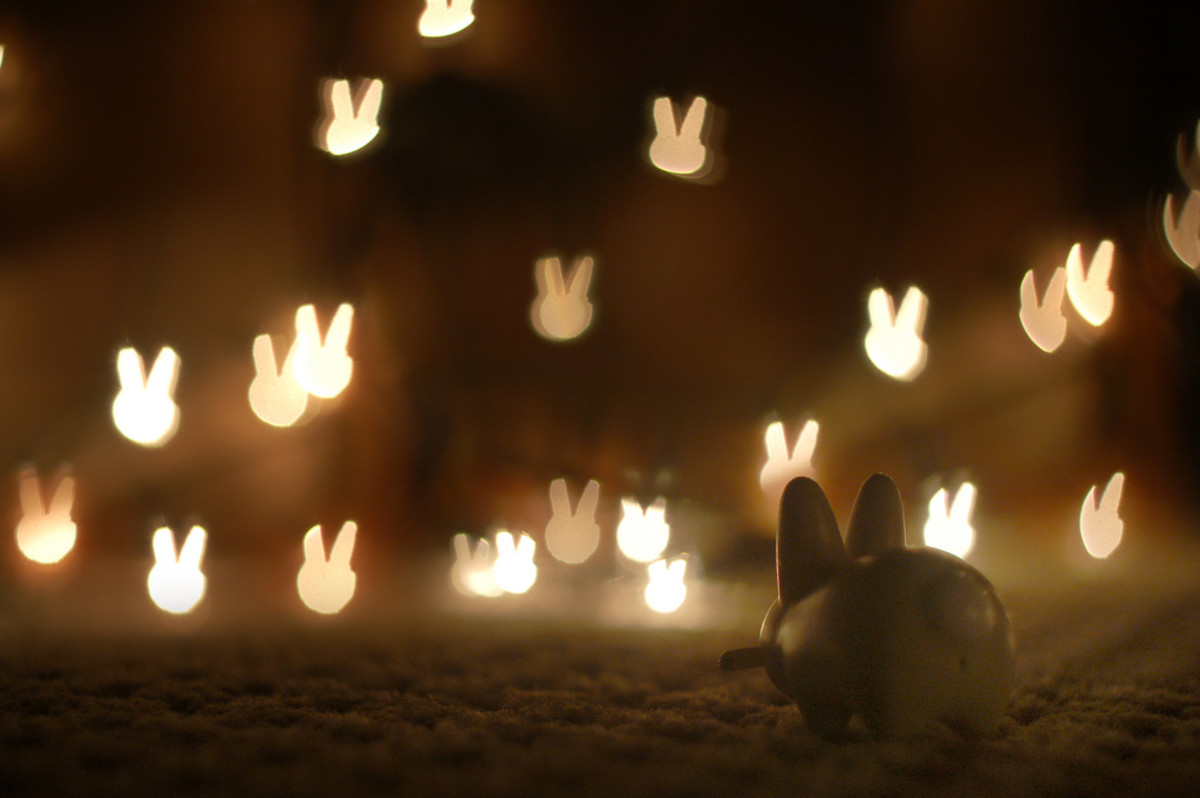
1. DIY Shaped Bokeh
This is a neat little DIY trick that allows you to change the shape of your camera's natural bokeh shape (usually this is hexagonal or circular). The shape comes from the camera's iris, but by creating an index card with a cut out shape and placing it in front of the camera's lens, you can create fun shapes like snowflakes, hearts and stars. This technique can also be used in videos.
To do this technique, use a low aperture. A DSLR camera works the best, but some people have had luck using their smartphone. If you'd like to learn how to create your own interchangeable DIY Bokeh from paper, I've written a detailed hub about it here: DIY Shaped Lights with Your Camera Bokeh.
Examples of Shaped Bokeh
Click thumbnail to view full-size

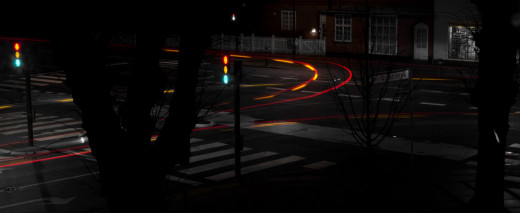
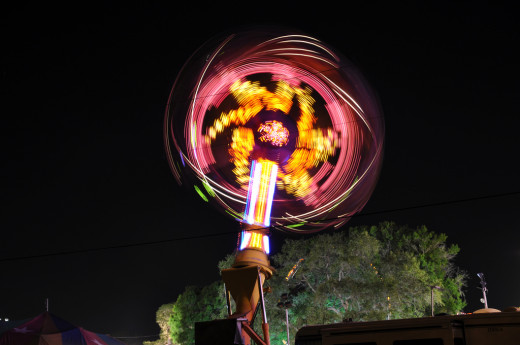
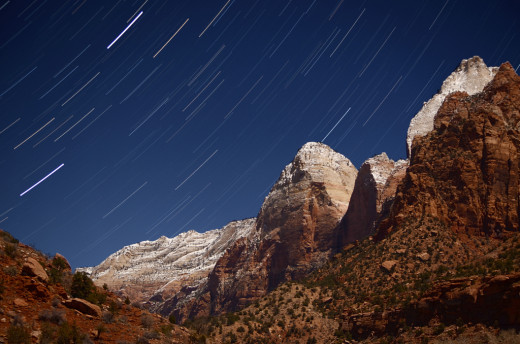
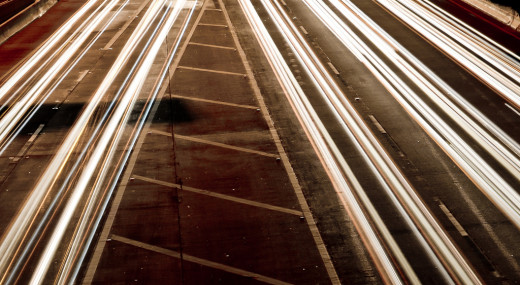
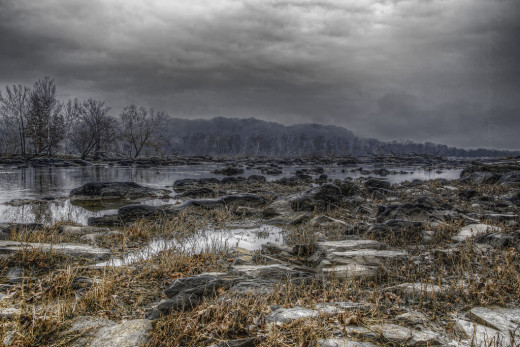
2. Long Exposure Photography
The technique is a great way to capture the difference of a certain place or moment. A good idea for long exposure photography is blurring the motion of a river or the movement of clouds. This creates a dynamic look to your photographs.
In order to do this, change the shutter speed of your camera and adjust your aperature and iso settings to properly expose your image. You may need to make use of ND (Neutral Density) filters if your subject is outdoors to keep the exposure in check.
If you want to find more about long exposure photgraphy, check out my Long Exposure Photography: Materials and Setup for a great introduction.
Examples of Long Exposure Photography
Click thumbnail to view full-size


3. Timelapse Videography
After playing around with long exposure photography, why not learn how to create a timelapse videos from your images? This is an exciting way to see movement in a subject like never before. The anticipation and excitement after taking the images carries over into the post production process when you finally get to see your photos come to life.
In order to do this, you'll need some sort of a post production program like After Effects, an intervalometer (or Magic Lantern), a battery pack or power adapter (optional) and some patience. I've written a guide to on how to create a timelapse video from start to finish. You can read that here: How to Create a Timelapse Video.
An Example of Timelapse Photography
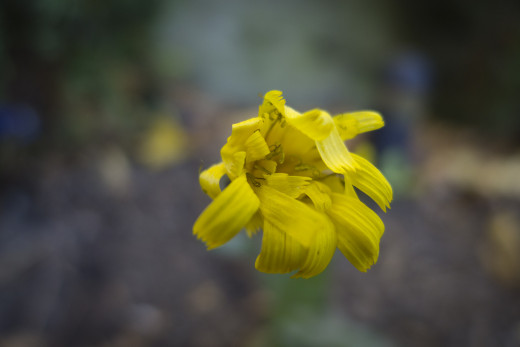
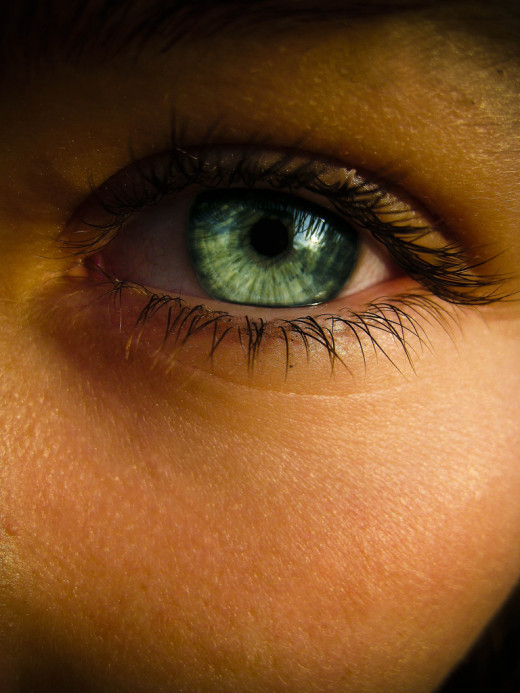
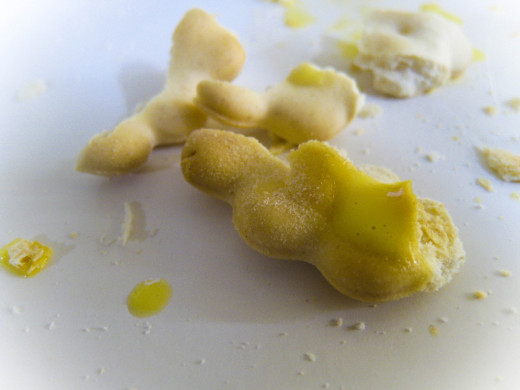
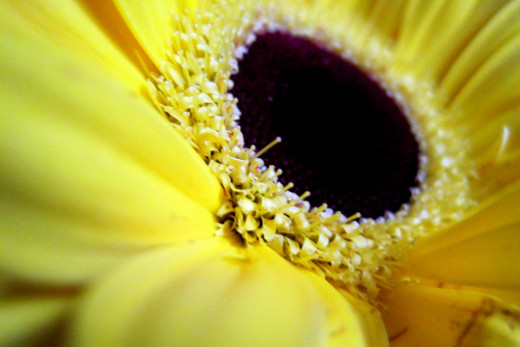
4. Macro Photography
If you're looking for a technique to try for your Point and Shoot camera, Macro photography is a feature that is usually included in today's P&S cameras. There's usually a feature in the camera that allows you to switch the focus to macro. This will tell the camera to focus close to the lens for some pretty amazing results. You can of course do this with a DSLR or most other cameras.

Macro Tip: You may have to trick your camera into focusing up close by turning the camera off, putting a finger close to the subject so it's forced to focus close range, then move your finger away and your camera should focus on what you want it to.
For an example of Point and Shoot cameras and an explanation of how to set-up this feature, I've written a short hub about it in my article, How to Shoot Macro Photos using a Point and Shoot Camera.
Examples of Macro Photography with P&S Camera
Click thumbnail to view full-size


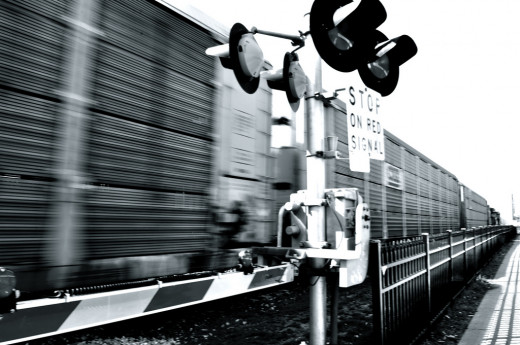
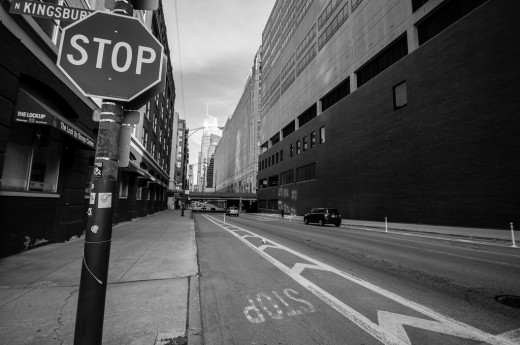
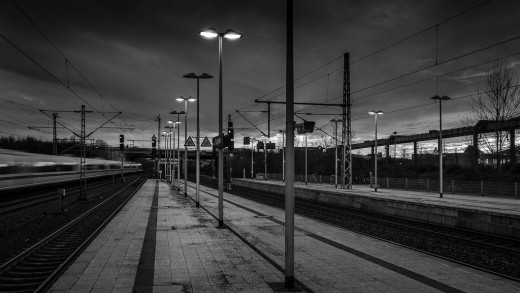
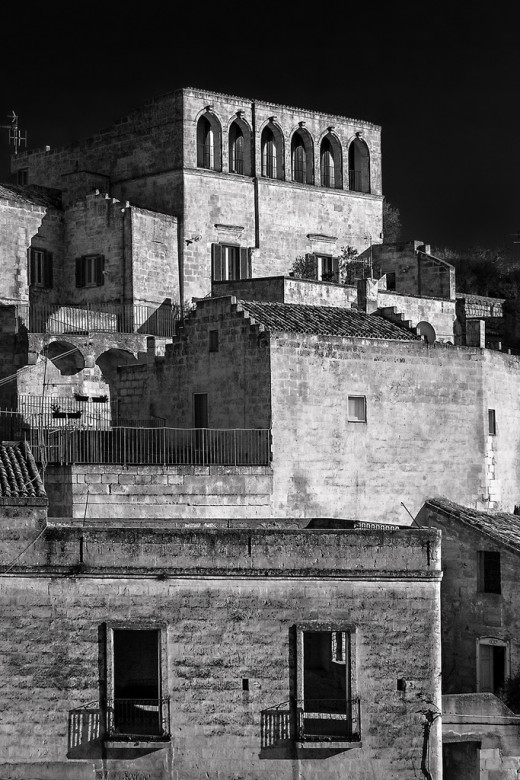
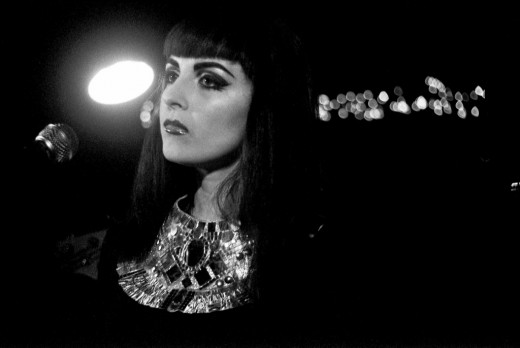
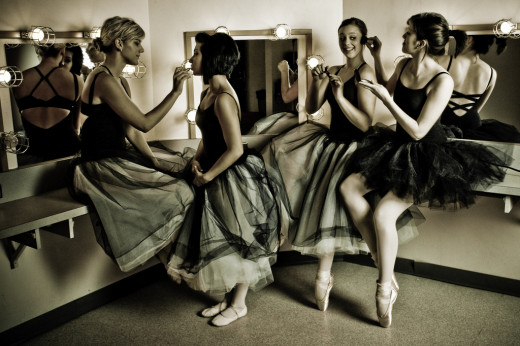
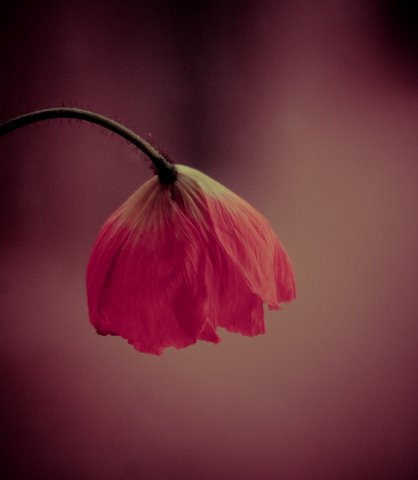
5. Black and White Photography
For this technique, I'm not talking about taking a regular photo and then processing it in post and changing it to black and white. There's an actual thought process that goes behind composing the lighting and the subject for black and white photography. If you've only ever done B&W photography in post, consider changing your camera to the B&W mode and playing around with the lighting to see how it affects the image.
Black and white photography excels in portraiture and helps create a mood and strong focus that can sometimes be lost in colored photographs.
Examples of Black and White Photography
Click thumbnail to view full-size


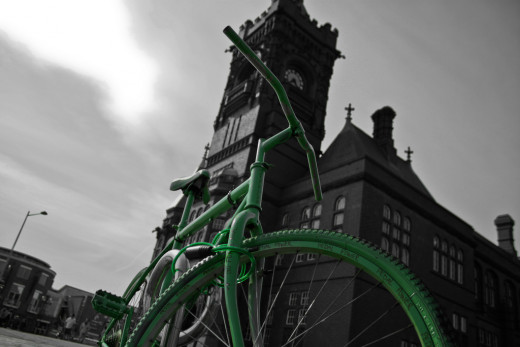
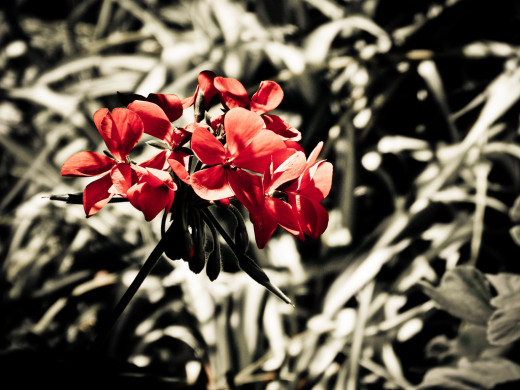
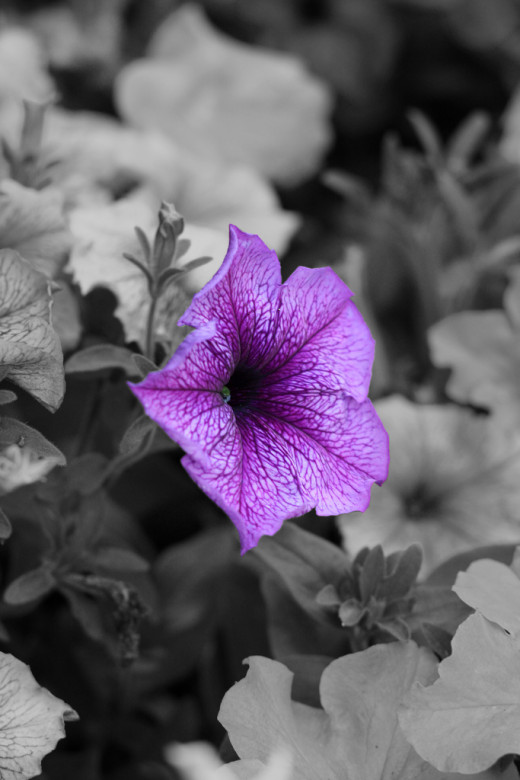
6. Selective Color
This is a technique that was made famous by Sin City and you see it a lot in commercials. It's a technique that is either done in camera or in post production. Basically the camera or person creating the effect selects only one color (or multiple) that will stay colored, while the rest will be black and white. This really draws the focus of the viewer to the colored object.
If you have a newer Point and Shoot camera, you'll probably find this option under the effects menu. You can do this in camera and not have to worry about post production, however, remember that if you do it in camera, you lose the capability to adjust and tweak the setting like you could in post production.
Examples of Selective Coloring
Click thumbnail to view full-size


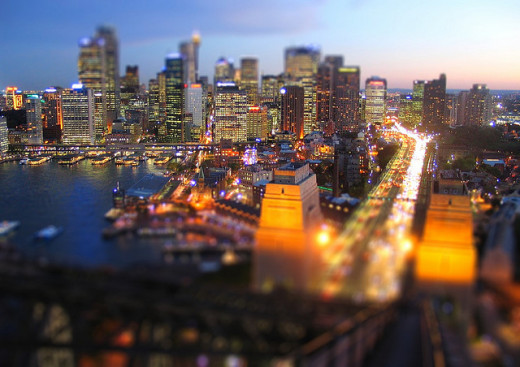
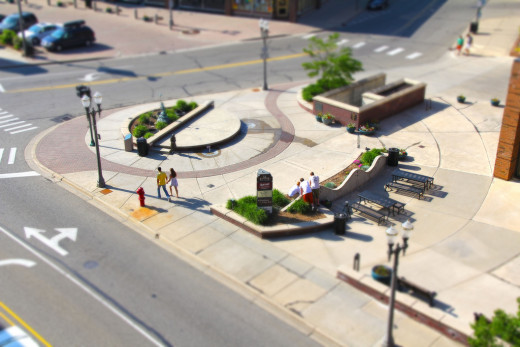
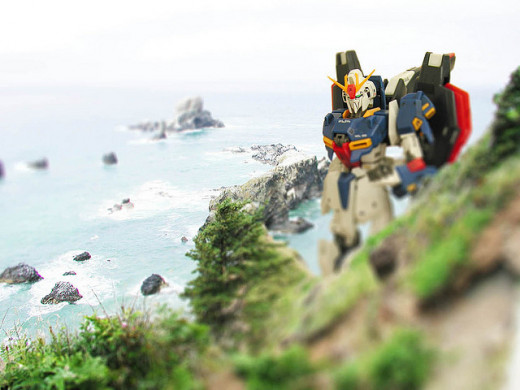
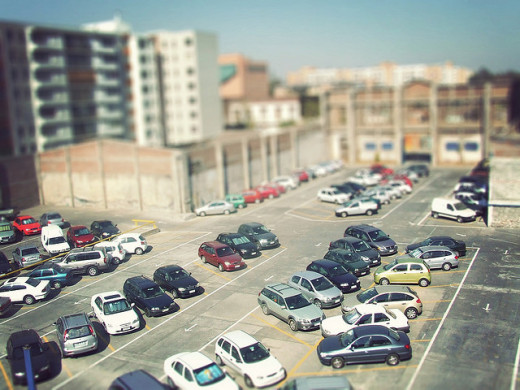
7. Tilt-shift Photography
This is another effect that is sometimes included in the camera's filters (called Miniature Effect). The basic theory of this is that there is a blur in the front and back of the subject that makes the focused plane look like it is a miniature, while in fact it is not. Think of a small train set or a miniature doll house.
Usually achieved with a tilt-shift camera lens, but it can also be re-created in Photoshop by blurring certain planes. There's a great tutorial of how to do this on instructables here: How to Achieve Mineature Effect via Photoshop.
There is also a website that will do the exact same thing for you, all you need to do is upload your photo, select what you want to be miniaturized (or in focused) and push the button. You find the website at: http://tiltshiftmaker.com/
Examples of Tilt-shift Photography
Click thumbnail to view full-size


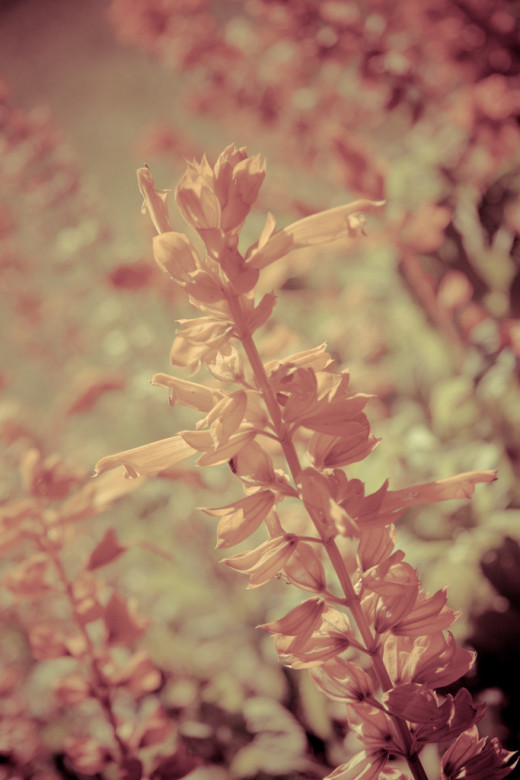
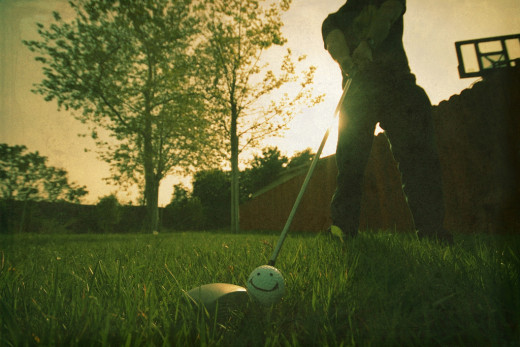
8. Filters
Playing around with filters is a good way to produce new and interesting ways to view your photographs. There are in camera effects, post production effects and filters that you can attach directly to your camera like the cokin-p filters.
Filters have become really popular with Instagram and for professional photographers. Wedding photographs and portraits are rarely unedited these days. Most are enhanced either for artistic purposes or for aesthetics.
Examples of Filtered Photos
Click thumbnail to view full-size


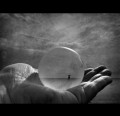
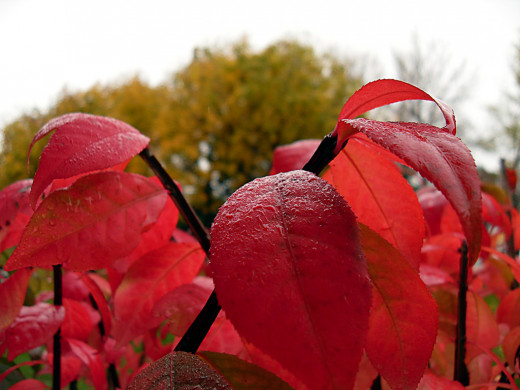
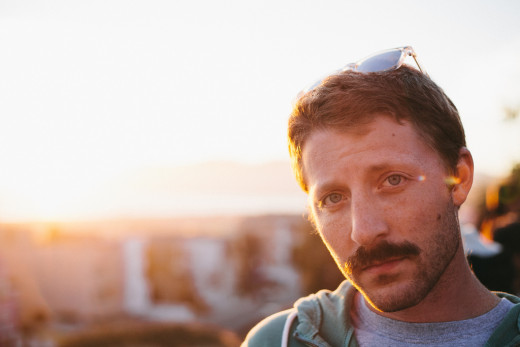
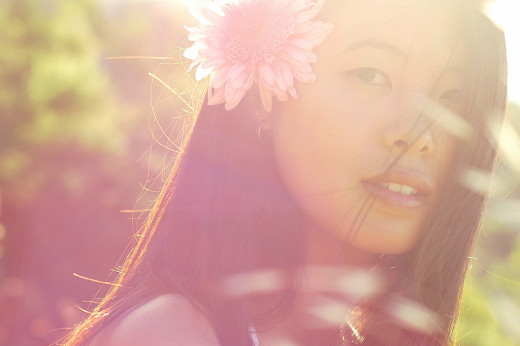
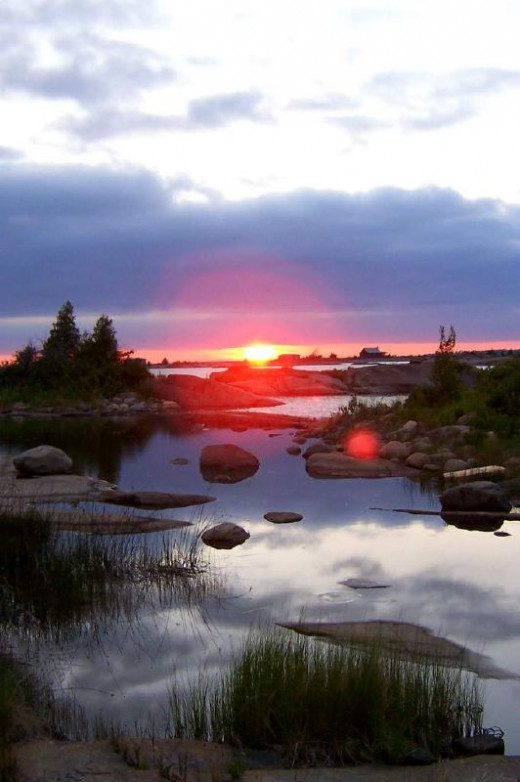
9. Natural (or Artificial) Lens Flares
Lens flares can be a great way to add a little extra touch to your photographs. Whether or not you create them in post production or shoot them as you compose your photograph, depends on your camera and location. Learning how to shoot into the sun is a great way to create rim lighting on your subject and bring them forward from your background. It's a little trickier, but it can produce some amazing results.
You can also create artificial lens flares with any graphics editing program like Photoshop or Lightroom. This will add something more to your photograph, but be sure to stay away from just slapping on a cheesey lens flare without a purpose.
A good tutorial and look at creating a natural looking lens flare is Fstopper's Add Lens Flare to Your Image the Right Way.
Examples of Lens Flares in Photos
Click thumbnail to view full-size


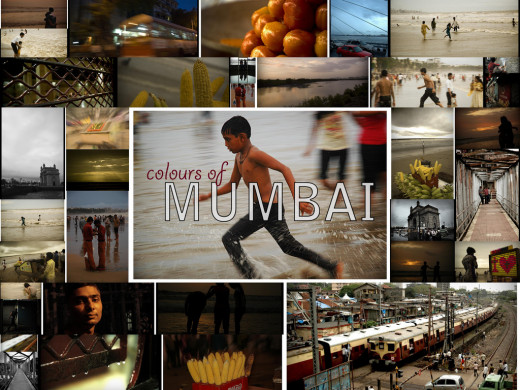
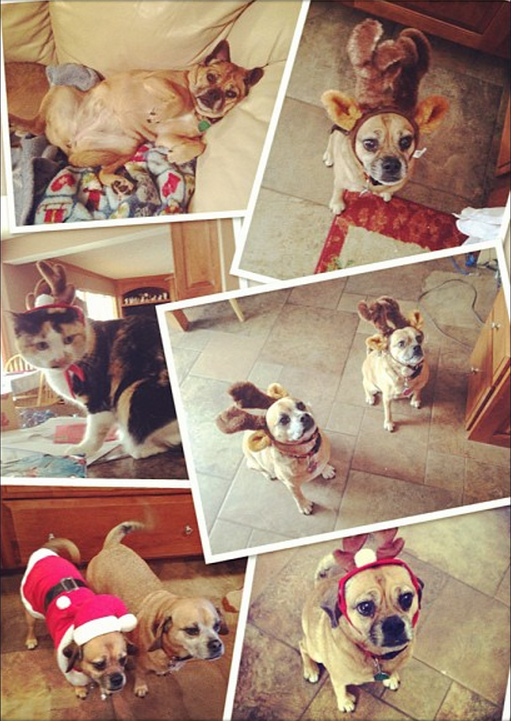
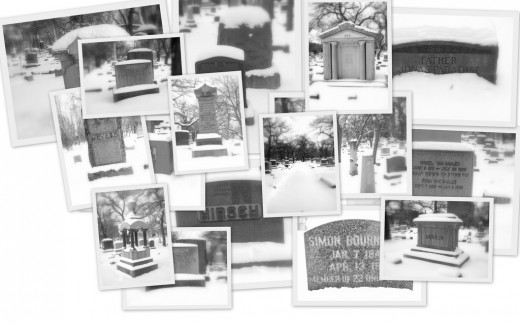
10. Photo Collage
How do you display your photos that you've taken? If you've never created a photo collage to share on social media or created a canvas with multiple shots of the same people as a gift, you may try your hand at creating a photo collage (either digitally or with printed media).
Usually you'll see something like this after a professional photo shoot or as a holiday card, engagement accoutrement or another kind of announcement. There's a certain mindset that goes into placing and arranging photos this way, especially if you're shooting the photographs yourself.
Examples of Photo Collages
Click thumbnail to view full-size