How To Make A Library in Adobe InDesign
Shortcuts in Adobe InDesign
Graphic design can include a wide variety of tasks, and when you work in the field it is helpful to have useful tips that increase efficiency. I have worked several years in the field, dedicating a lot of my time to magazine layout and publication pagination. When you are working on 3-5 publications going to the printer in the same week with page counts well over 100, it turns into a necessity to have shortcuts and time saving tips in software. I work primarily with Adobe InDesign for any sort of layout project; this tutorial will show you how to create a library for future use.
There are a few different reasons for creating a library, all of them having in common one thing: efficiency. The best way to lay out a publication is to lay in the advertising first; and I commonly use reservation image boxes as opposed to pulling in each ad. This makes it easier to work with the document because it isn't bogged down with all of the artwork. I definitely do not want to create a new document, each with different sizes, create an image box, copy and then paste into the document, if I have an easier option of clicking and dragging. I also commonly use a library for 'filler' ads or 'house ads'. These are repeating ads that don't change, and are used commonly in the layout. Now, there are ways to do this without utilizing a library, however, if you can reduce the time spent on projects by only one or two clicks, you are saving time and making money in the long run.
How to create a library in Adobe InDesign:
- Go to “File” → “New” → and choose “library”.
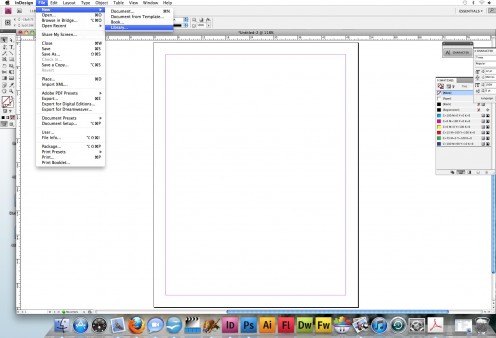
2. Name your library and save it to a relevant place on your computer or server
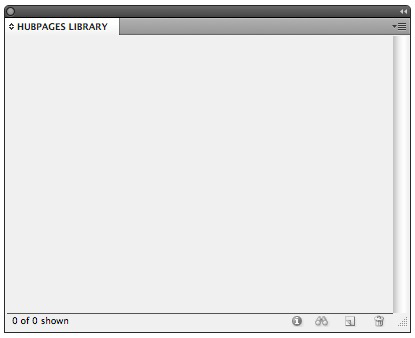
You will be presented with an empty library that is now ready to fill
3. You will now need to create the document that you want in your library. I am creating a standard business card template because it is a common ad size for a variety of publications. I also commonly use this when I want to lay out a full sheet of business cards to print on a home printer.
4. Go to “File” → “New” → and choose “Document”
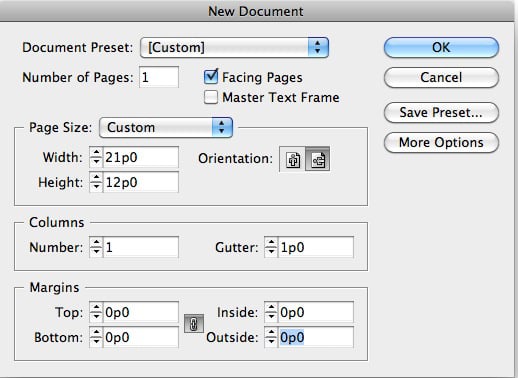
6. Type in the dimensions of the business card (3.5 inches wide by 2 inches high).
7. Create an image box the same size as the document (3.5 inches wide by 2 inches high).
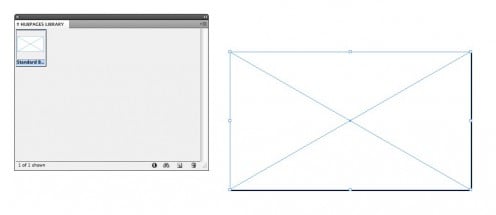
8. Click and drag the image box onto the library, and rename. To rename the item in the library, just double click the document in the library and it will bring up a prompt to allow you to rename.
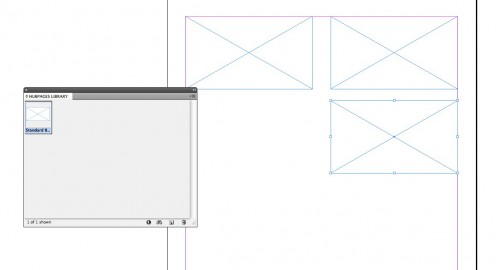
9. To use the library, create a new document such as a letter size (the right size to print multiple business cards) and begin to click and drag the library file to your new document file.
You Can Also Use Libraries for Logos and Artwork
I tend to create separate libraries for each client, and each publication if deemed important. This way I can keep all of the filler ads, house ads and ad sizes all in the same library that is relevant to the layout that I am completing. When laying out a full publication, you will only need to click and drag each ad from the library instead of creating a new image box for each advertisement.
I also use libraries for logos and artwork that is used frequently in publications. Only add items to a library that you know you will use repeatedly to keep them as clean and concise as possible. The more cluttered the library is, the less useful it will be for you.
If you plan to share a library, make sure that any artwork, advertisements and logos are saved in the same folder as the library. If you have the artwork on your desktop, the files will be missing when you go to use them, and will print poorly. When sharing a library, only one person at a time can access the files.
If you want to see other great tips and tricks check out this hub or check out a great tutorial on margins and bleeds here.
Learn how to create a layout for a publication in Adobe InDesign in this tutorial.

