How to create a nice background using Adobe Photoshop


Start
For creating a nice looking background of your own, you have to practice and practice with designing softwares. I am here tying to explain how to create a nice looking graphic background using adobe photoshop.
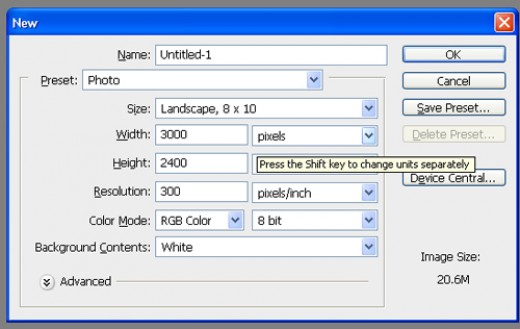
First you have to create a document with enough size.
Create a new document
While designing with photoshop, always create new layers for each and every separate designs you draw. By doing this, you can modify each design or can delete any separate item in any time. You can easily create a new layer using Ctrl+Shift+N button in windows.
Step 2
Create a new layer and draw a simple shape using pen tool as in the picture below and fill it with a blue color. You can choose color according to your own taste.
While drawing the design you can use transformation tools like skew, warp, etc. by pressing Ctrl+T and right click on it and choose from the drop down list.

After creating the design, create a duplicate of the same by using Alt key and drag with mouse or pressing Ctrl+J on key board. After cloning you can use the skew option and scale option to fit the image as below and use -> Select-> Load selection from the menu and fill it with a dark color of the previously filled color.

Step 3
After that you have to fill black color in the background layer.

Step 4
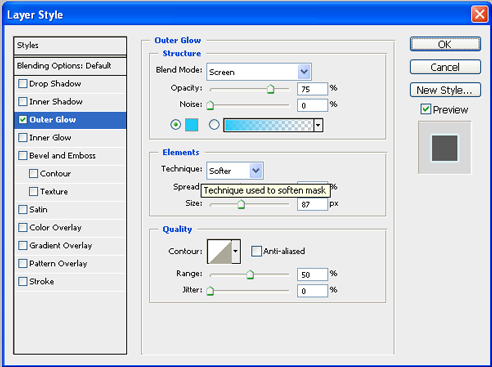
Now we have to provide some effects to the design. Use the Blending options by just right click the layer of the bottom design and give the outer glow effects as below.
For bottom layer
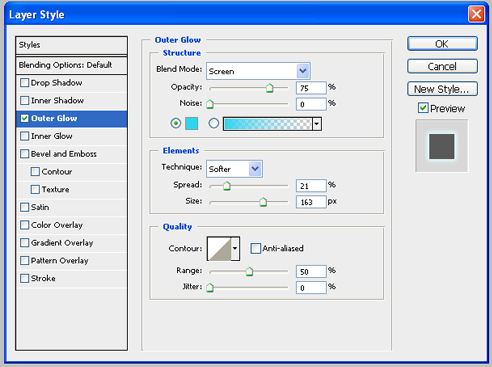
For top layer
Result after the outer glow effect

Step 5
Then duplicate the top design layer two times for more glow. Use Ctrl+J two times.
After we have to add some star glow effect. For this use the custom shape tool from the tool box and select some stat shapes.
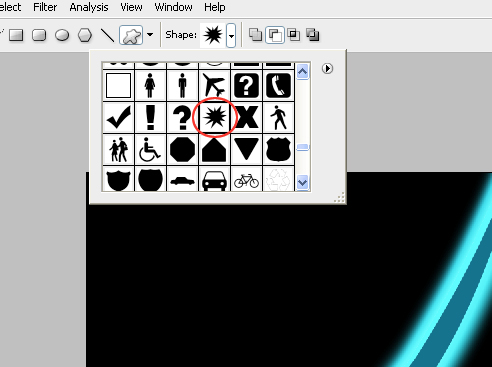
Important
Use different star shapes in random size and place those in correct positions.
Use the same color used for the design and use different layers for each shapes and also give the outer glow effect too and randomly use multiple and single layer combinations for each stars

Step 6
Create a new layer and use elliptical marque tool for creating a shade in the image.

Step 7
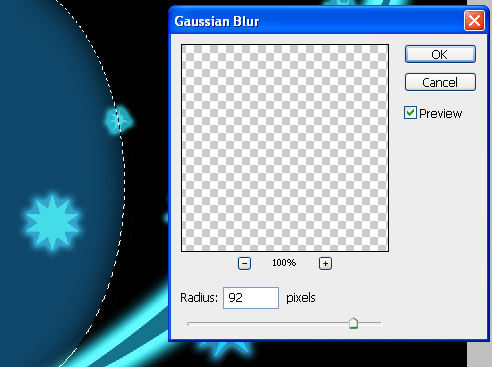
Load the selection of the shade and apply filter> blur> Gaussian blur and apply a radius of 92 as below.
step 8
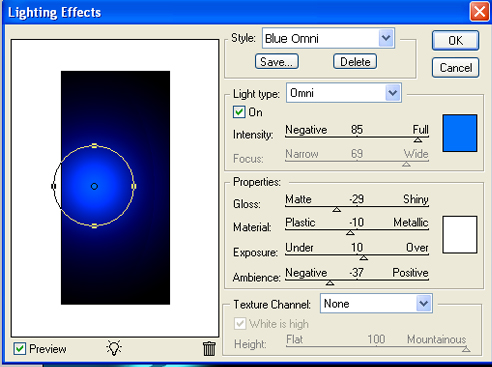
Use Filter> render> lighting effects and take blue omni from the styles and use the type of light Omni and use the settings as below.
step 9
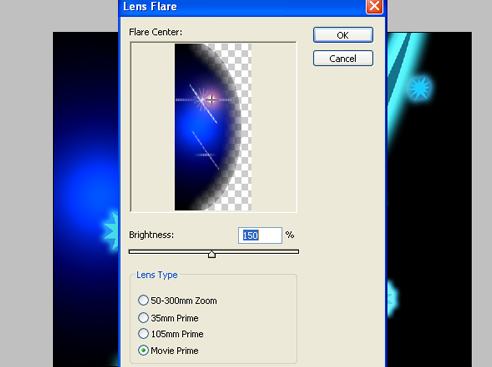
Use fitter> render> lens flare and use the setting as below.
Step 10
We are heading to the last step. First backup the PSD file by 'save as' and after merge all layers into one image by pressing Ctrl+Shift+ E.

Final steps
Now you can get different types of graphics by using the artistic options in the Filter menu.
Some of the examples are given below.
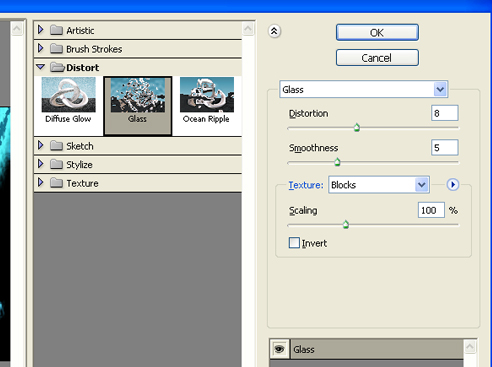
Filter>Distort> Glass
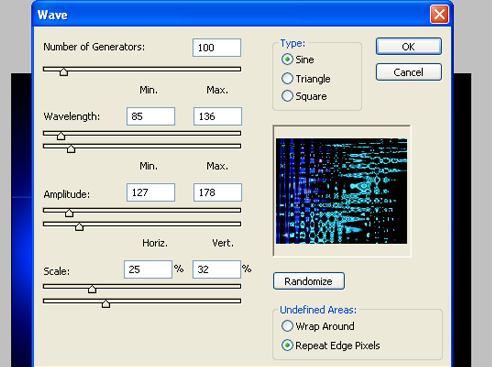
Filter>Distort> Wave
Result

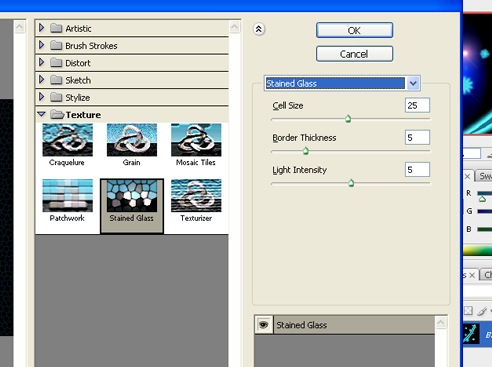
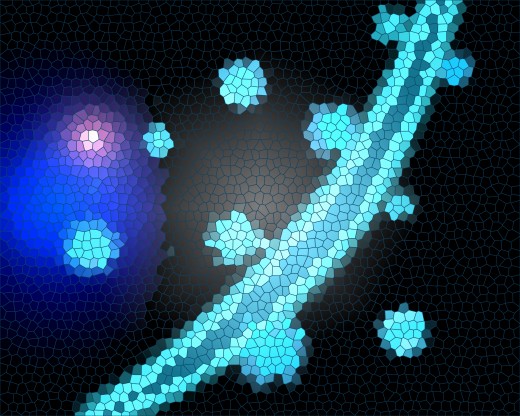
Filter> Texture> Stained glass
Result
In this way you can create lots of images of your own using Photoshop. Hope you learned some tools and effects from Photoshop. Good luck...


