Amigurumi Patterns
What is Amigurumi?
Amigurumi means crocheted/knitted toy in Japanese.
Read more about it on Wikipedia!
I started crocheting amigurumi in 2010 and have since created many cute and fun creatures for myself, loved ones, and as commissions.
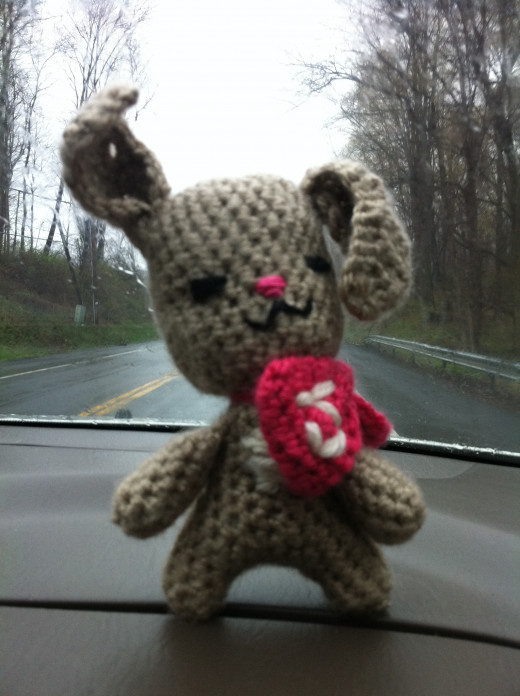
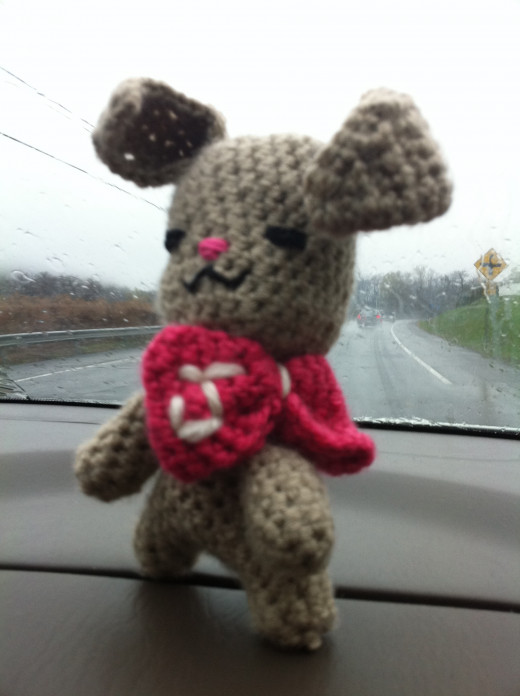
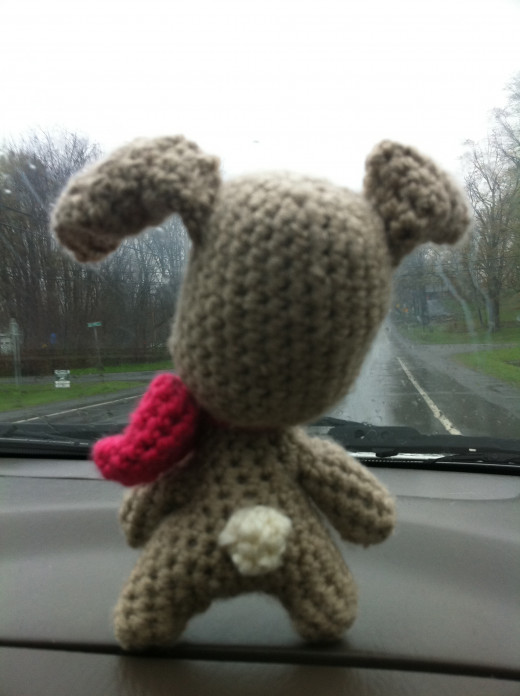
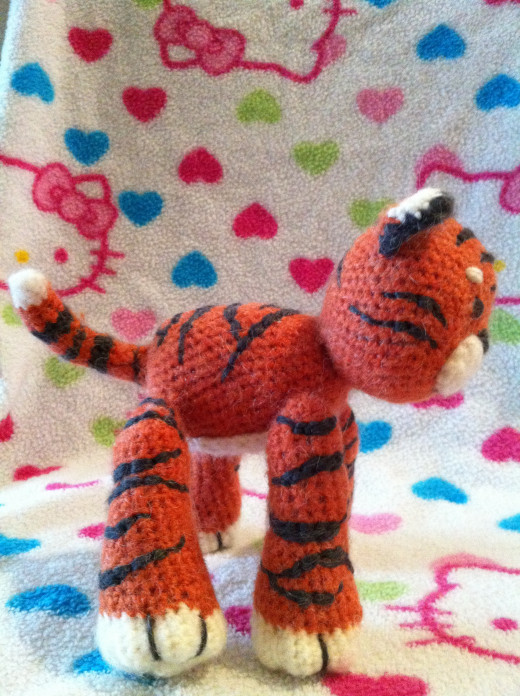
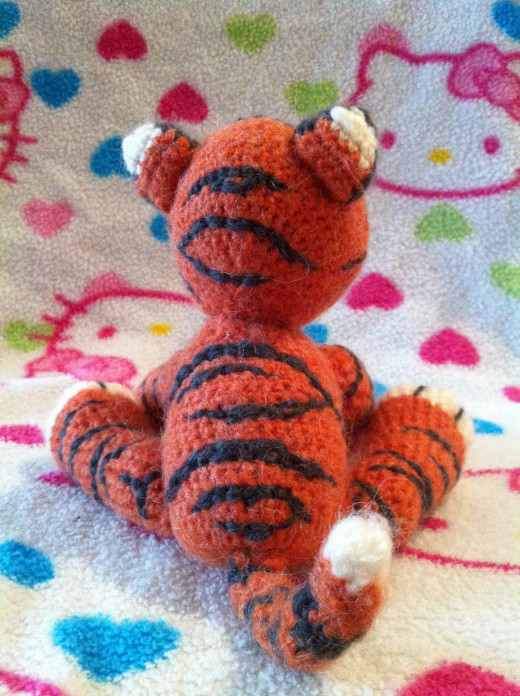
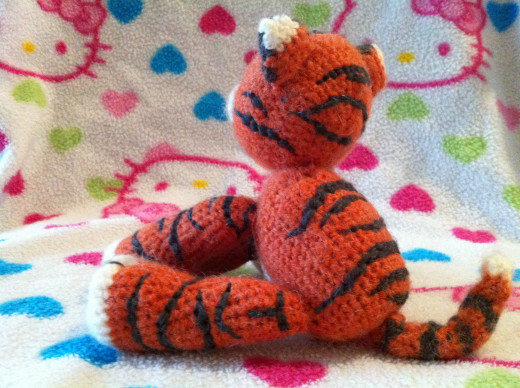
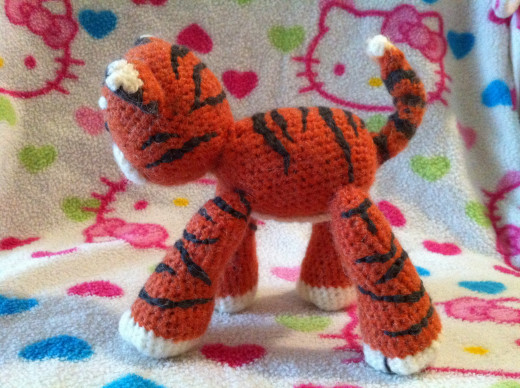
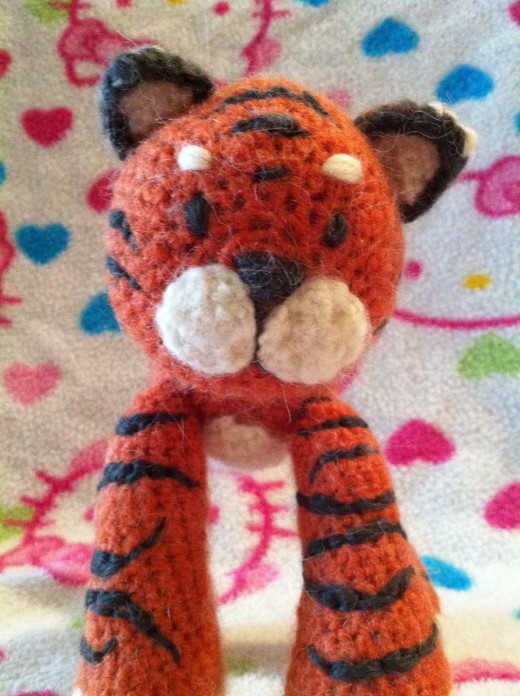
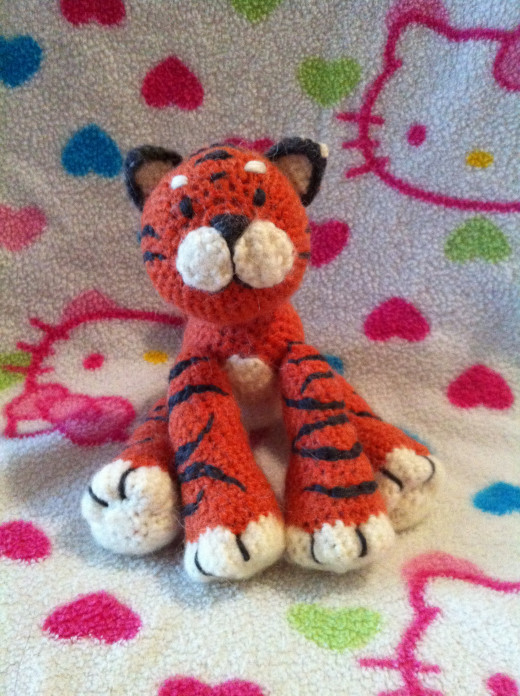
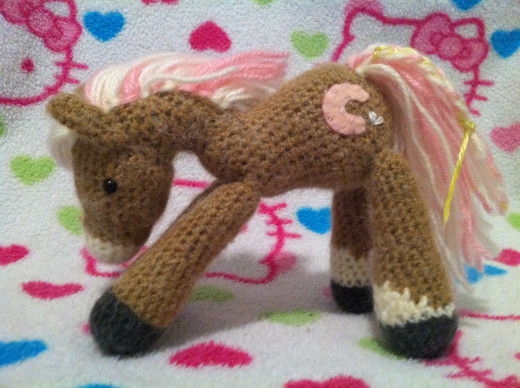
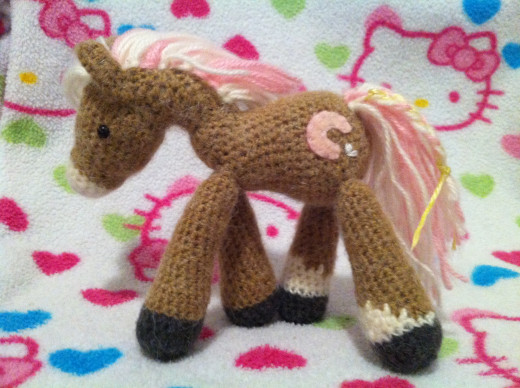
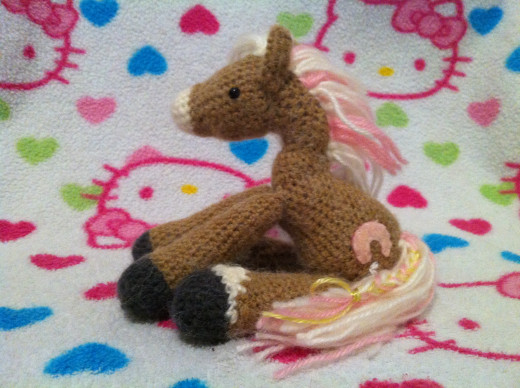
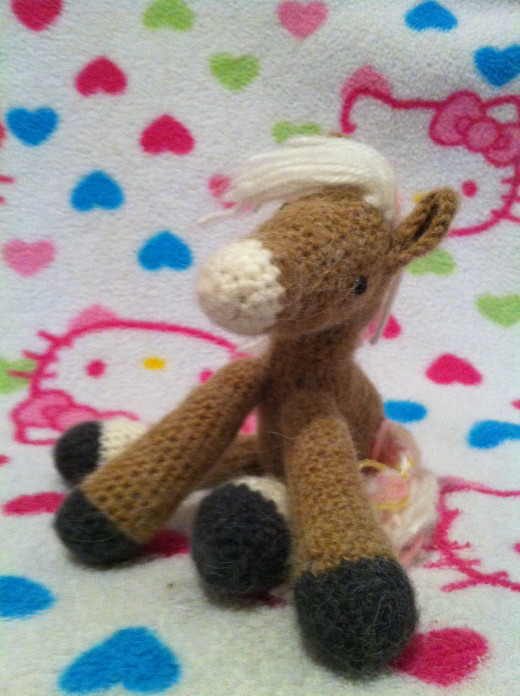
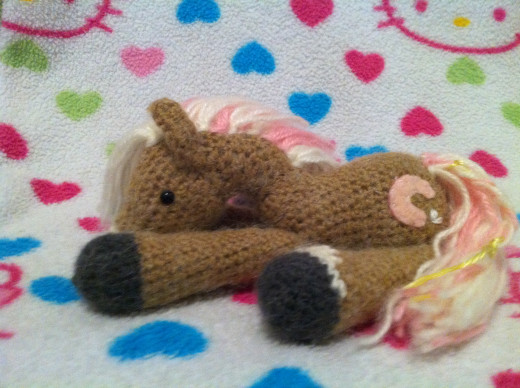
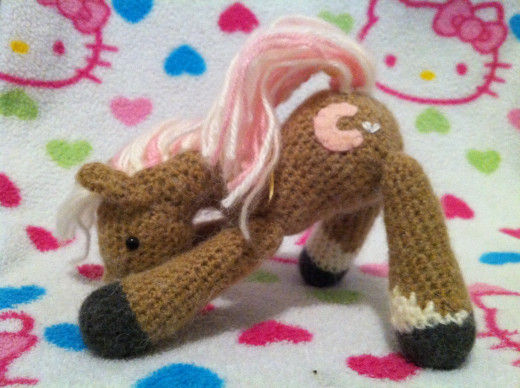
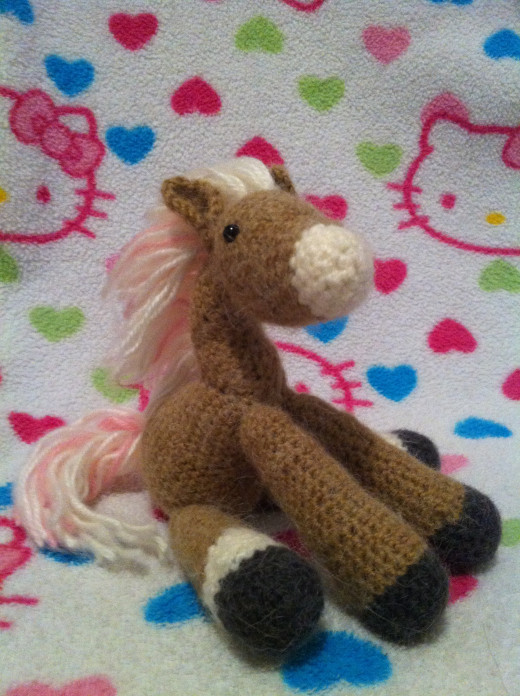
Here you will find some photos of my amigurumi work, links to amigurumi patterns I've made, and walkthroughs for amigurumi I made freehand.
I hope you are inspired!
My Amigurumi Patterns
Here's a complete list of my amigurumi patterns here on HubPages, including the ones I mention here. If you like looking at my crocheted creatures, check these out to see more of my work.
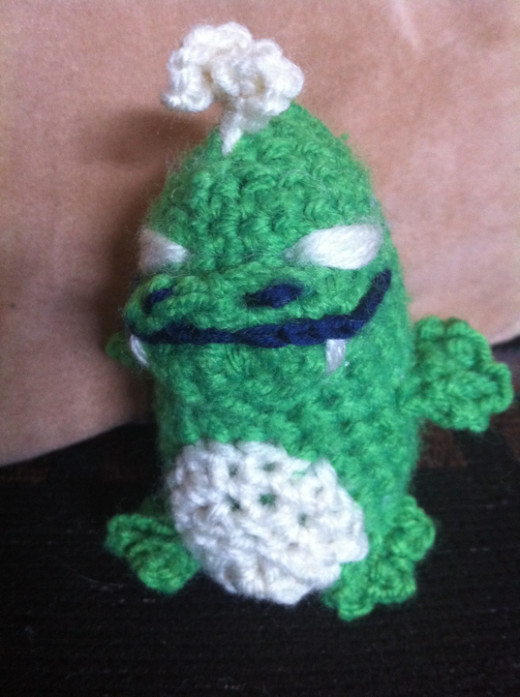
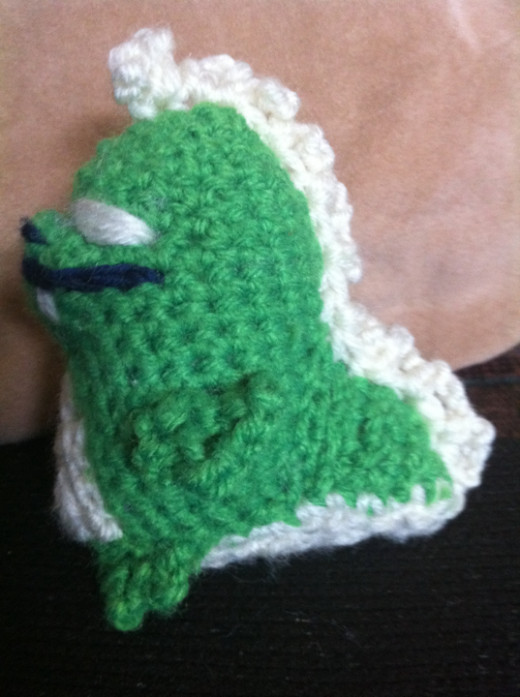
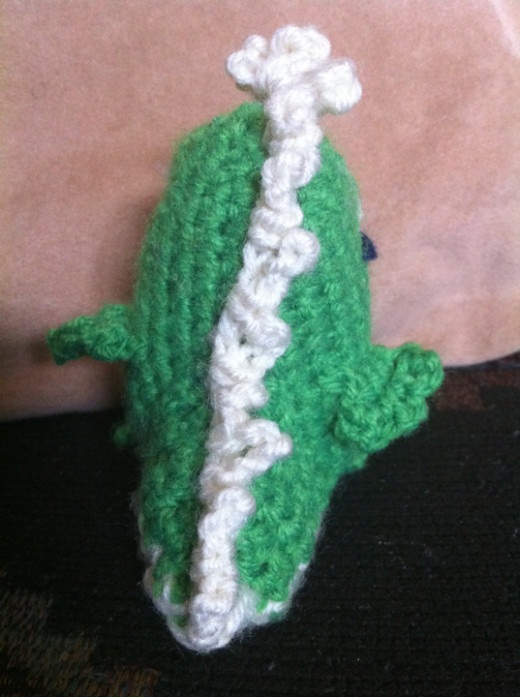
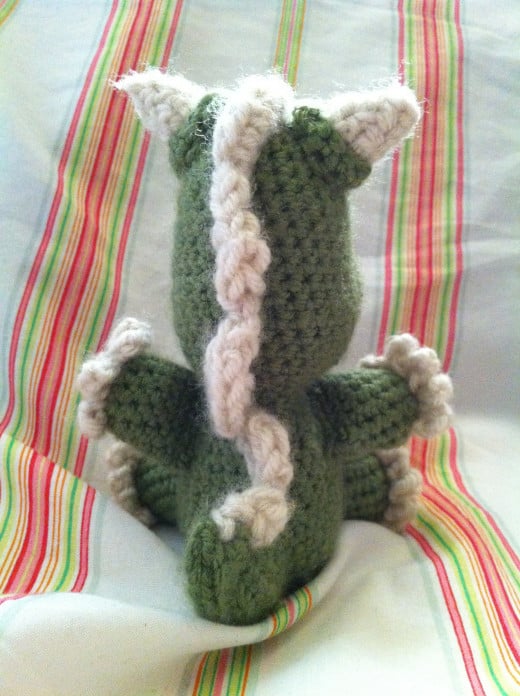
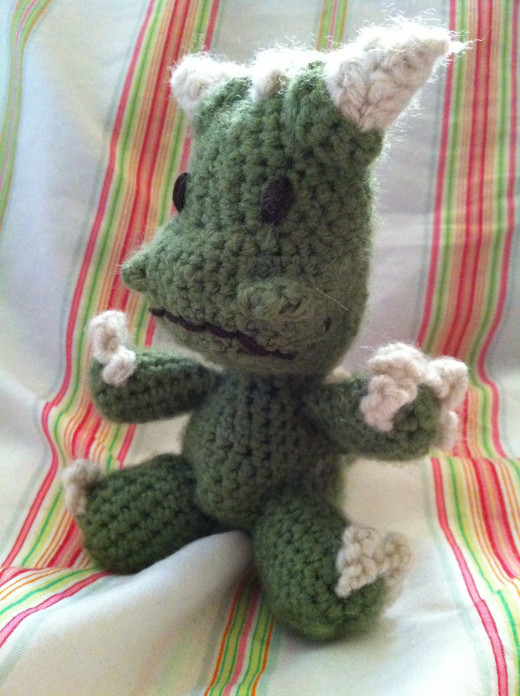
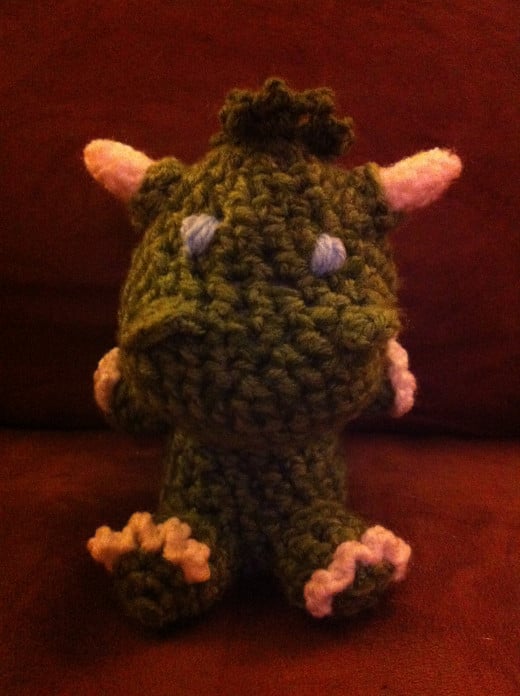
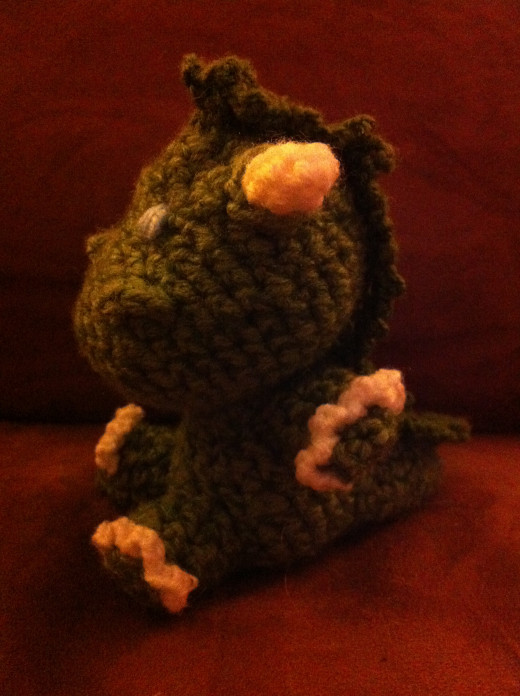
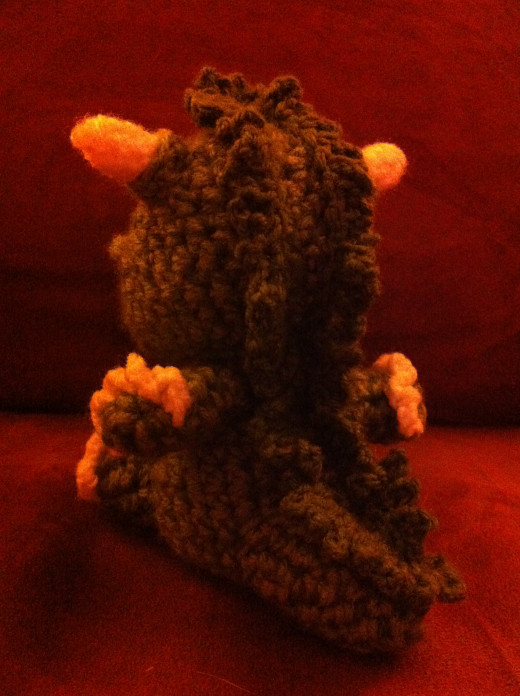
Kaiju
Click thumbnail to view full-size


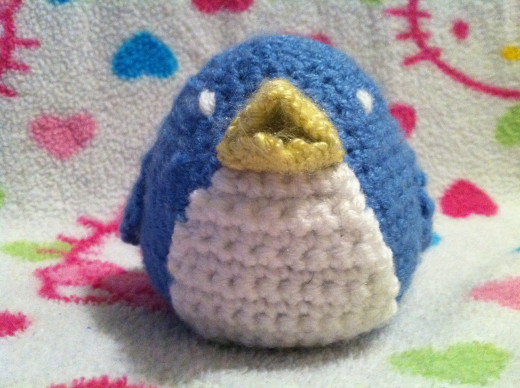
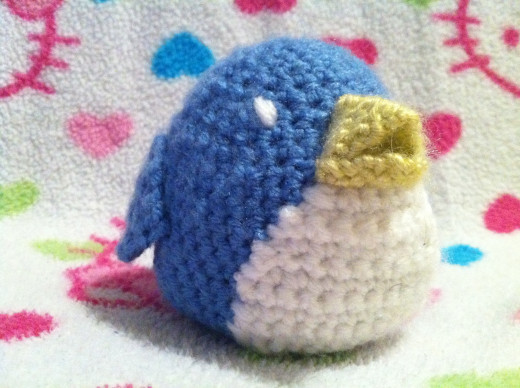
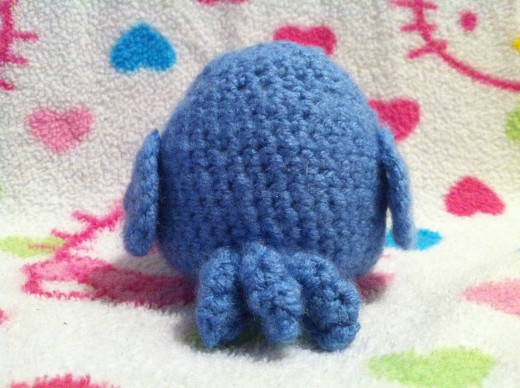
Blue Bird
Click thumbnail to view full-size


Magic Ring - Very Helpful!
Using 2 or More Colors
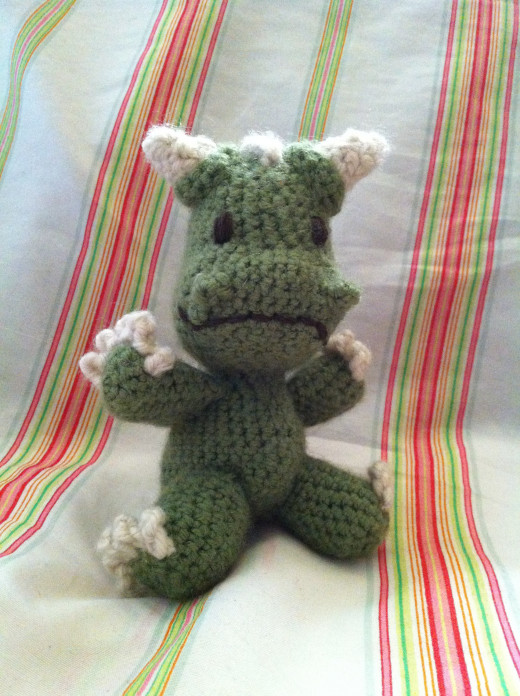
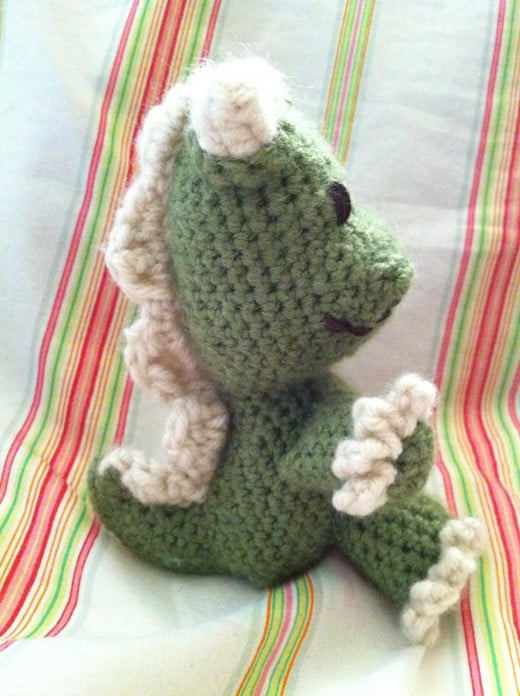
Walkthrough of how I made Kaiju
Kaiju was one of the first amigurumi I made so his design is fairly simple. If you have basic crocheting skills you will be able to follow these steps to make your own.
If you already know how to make amigurumi you may not find this project very challenging. However, if you are new to amigurumi this is a fun activity that will help you get your feet wet!
1. First, select a desired crochet hook and yarn. For Kaiju I used a F crochet hook and 4-medium yarn, but depending on the look you're going for you can choose what you want. You'll need at least two colours; the colour for the belly (white), and the colour for the body (green)
2. Create a magic ring (see video on right) or chain three with the white then slip stitch the last stitch to the first one.
3. Stitch 6 or so single stitches in the ring you've created then gradually increase each round until you've reached a desirable width for your Kaiju. I increased something like this: round 1, 6sc, round 2, (2sc, 2sc in next stitch)x3, round 3, (2sc, 2sc in next stitch)x3 and so on...but you can do it your own way.
4. At the time I made Kaiju I did not know how to use two colours at the same time, so I actually added his belly later. I have since learned a better way to do this....so I'll say what I did and what I could have done and if you are making your own you can decide which method works best for you.
What I did: Fastened off the white. Using the green, I crocheted round until I reached just a bit shorter than my desired height for Kaiju. Using the white, I crocheted a circle directly on the belly of the green, decreased until the circle was closed, then fastened off.
What I could have done: Crocheted the green over the white yarn thread when going around the body and crocheted using the white over the green thread when working on the belly. Fasten off white yarn when belly was complete and then continue around with the green until desired height. (see video on right)
5. Begin to decrease, stuff the toy when the opening is just big enough, continue decreasing until toy is closed then fasten off.
6. You should now have a cylinder like shape. This is the body. Now for the tail and snout. I like to crochet directly on my pieces. I've found that most people like to crochet each part separately then sew it together--do what makes you comfortable! Sewing I find is great to add some flexibility/movement. But stitching directly on is more sturdy and less time consuming. Anyway.
For Kaiju's tail I stitched a semi circle round the back of the piece then did a few rounds. At the base I did single stitches but on the semi circle part I gradually decreased. I continued this until I just a nice tail shape, stuffed it, then closed it up and fastened off.
For the snout I crocheted a small long oval directly on the piece, crocheted a round or two, decreased, stuffed it, closed it up and fastened off.
7. The legs were (1sc, ch-4)x3 and the arms were 4sc crocheted directly on piece then (1sc, ch-3)x3.
8. The spikes were single stitch row from tip of tail to top of head then (1sc, ch-5) all the way back.
9. I stitched the face on with some yarn and a crochet needle. And there you have it! Little Kaiju!
If you used this to make your own amigurumi please share with me!
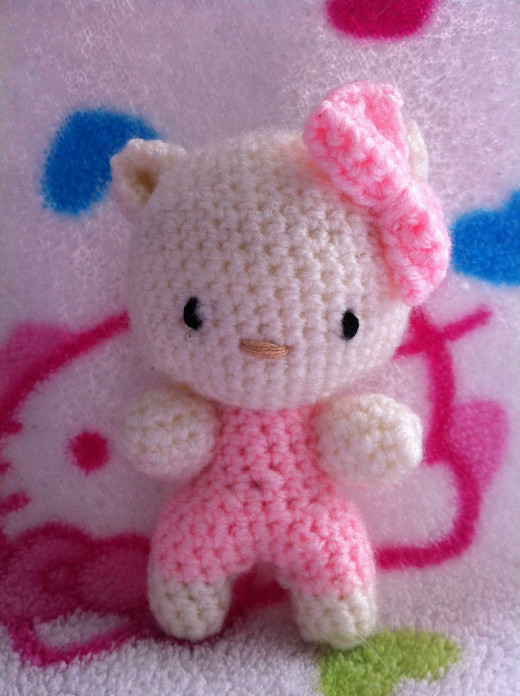
Learned from Rilakkuma
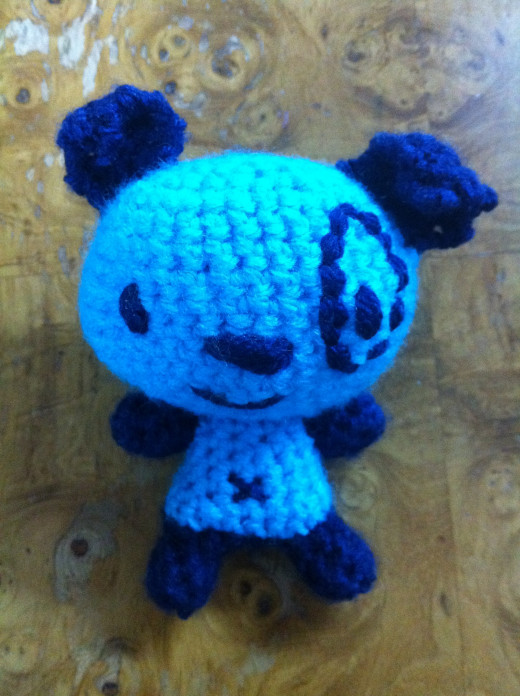
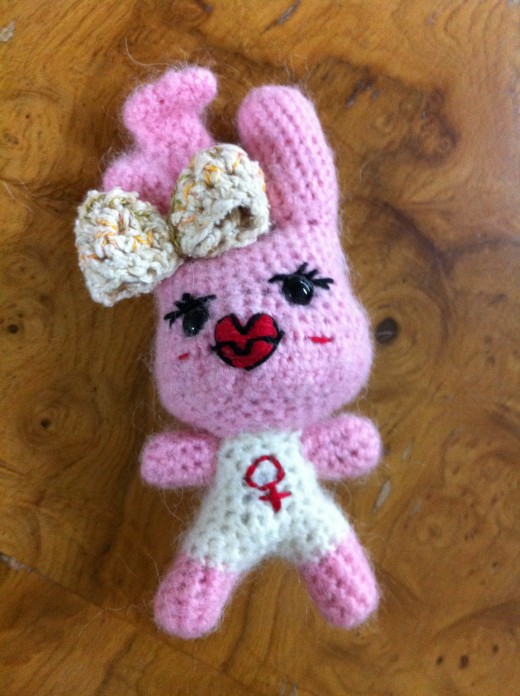
I crocheted amigurumi figures below using the video by beibettin as a guide. It's an adorable crochet music video that can teach you how to make a Rilakkuma amigurumi, if you pay attention.


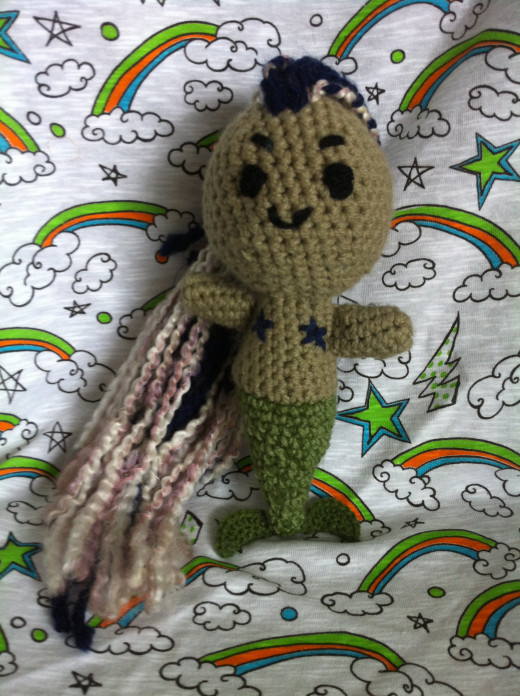
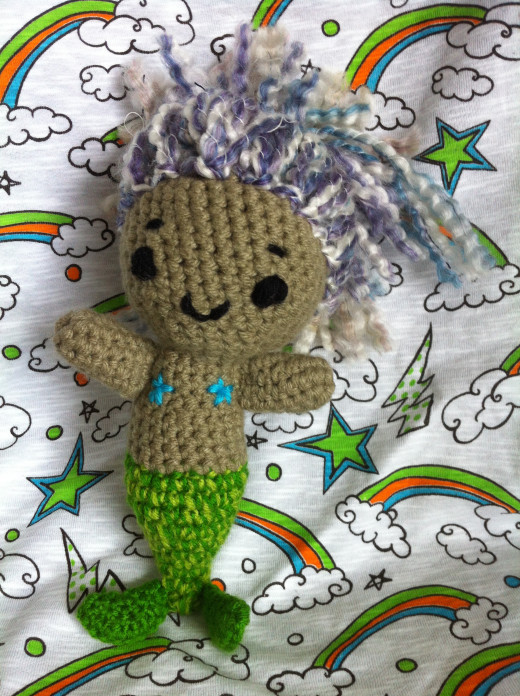
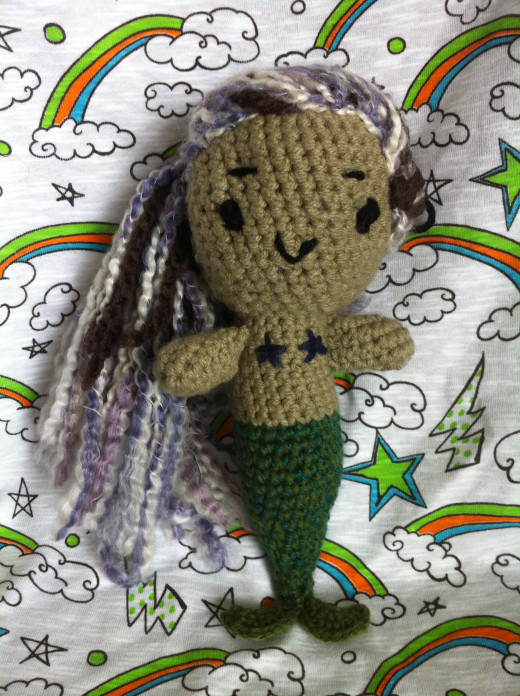
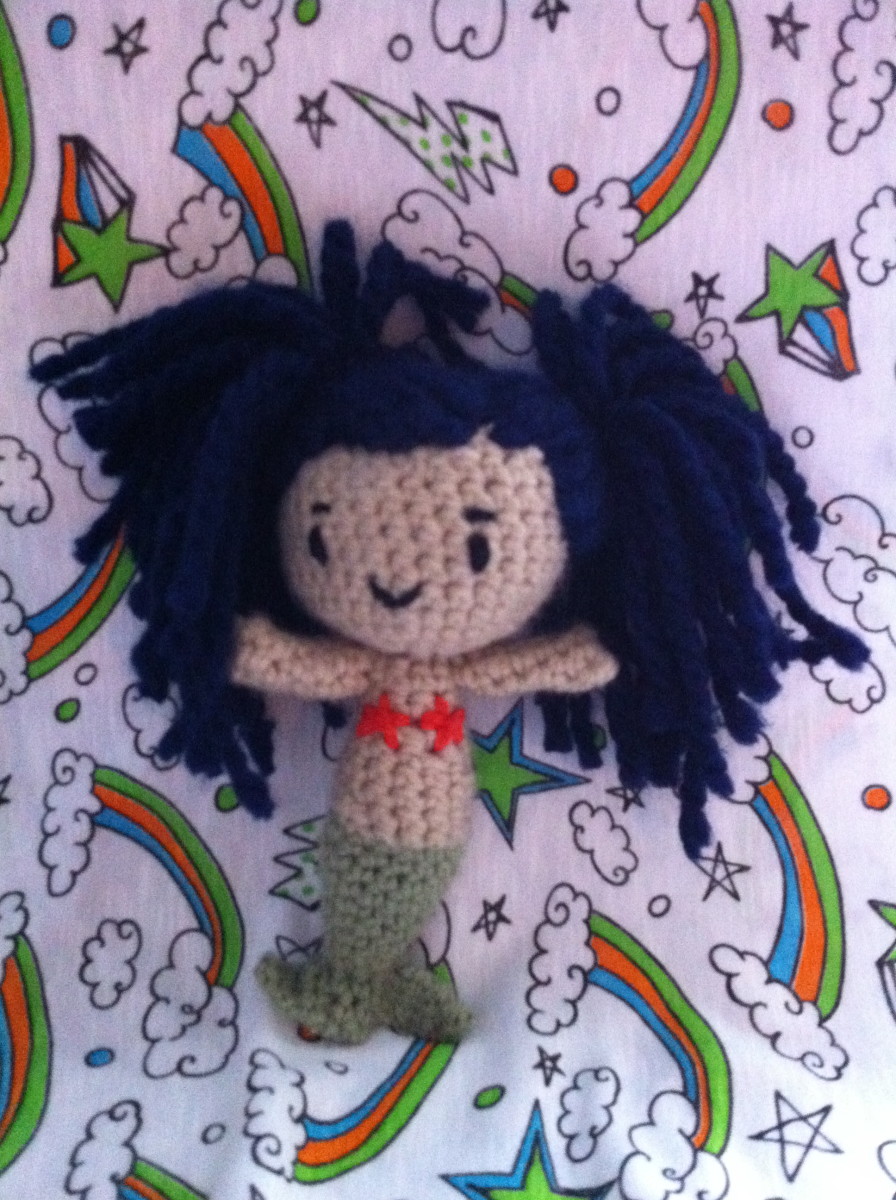
I LOVE Mermaids
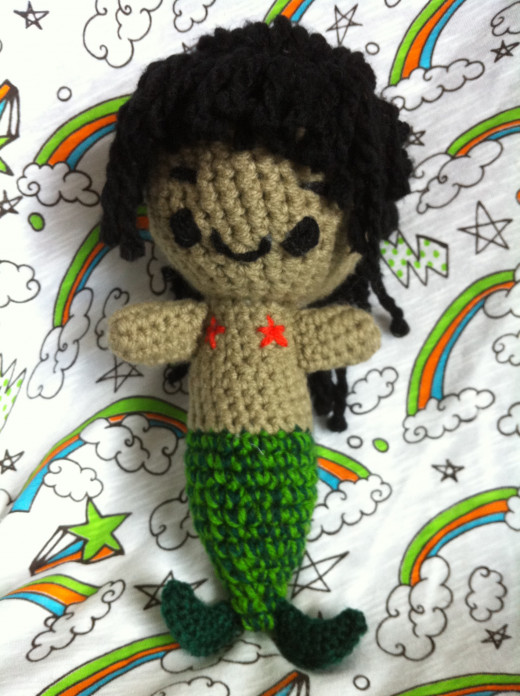
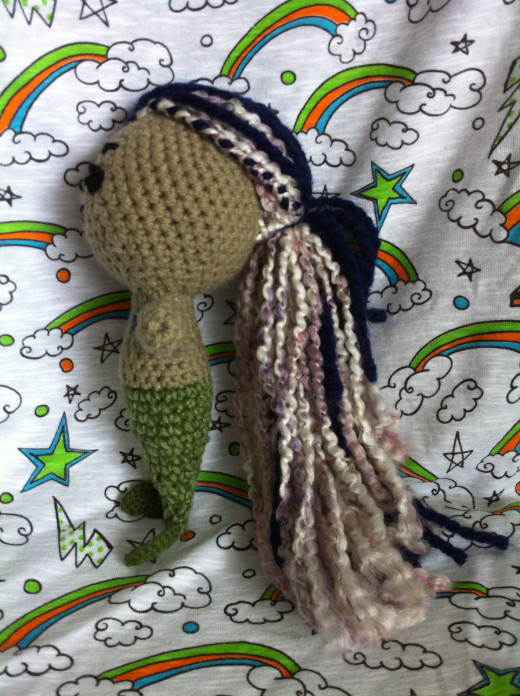
Mermaids are more favorite things to make, whether I'm crocheting, drawing, or working with clay.
If you like the mermaids I've made, I have a free Crochet Mermaid Pattern here on HubPages that you can check out.


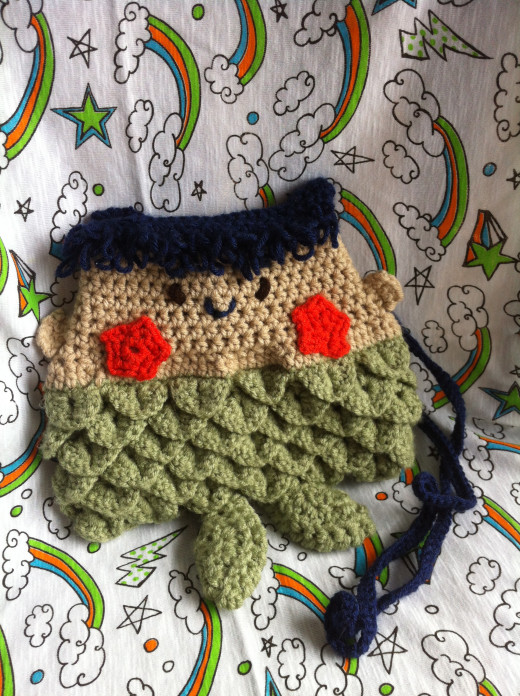
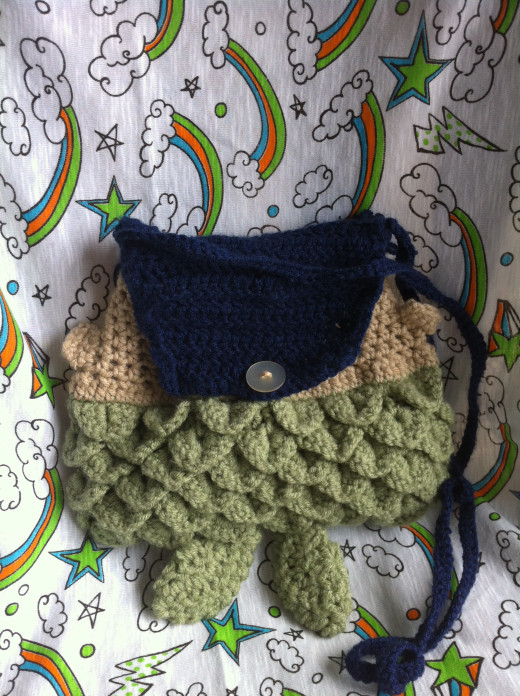
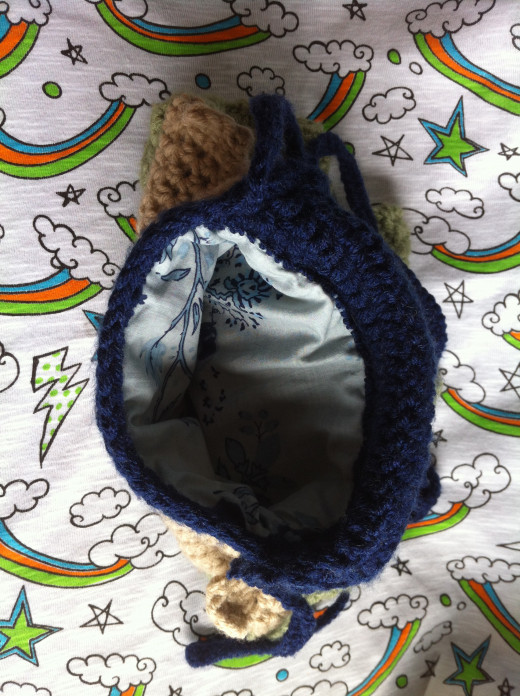
Mermaid Bag
I used The Crochet Crowd's video series on how to crochet a Mermaid Tear Purse as inspiration for my bag below.
I have also made smaller crochet bags as cases for my iPhone and as soap savers. To learn more about those check out my hub on how to crochet a custom iPhone case and how to crochet a soap saver/scrubby. Even though I market them as soap savers and iPhone cases, they can actually be used as cute little pouches for anything. So don't get too stuck on the labels.
Mermaid Bag
Click thumbnail to view full-size


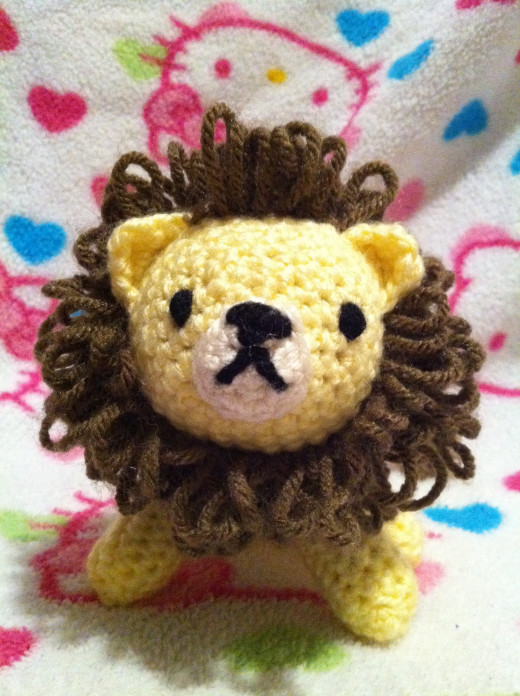
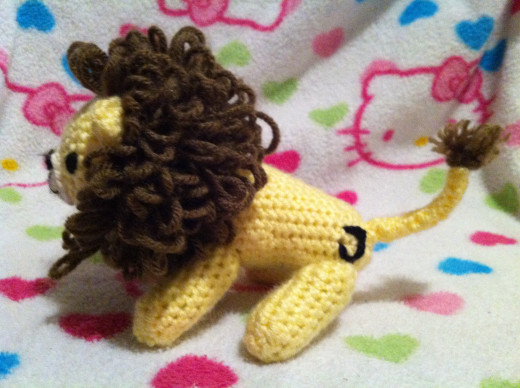
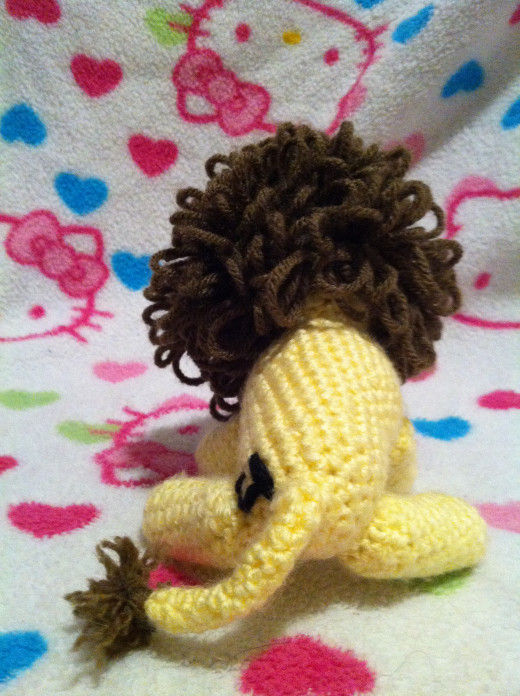
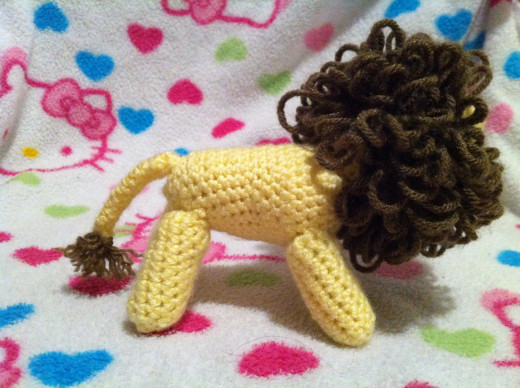
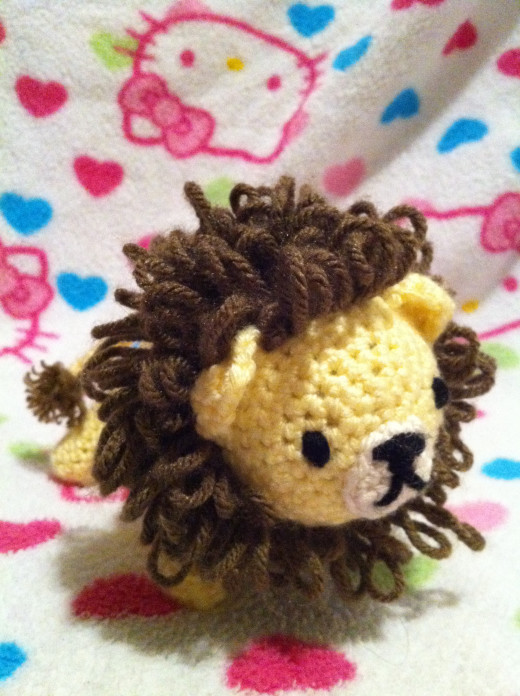
Stitch for Juju's Lion Mane
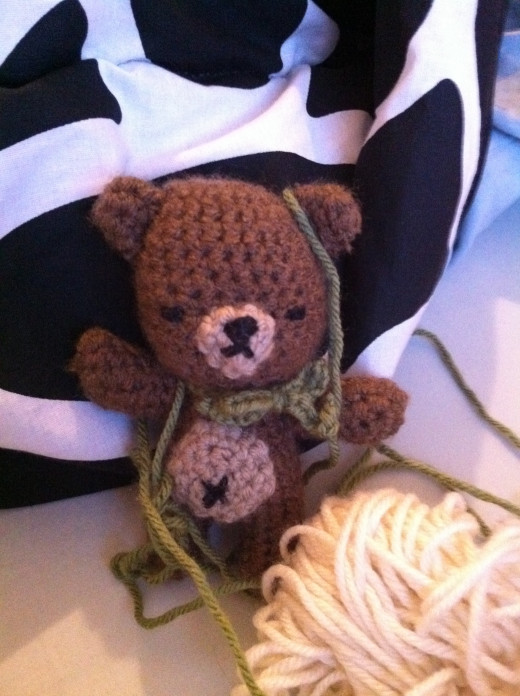
Variations of Bear Pattern
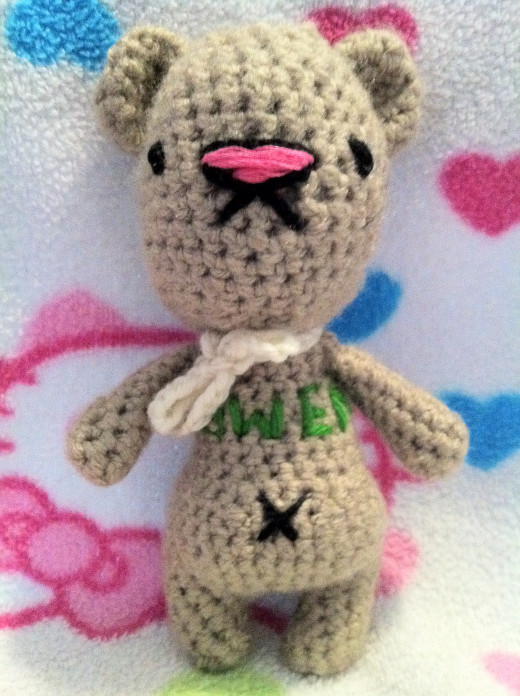
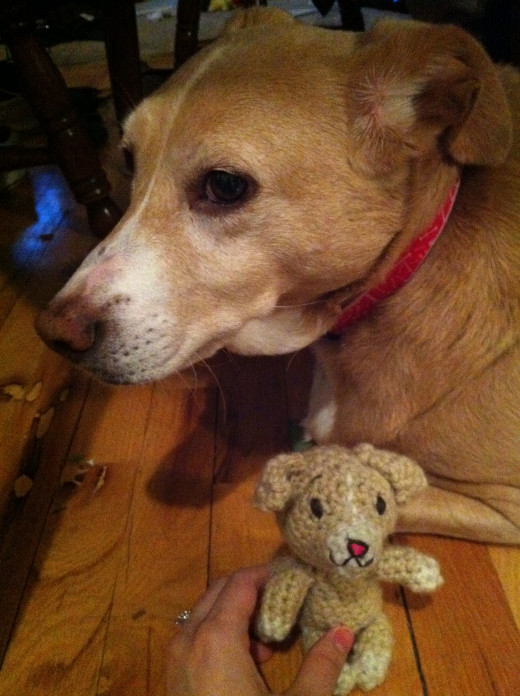
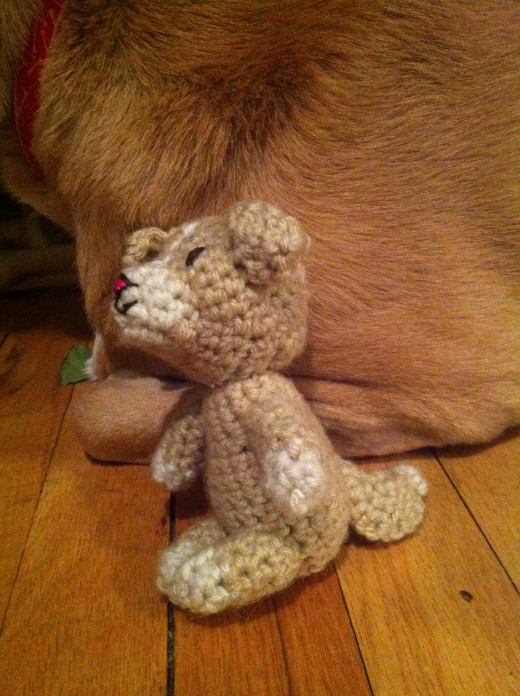
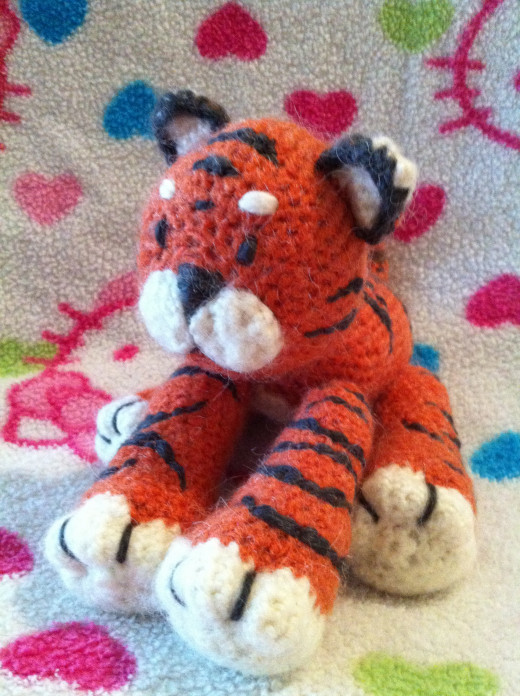
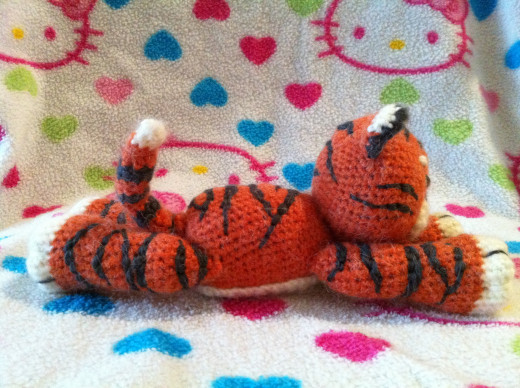
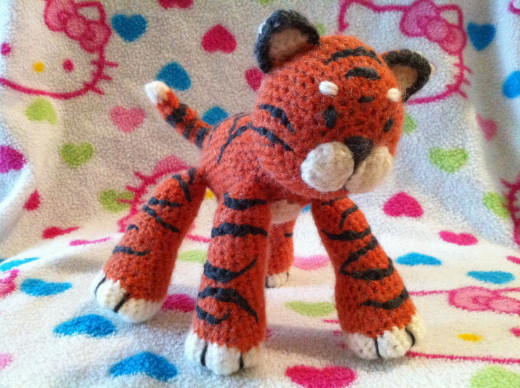
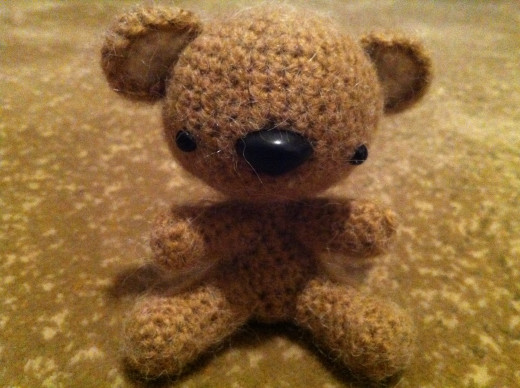
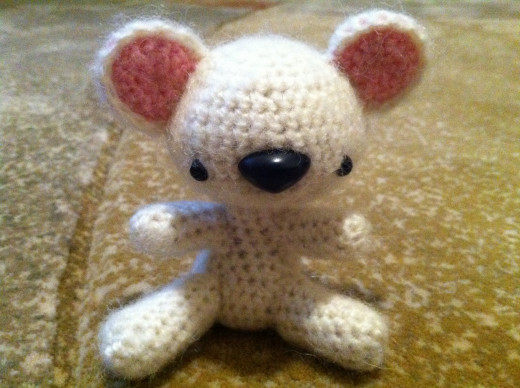
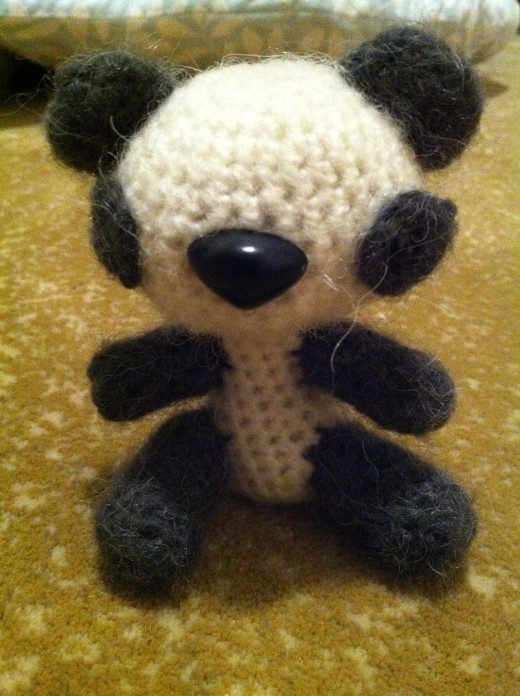
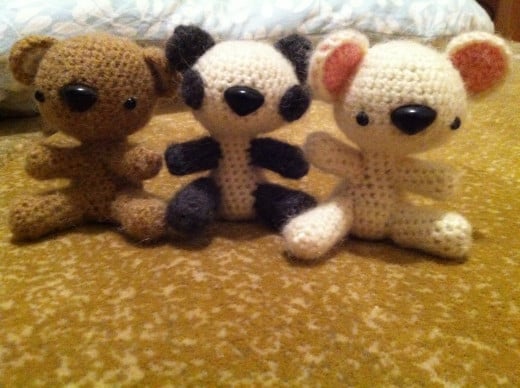
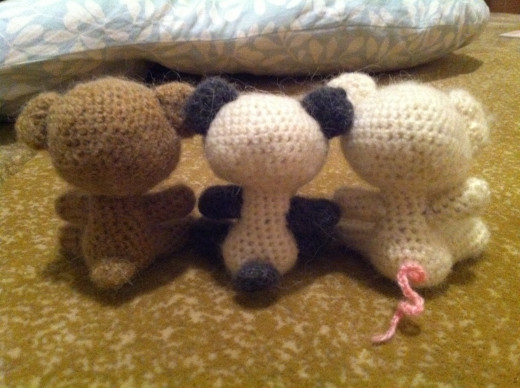
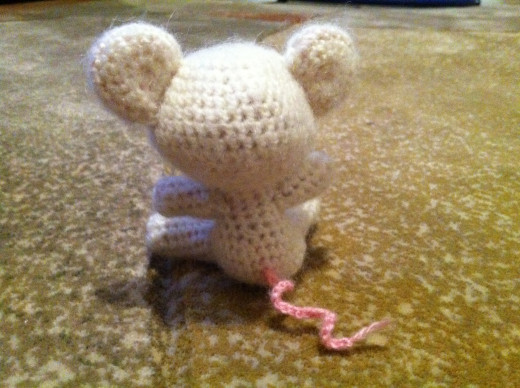
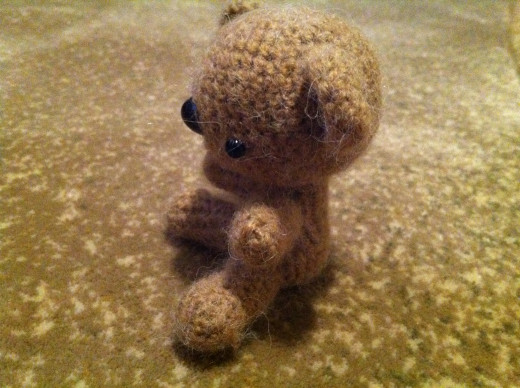
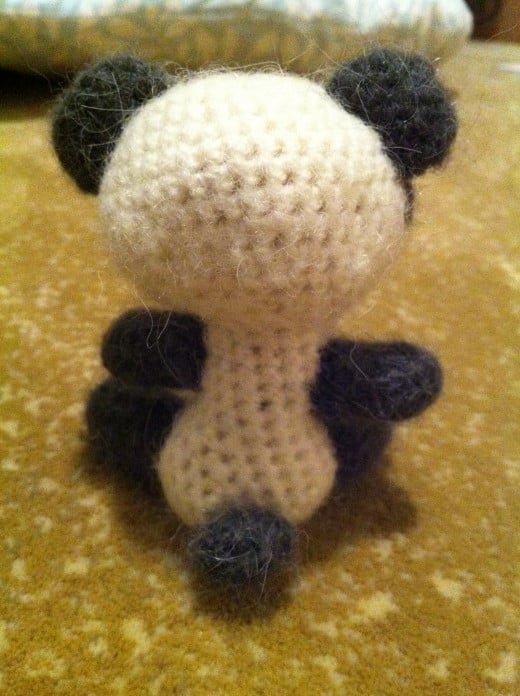
The amigurumi I've made here are all variants of the Crochet Amigurumi Bear Pattern I have up here on HubPages.


The difference yarn makes....
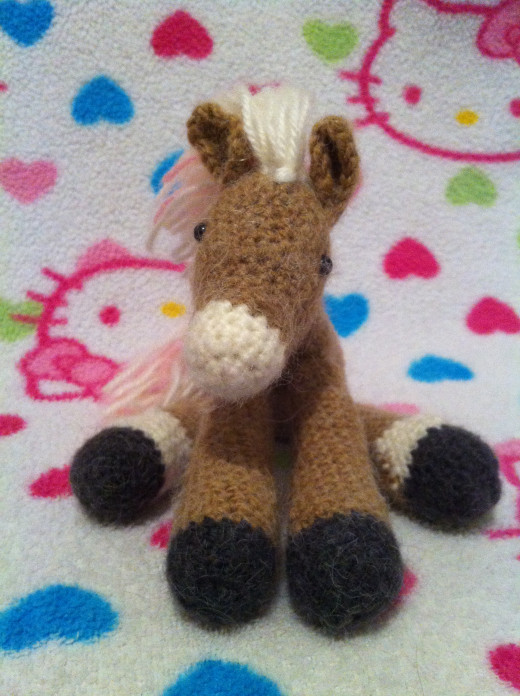
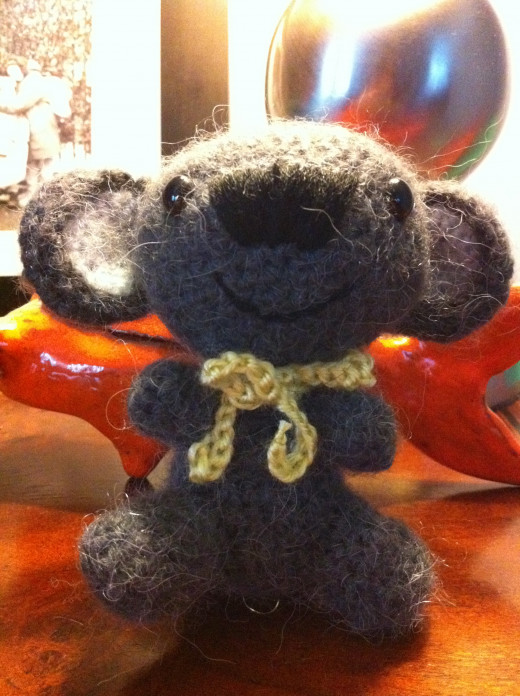
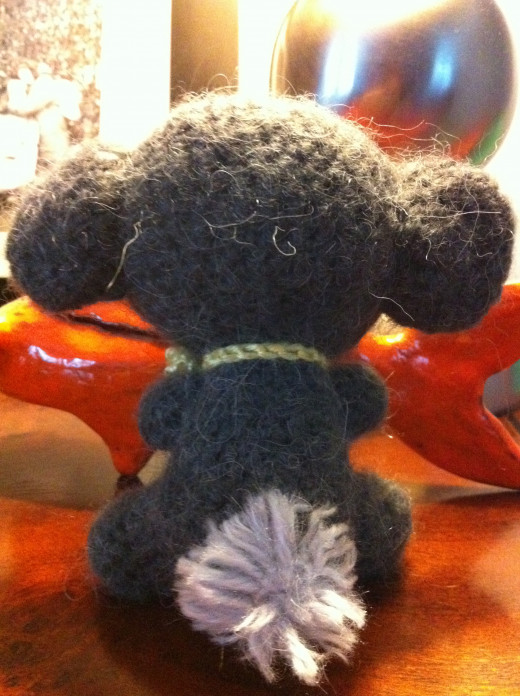
The crocheted animals shown below are also examples of a variation of the bear pattern, but I used premier brand, Alpaca Dance yarn and it gave them a completely different look and feel! Just goes to show how much of an impact your yarn choice can make.


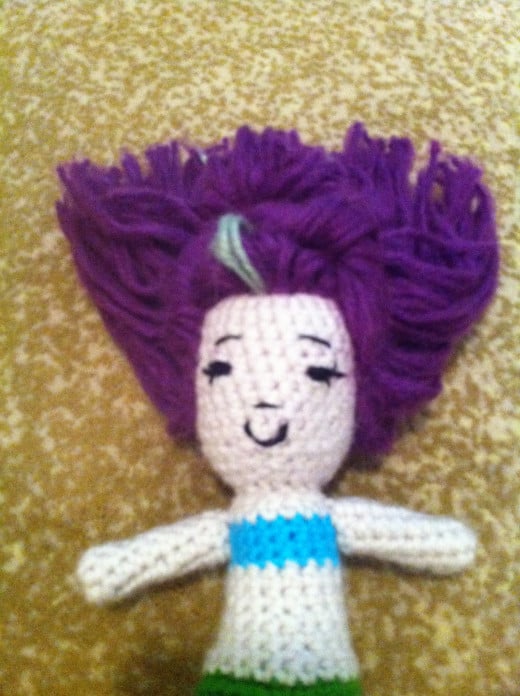
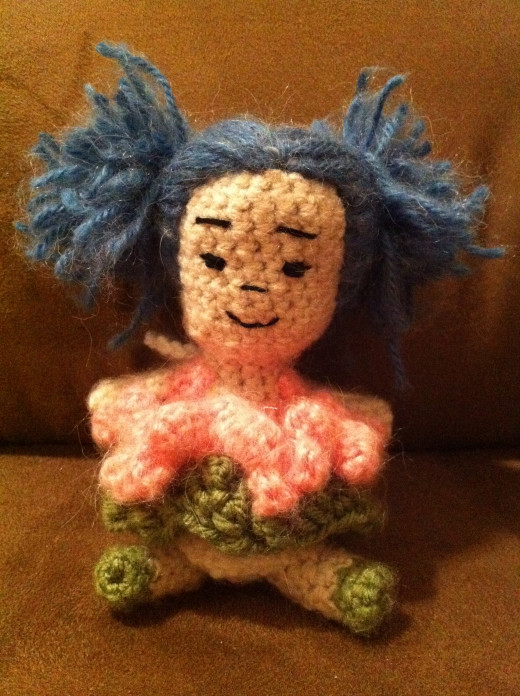
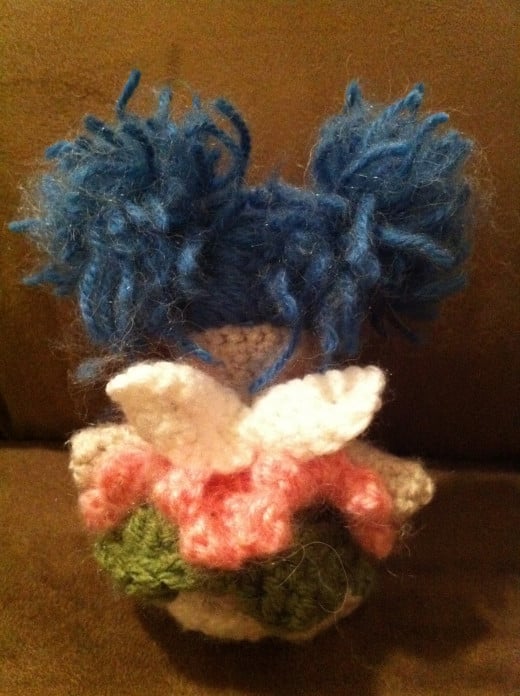
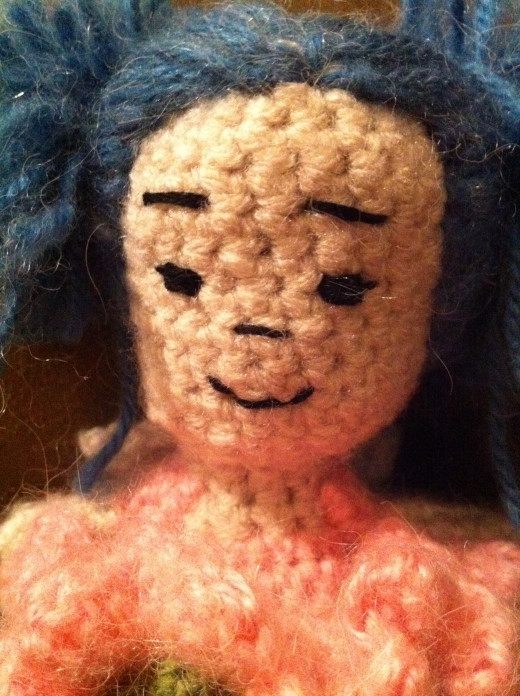
Amigurumi Dolls with Dresses
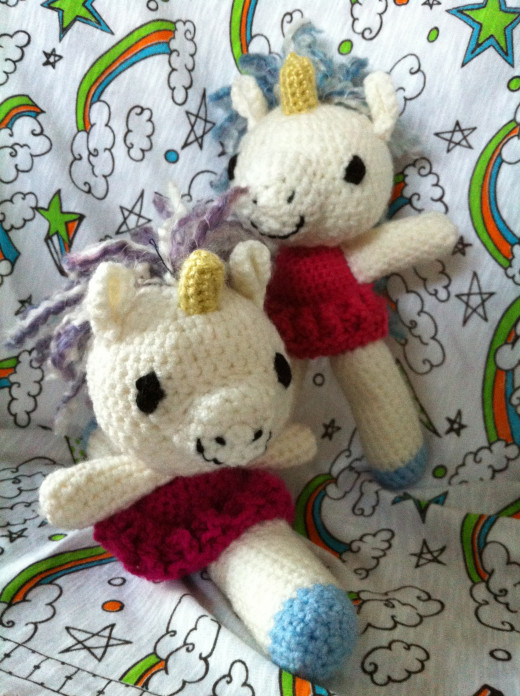
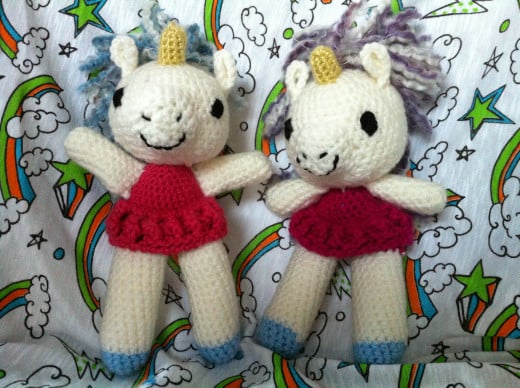
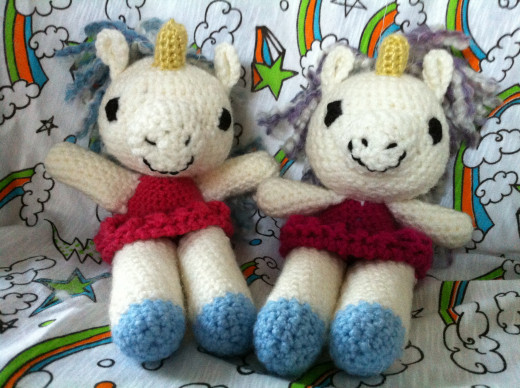
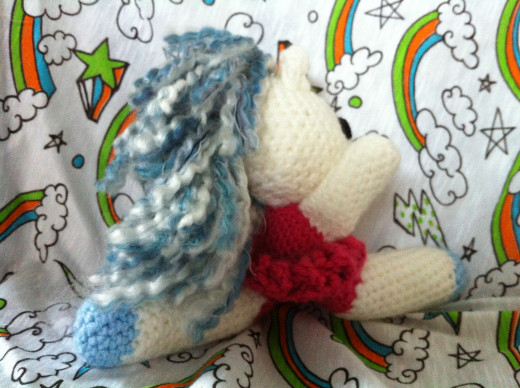
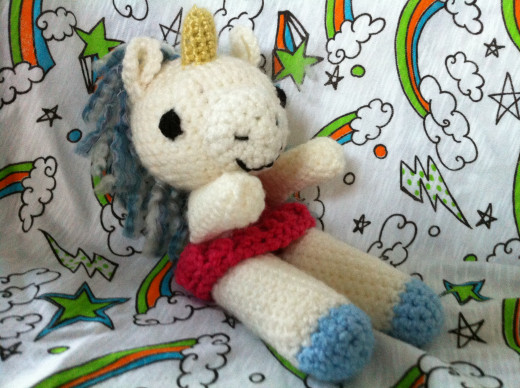
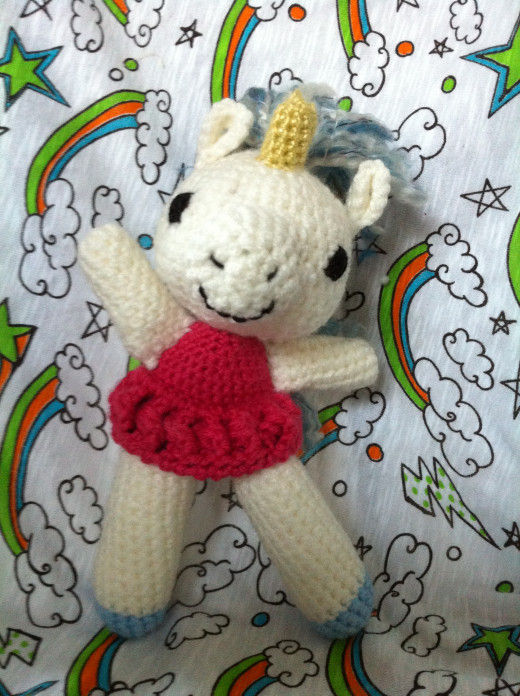
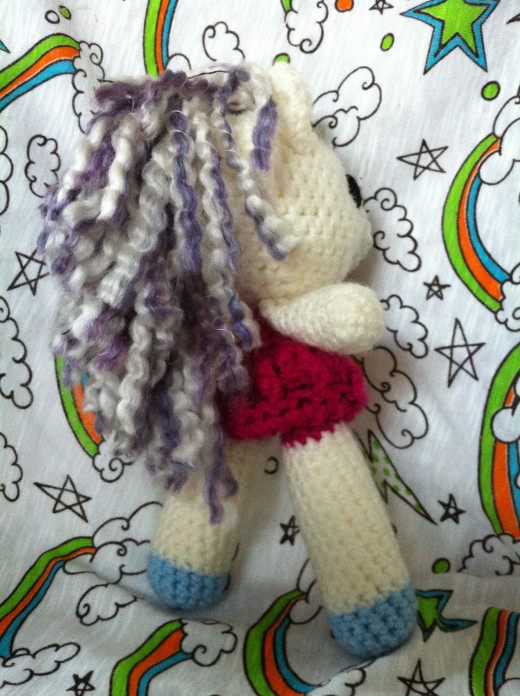
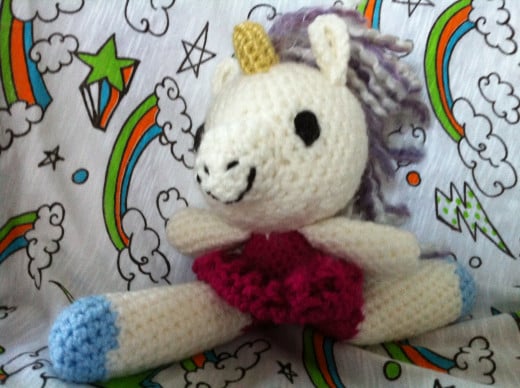
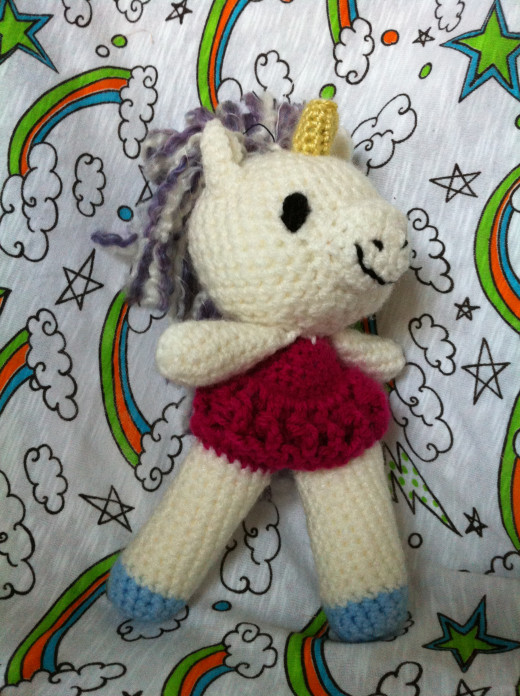
To learn how I make amigurumi dolls, like the ballerina unicorns and the sprite below, check out my Hub on how Crochet an Amigurumi Doll with a Dress.


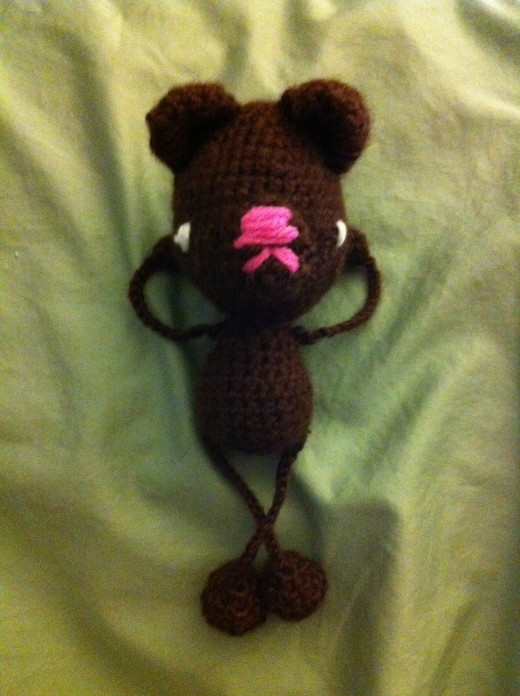
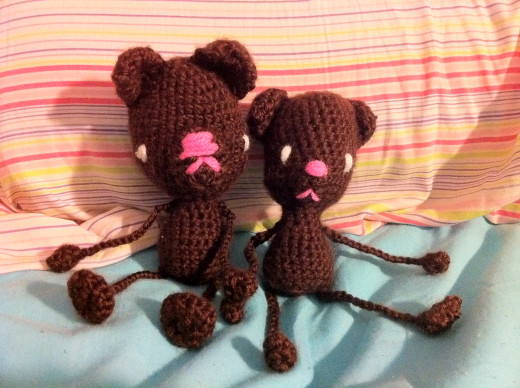
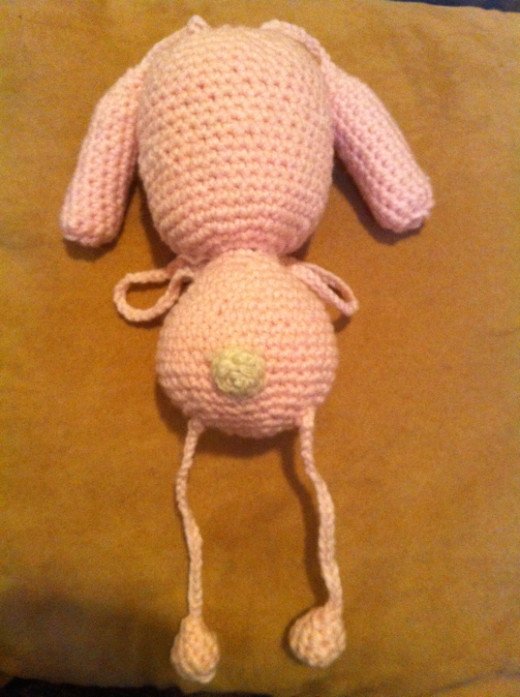
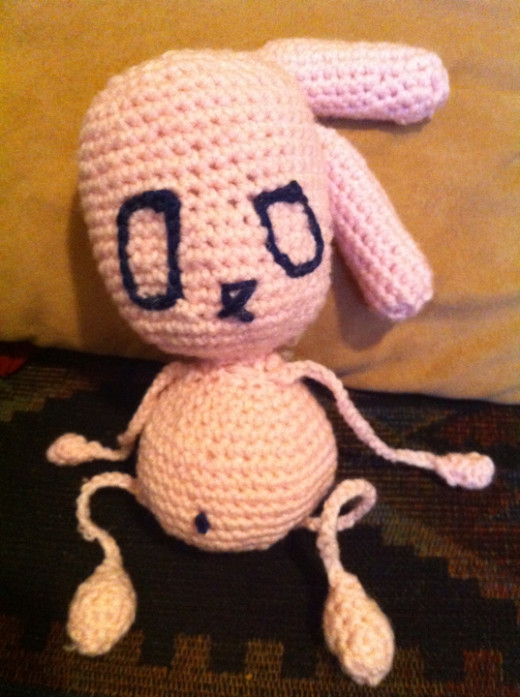
Stringy Arm Creatures
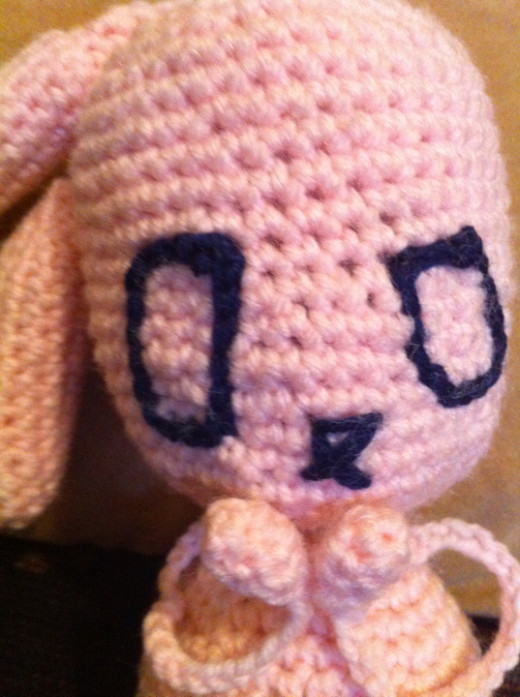
These were some of my earliest amigurumi. Basically, to make these guys, I crocheted circular forms for the head and body, then chained their arms and made little balls for hands. I then embroidered faces and added ears, tails, and whatever else.


More Resources
More Crochet Patterns
If you enjoyed this Hub, take a look at my other cute crochet pattern Hubs.
- Crochet Cat Ears Pattern
- Crochet Hat Patterns: Winnie the Pooh, Piglet, and Eeyore
- Create a Custom Crochet iPhone Case
- Crochet Baby Outfit
- How to Crochet a Bath or Shower Scrubby
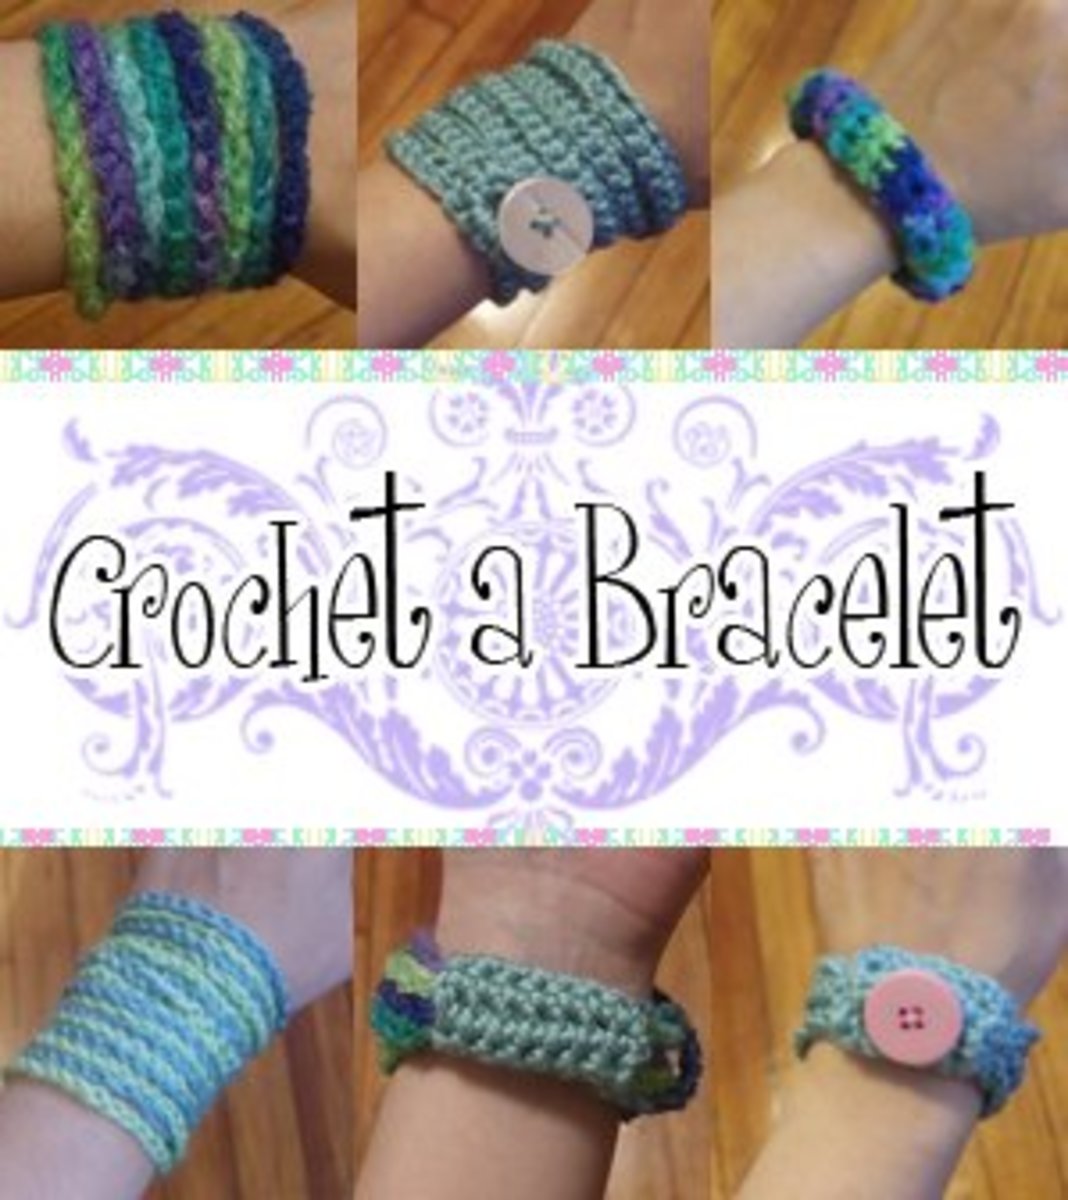
- How to Crochet Bracelets
- DIY: Crochet a Dog Leash/Lead & Collar
- How to Knit Using Rectangular Loom
- How to Make Your Own Cute Anime Kitty Hat
- Cute Crocheted Hats
- Hair Elastic Crochet Pattern
- Crochet Minion Hat Pattern
- DIY Jewelry Organizer

