Low Light Photography Tips
If you know you will be going somewhere that is dimly lit, it is important to plan ahead. Whether shooting inside a building or shooting outside at night, planning ahead will let you get the best possible photos.
Use a large aperture
When taking photos in low light, you really want to use the largest aperture value you can. The larger the aperture, the more light it let in through the lens.
If you have a camera with interchangeable lenses, use a lens with large maximum aperture value. Often fixed focal length (prime) lenses have a faster (wider) maximum aperture than zoom lenses. A popular lens suitable for low light photography would be the 50mm f/1.8 lens.
Of course, the lens and aperture setting you choose should also be partly dictated by what it is you are shooting. Shooting people at a party in a dimly lit room will have different requirements to photographing a landscape at night.
Use support
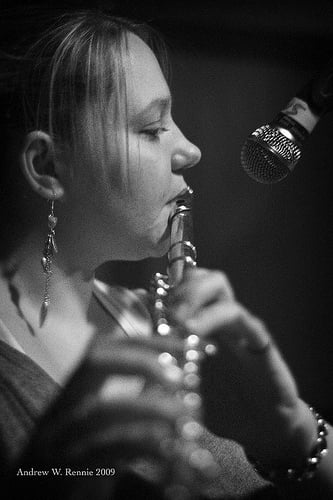
Shooting in low light almost always necessitates slow shutter speeds. So keeping the camera steady is of paramount importance if you want sharp photos. A tripod is the best way to keep your camera steady, but can be heavy to carry around and could get in the way in some situations.
An alternative to a tripod is a monopod, which is like a stick you can mount the camera on. Although it isn't as stable as a tripod, a monopod can still help steady the camera. It removes the possibility of any up and down motion that you may get if you were hand-holding the camera.
If you want to hand-hold the camera, make sure you are holding the camera correctly for maximum steadiness. If you can find a wall, tree, or anything to brace yourself against, this can help quite a bit in getting a sharp hand-held photo as well.
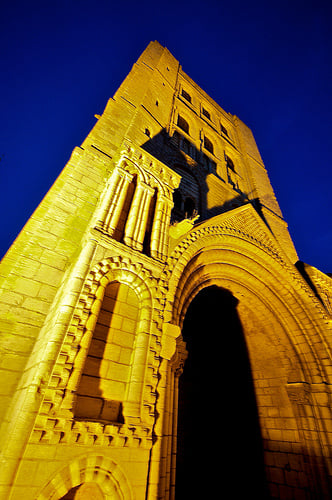
Use a high ISO
If you need a faster shutter speed (which you likely will if the camera is not on a rock solid support like a tripod), then set your camera to use a high ISO value. Modern cameras can reach very high ISO levels, and noise is kept under control under all but the most extreme settings.
Make sure you are exposing your photos correctly. Using high ISO settings introduces noise into the image. If a photo is shot using a high ISO setting and you later brighten it on the computer, it really brings out the image noise.
Normally using a higher ISO setting and getting a well exposed photo will produce less noise than using a lower ISO setting and brightening the photo in software later.
If you are shooting on a tripod with a slow shutter speed, or lighting your images with flash, then using a high ISO speed is not needed.
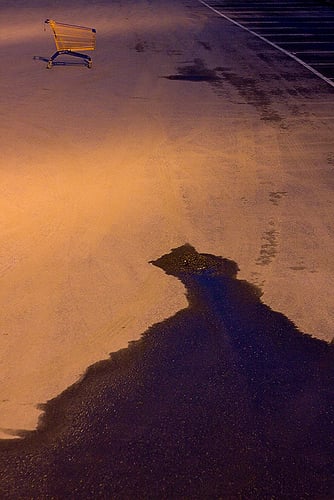
Take multiple shots
Taking multiple shots can help counteract both blur caused by camera shake and by subject movement. The more shots you take, the more likely you are to get one with no camera shake or where your subjects stayed still for the whole exposure.
Use the blur
If you are shooting moving subjects, you can also try panning the camera in the direction they are moving. This creates an image where the subject is sharp, but the background is blurred due to the camera movement. This takes some practice to get good at though!
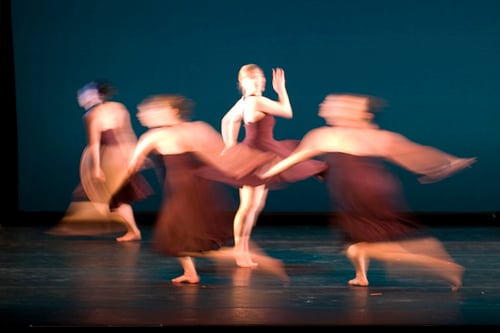
You can also try some shots where you keep the camera still, in these shots anything moving will appear as a blur. This is a good way to show movement in an image.
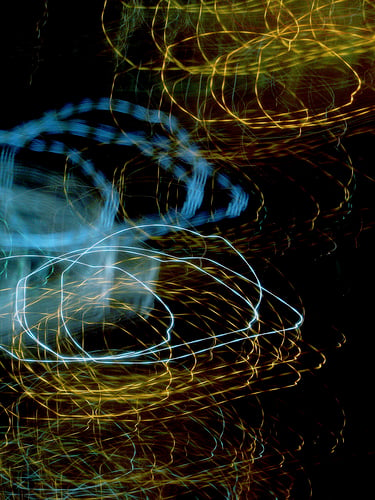
Go crazy and move the camera around a lot (this works best for locations with lots of lights). This can create some great abstract shots where the lights appear as blurred zig-zag lines, following the camera movement.
Use Flash
Well, maybe this one is cheating a bit. If you add light to a scene, it could be argued that it's no longer low light photography. Anyway, using flash is a good way to get well lit photos in a dimly lit location.
Flash works best indoors, where the light from the flash can be bounced from the walls and ceiling onto the subject. Ideally use a flash speedlight with a swivel head, so you can aim the flash head at the wall or ceiling. Bouncing the flash in this way and avoiding direct flash produces a much nicer, more natural looking image.
If you only have your camera's pop-up flash, you may be able to use a piece of bent white card to bounce the flash up onto the ceiling. Or use a piece of tissue paper to diffuse the flash. The results probably won't be perfect, but should be better than direct flash.

Low light photography can be quite difficult, particularly if you're trying to shoot moving subjects. Just make sure your shutter speed is fast enough, and do some planning before hand to make sure you have the right lens, flash if needed, and camera support.
