Quick and Easy Coloring with Prismacolor Pencils


Prismacolor Pencils are perhaps one of, if not the most widely used brand of colored pencils among the paper-crafting and card-making community. This is due to the fact that regardless of cost, Prismacolor Pencils are just simply one of the best, end of story. When it comes to card-making in particular, there are many coloring mediums crafters can choose from including markers, crayons, watercolors, pencils, inks, dyes and more. For me personally, I prefer coloring with Prismacolor Pencils because I like the control and level of detail I can attain when using them.
The one complaint I have heard quite often from fellow card-makers is the fact that coloring with pencils tends to be more time-consuming than using other coloring mediums because of the layering, shading and blending. When coloring with pencils, you will first need to determine where your “light source” is as you will want this space space to be left quite light. Traditionally, to achieve this look, you will need to first color the entire object and then add more and more darker layers on top, moving closer and closer to the edges. Agreeably, this can be time-consuming. However, there is a way to achieve the same look without all the extra layering and here is how.
Buy a set of 24+ color chalks and have them on hand whenever you are going to be coloring images. Using a Q-tip or small cotton applicator (use a different one per color or you will have a mess), color the entire object. The reason is simple. Coloring with chalks is super quick due to the fact you can color an object without ever having to worry about “going out of the lines”. A simple eraser can take care of all of your “mistakes.” You will notice right away that by using this method, you have achieved your first base layer in more than half the time. Once your base has been added, you can now color with your Prismas, using the same method as if the base had been colored with pencils to begin with but in half the time.
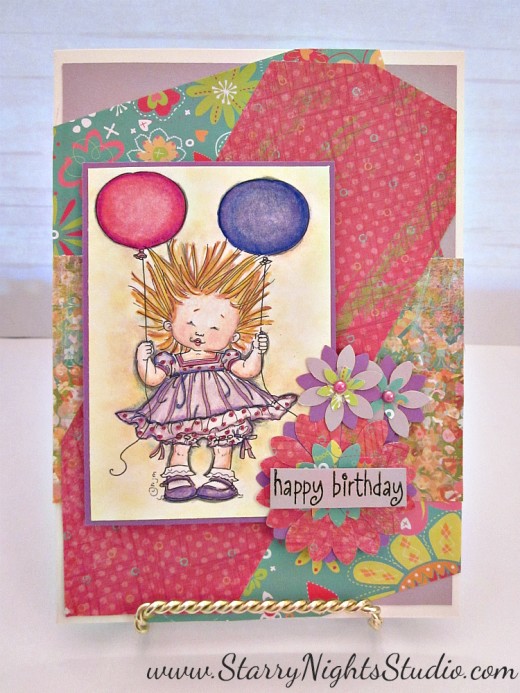
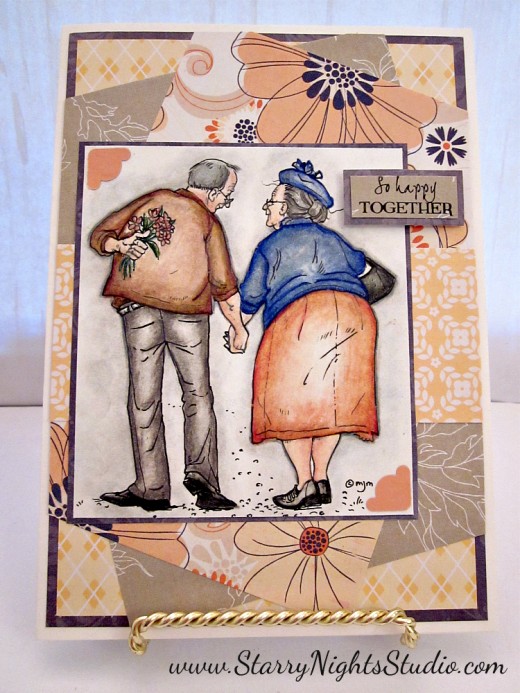
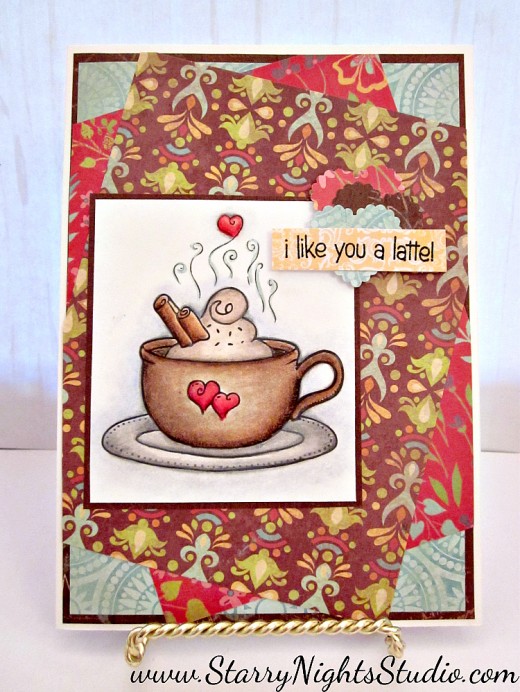
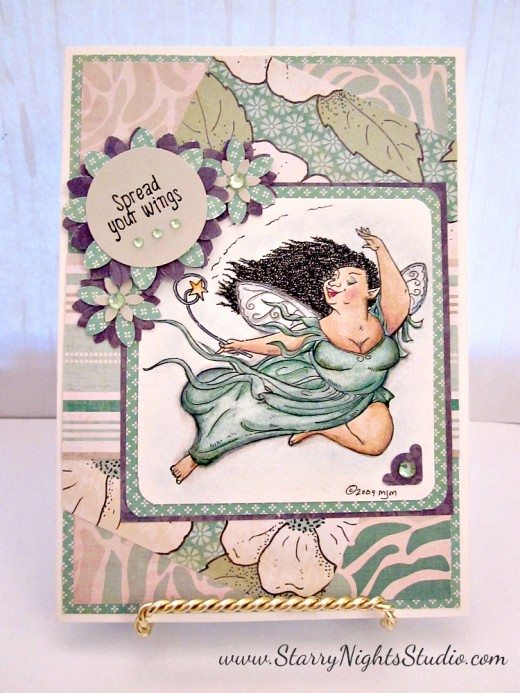
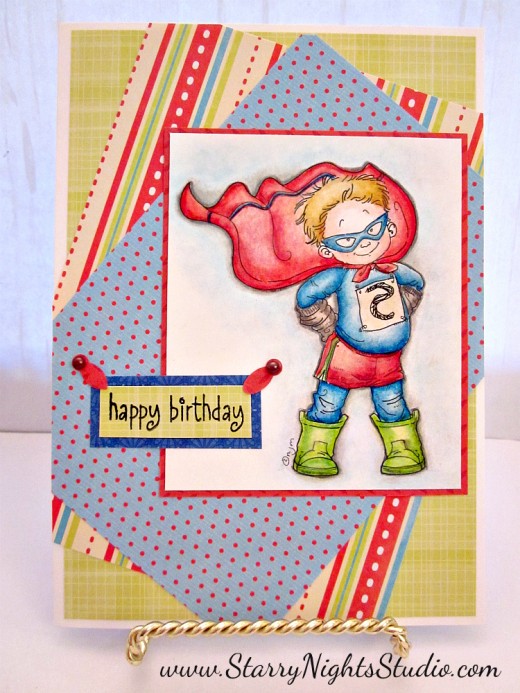
Cards Made Using Quick and Easy Method