- HubPages»
- Arts and Design»
- Graphic Art & Design»
- Design Software
Understanding the basics of Photoshop by simple tutorial

Dear friends, I am trying to explain the basic shortcuts and options in Adobe Photoshop in this little tutorial. I have already published some tutorials in Photoshop for those who are familiar with it. Without basics, there may be difficulties in understanding those tutorials. So I am creating this hub only for beginners. You can use this software very fast, if you know the shortcut keys. We are starting from a simple tutorial. It is for starters. OK!
Creating a simple button using Blending options in Photoshop Step1
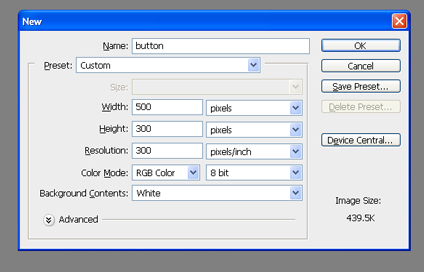
Create a new document with an average size as below. Use Ctrl+N on the keyboard.
Step 2
Create a new layer. press ctrl+shift+n on the keyboard to create it.
You can get the layers palette by simply pressing F7 button on the keyboard.
Step 3
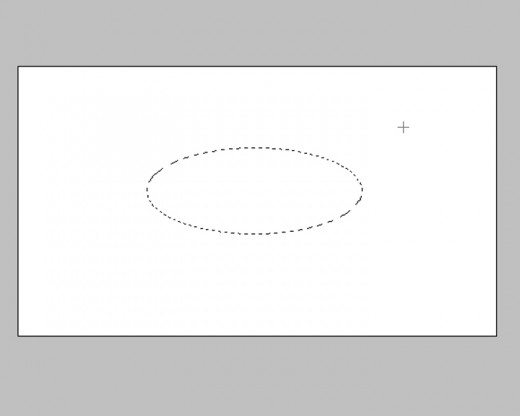
Use the elliptical marque tool (M key) for making a base of button. If it is on rectangular marque tool, you can change it to elliptical marque tool by pressing Shift+M. You can swap those marque tools by that shortcut.
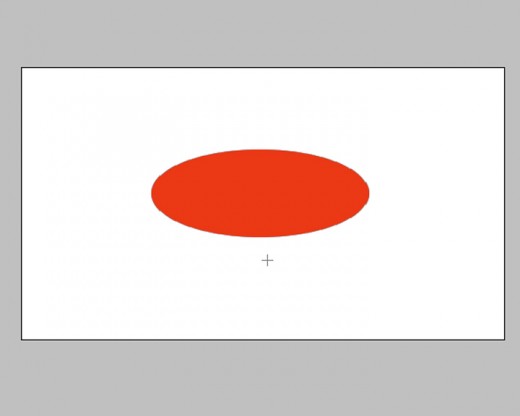
Click and drag the mouse over the page for creating a selection, like in the picture below.
Step 4
Fill the selection with a nice color of your choice. Fill the foreground color by pressing Alt+ Delete on the keyboard. Dark combinations are better for a button. Here I am using red.
After filling color, deselect the selection by pressing (ctrl+ D).
Then It will look like this.
Step 5
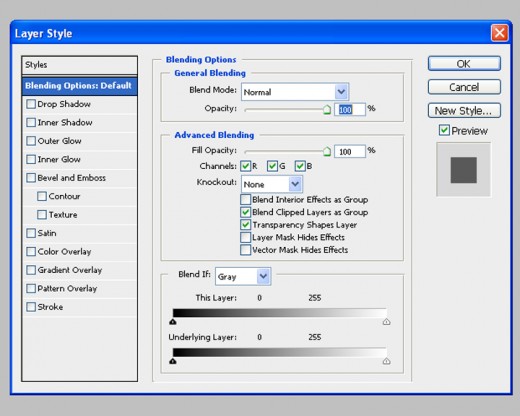
Take the blending options for the current layer. Use Alt+L+Y+N on the key board for your quick practice or right click the layer in the layer palette and take blending options.
You can see the default blending option properties in the layer style window.
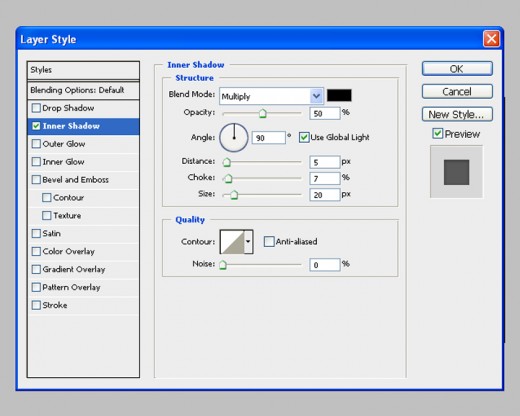
Step 6
Take the ' inner shadows ' from the styles and set the properties as below.
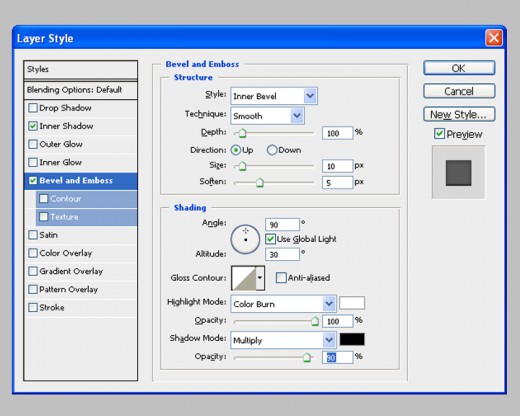
Step 7
Next select Bevel and emboss from the styles and set as below.
Step 8
Enter some text on the button. Take the text tool (T key) and click on the page to type anything you wish to add to your button as below. Use bright color for text.
You can resize the text by selecting it (Ctrl +A) or mouse drag, and with combination keys Shift+Ctrl+ < and Shift+Ctrl+ > for reducing and increasing respectively.
We can also resize the text, while the cursor is not active, by pressing Ctrl+T and adjust with the transformation nodes.
When the size is OK, then place, the button on the center of button.
Step 9
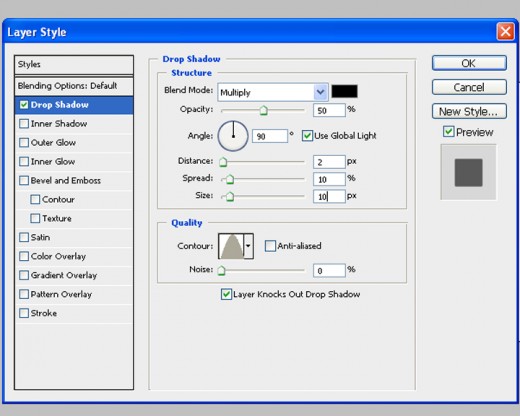
Now take the blending option for the text layer and use ' Drop shadow ' style with the following parameters.
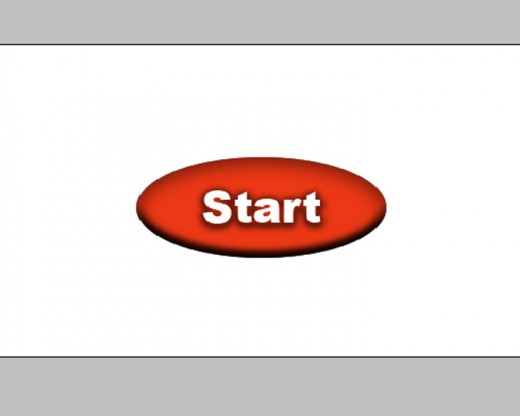
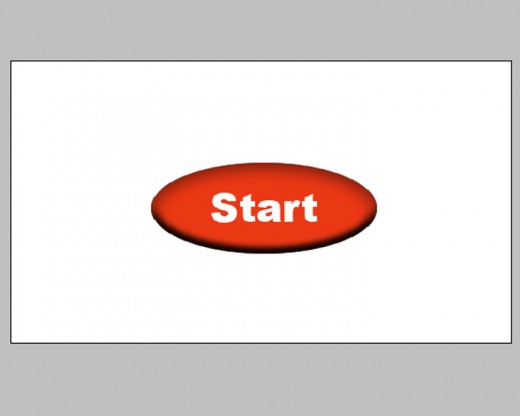
Final result
The final result is given below. We can add more effects using the same principle. And we can make better buttons by different color mixtures. Also we can create more layers to make stunning graphics. We will learn it in the next tutorials. We will learn extra shortcuts also. Hope this tutorial is useful for the bignners. Good luck!