Quick and Creative Tips for Using Original Photos on your Hub
Creative Original Photographs Add Color and Interest to Your Work
Why should you use original photographs?
Original photographs not only enhance your Hubs’ visual appeal, but Google likes them, too. Photographs and other graphics are used on our HubPages articles to
- add color and interest to an article
- illustrate with examples
- clarify how-to articles by showing step-by-step pictures.
- entice a reader to read more
- provide relief from unbroken text and provide a change of pace
- make an article easier and more fun to read
Unfortunately, you may not always have an original photo that's exactly what you need for your newest Hub. Although I’ve taken thousands of digital pictures, I’ve found myself in this predicament several times. So what to do?
In a pinch, you can search the internet for free photographs and hope that you don’t inadvertently violate some copyright rules. You can use clip art from your word processing program or from another source. Or, you can come up with some quick and easy graphics using your digital camera and found objects.

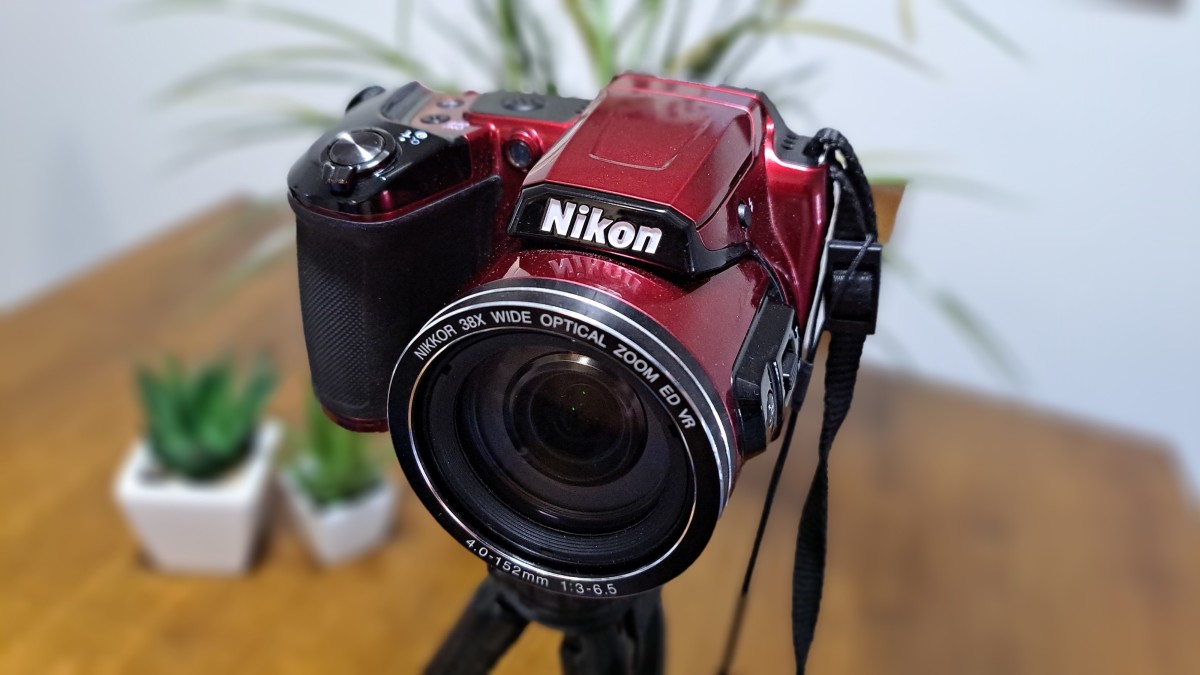
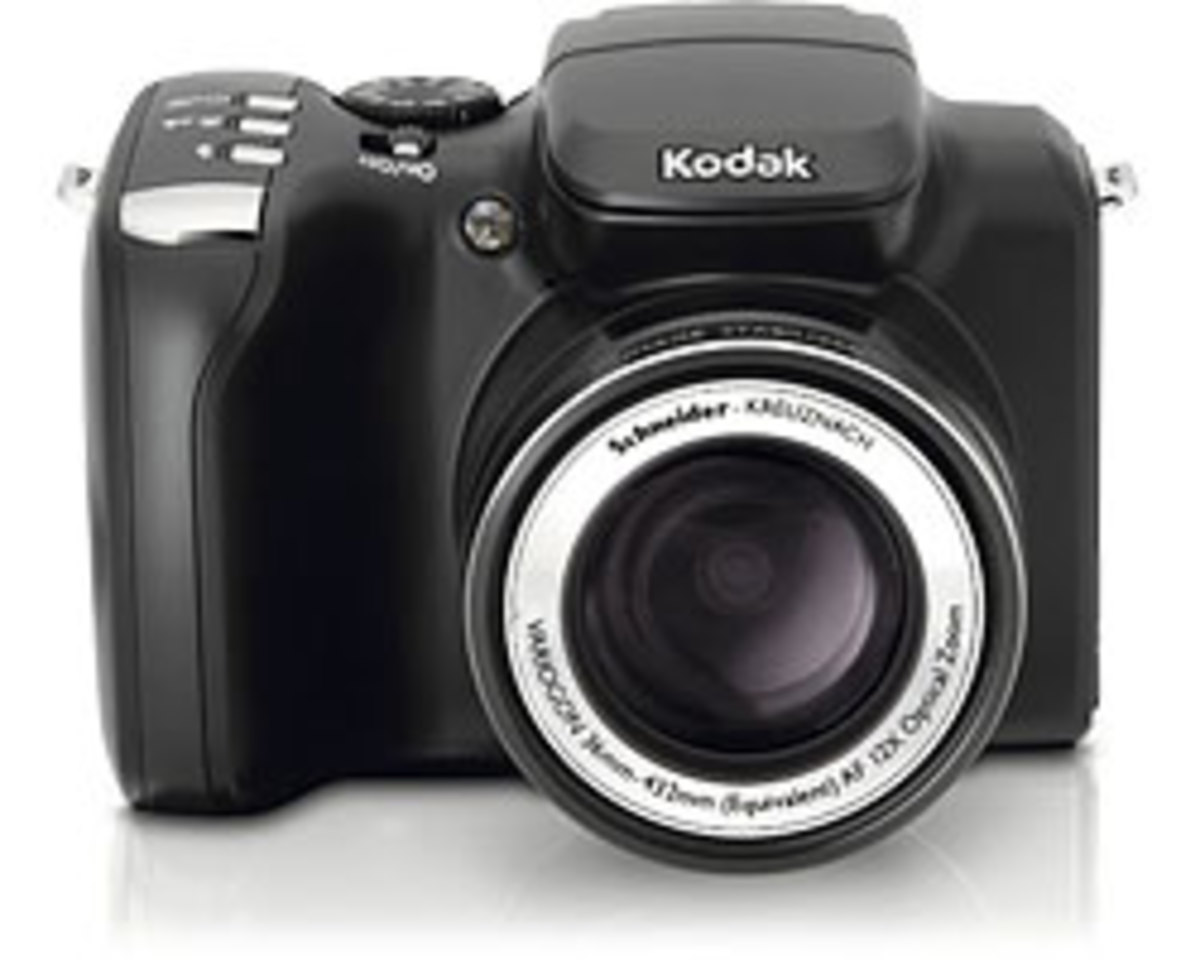
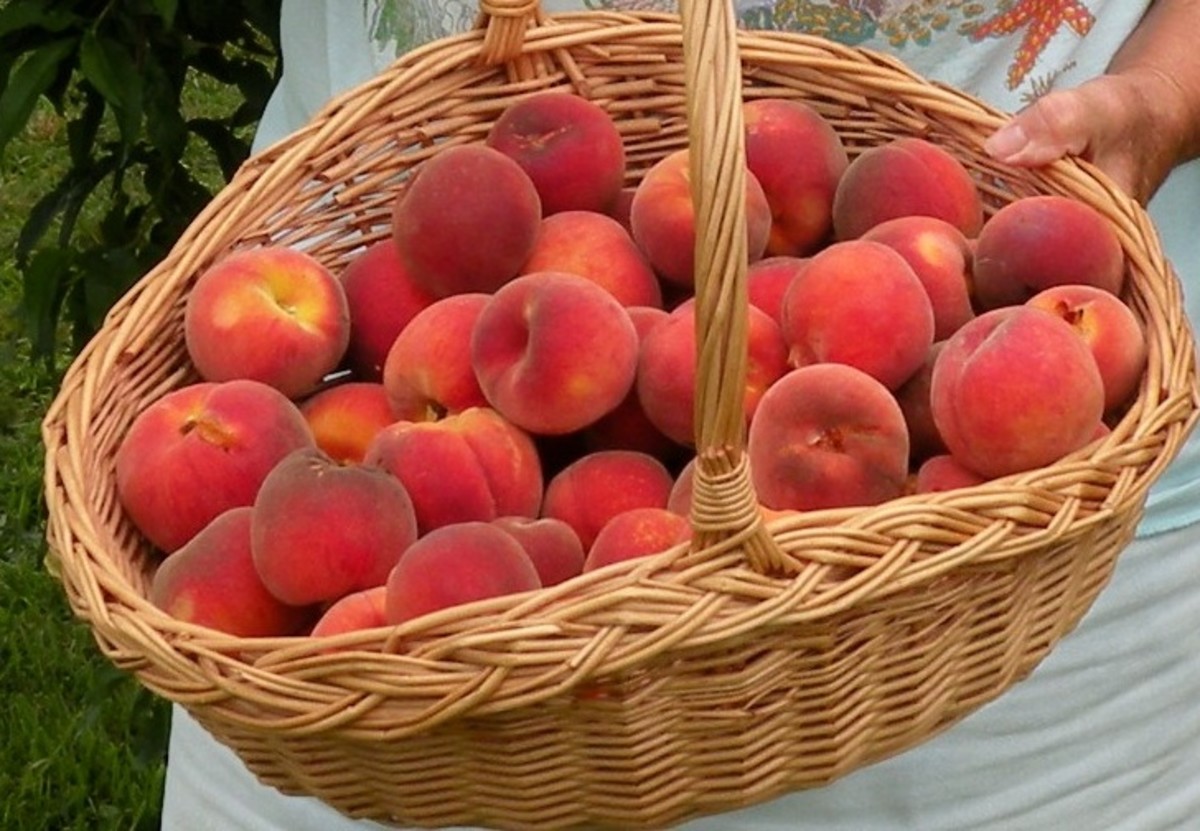
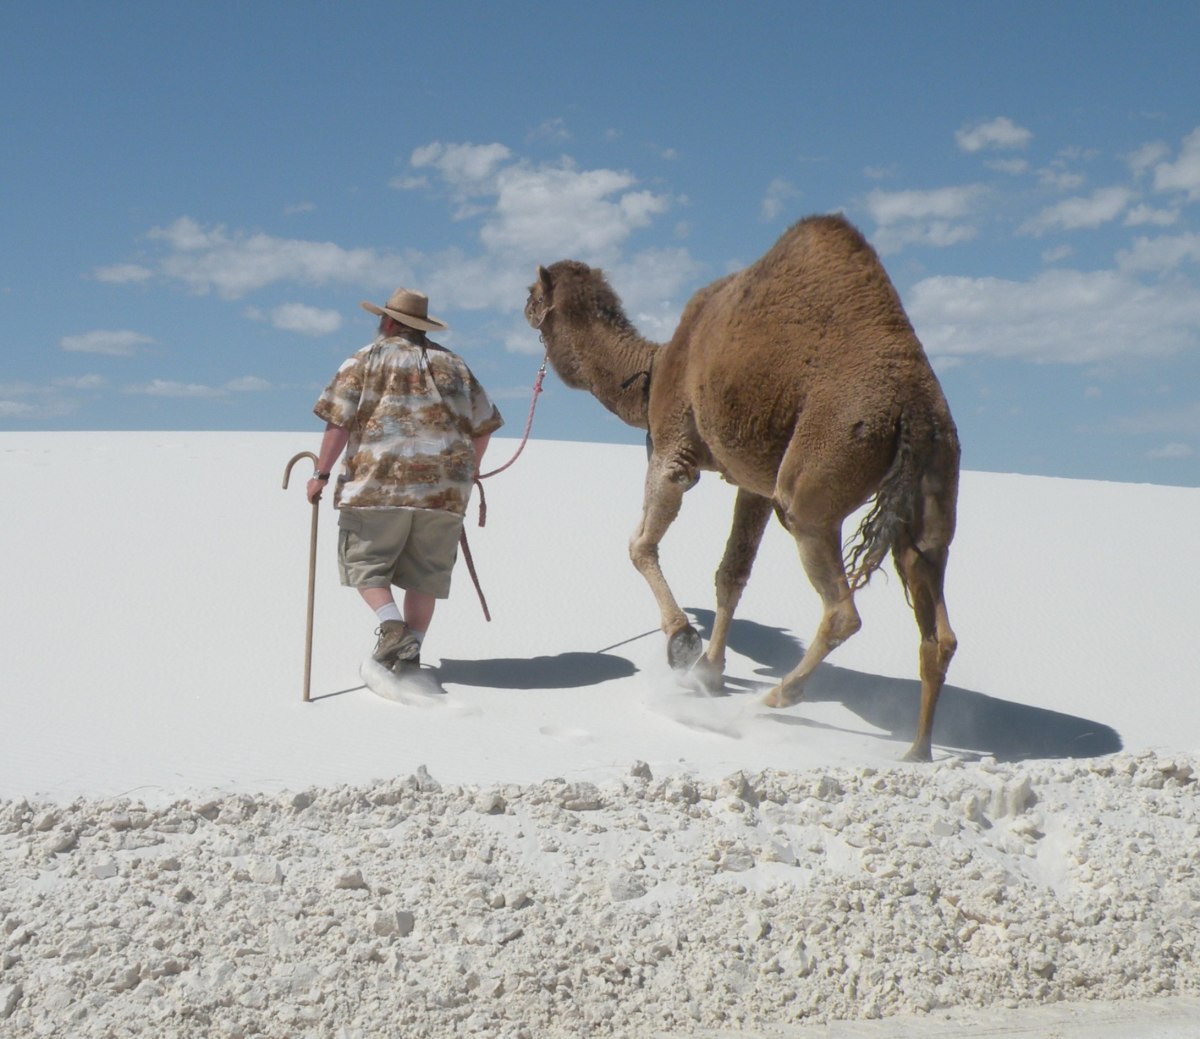
Original Photos from My Photo Library - Photos All Used in Previous Hubs
Click thumbnail to view full-size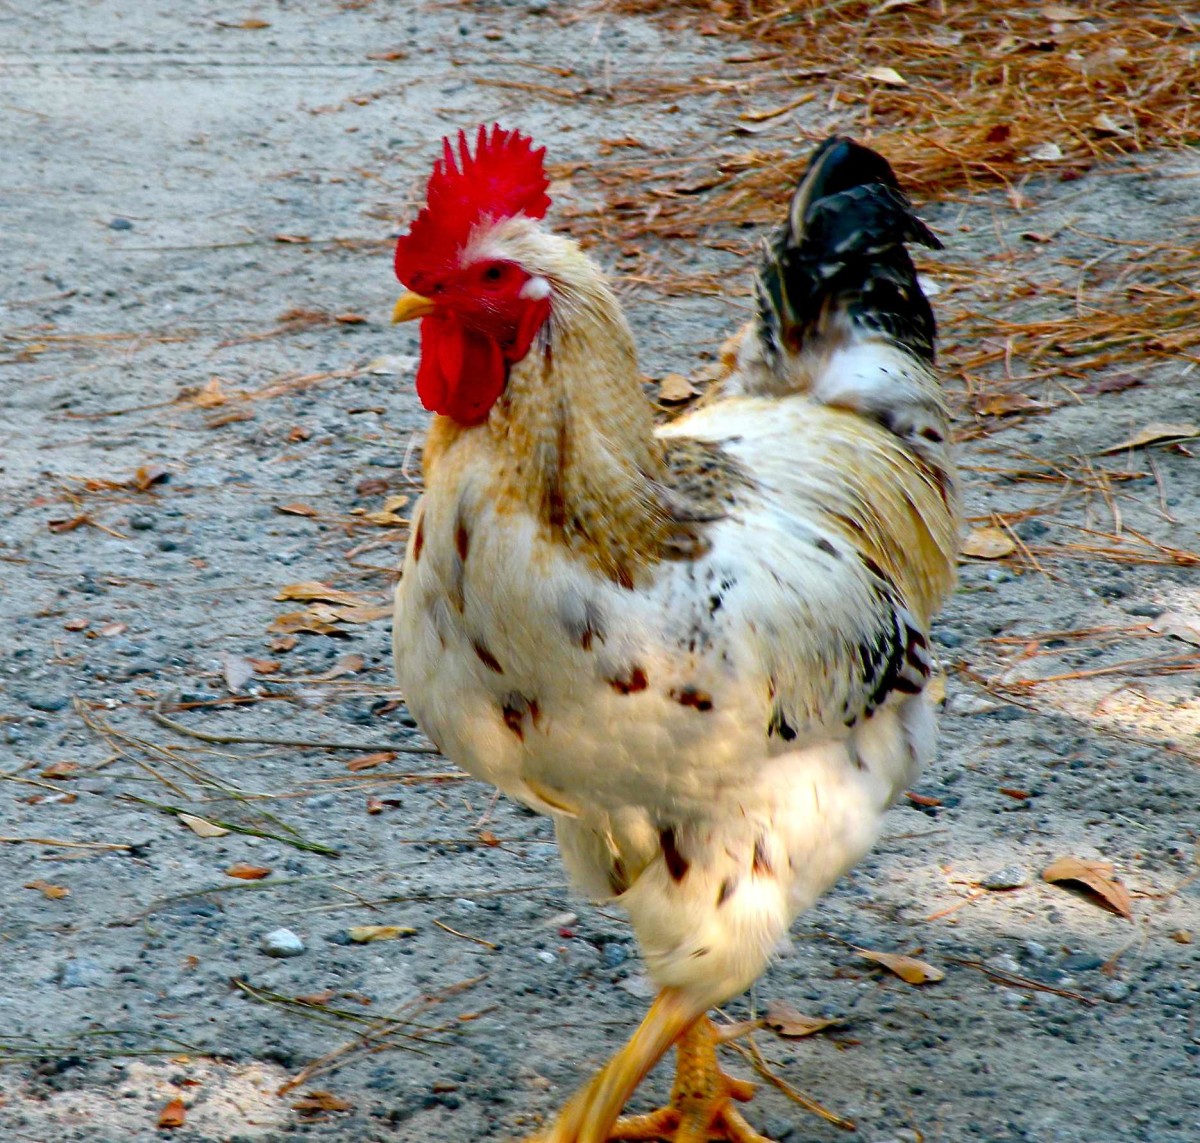


Perfecting Your Original Photo
This hub is not about teaching advanced photo editing techniques. With a point and shoot digital camera and the basic software that comes with your camera or computer, you can transform your original photo into a good image for your Hub. It isn't difficult, but you will need to become familiar with your software. Even if you don't do anything else to your photos, take time to do a few simple things to bring out the best in your photographs.
Here are a few simple things that I do to improve my photographs before I add them to my Hubs:

* Use the Quick Fix or Enhance Feature
Use the "Enhance" feature on your photo editing software to brighten up your picture and enhance the color. If you don't think this improves the picture, undo the action and go back to the original. I've found that enhancing the photograph is not always the best thing to do. If needed, fine tune the color and exposure by brightening or darkening the photograph. One of the most helpful features on even the simplest editing software is the highlight and shadow adjustment. If your photo has washed out areas, take out some of the highlights. If you have dark areas, especially faces, take out some of the shadows.

* Adjust Photo Exposure If Needed
Sometimes even with a good point and shoot camera, your photos will look too dark or too light. Go into the photo editing feature and use the "Exposure" tool to add more light to your pictures. You can use this feature even on photographs that you've scanned and it helps a lot to make the picture more attractive.

* Save in Small JPeg Files
Your photographs will upload to the web quicker if you reduce the size of your files. I usually try to save my files in JPeg format at around 300-600 kb. When viewed electronically, these pictures will look just as good as larger files. Just don't use these pictures to make prints.

Crop to focus on your subject
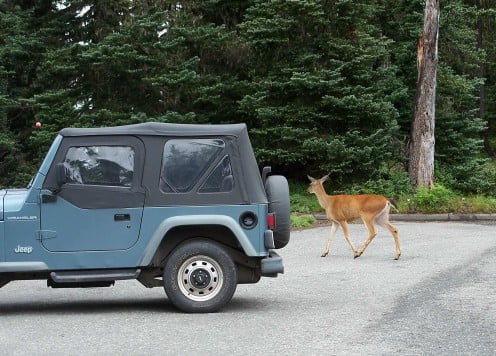
* Crop Photos to Remove Distractions
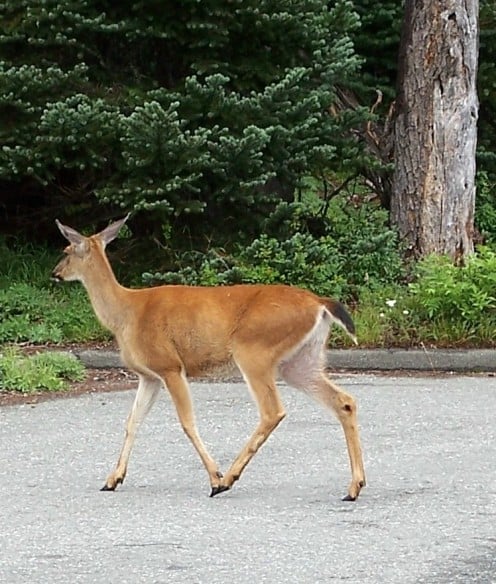
Finding the perfect picture is sometimes just a matter of selecting the part that you want and pasting it into a new document or cropping off the parts you don't want. I have noticed that some photographers have a deep attachment to their original pictures, and are reluctant to change them in any way. If you are one of those people, then make a duplicate of your original and experiment with cropping or adjusting the copy. I usually do this as I never know when I might want to use the whole picture. For example, the of the deer walking past our Jeep is interesting to me personally, but not particularly a great picture. Once I cropped out the Jeep, and the photo focused on the deer, it might be a useful picture to illustrate an outdoors article .

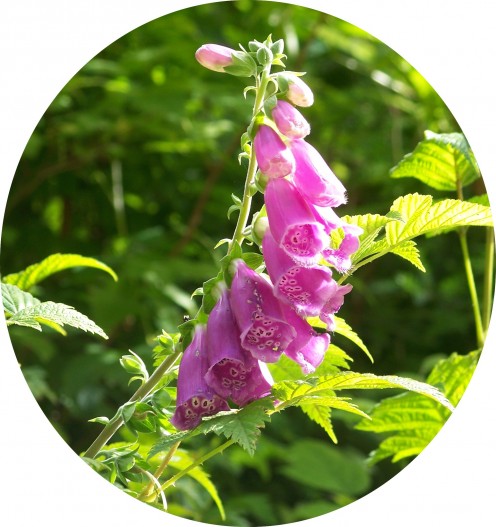
Crop in a Round Format to Spotlight Your Subject
* Select Different Shapes for a Special Focus
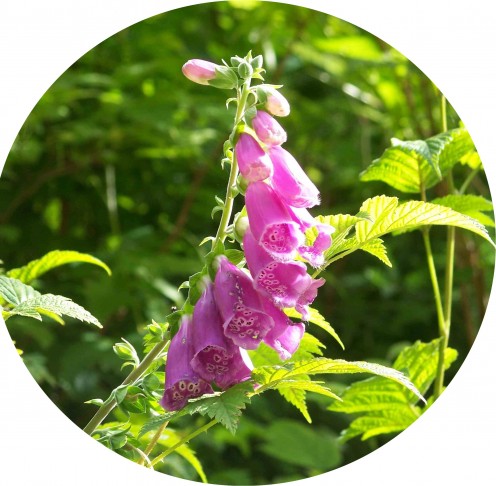
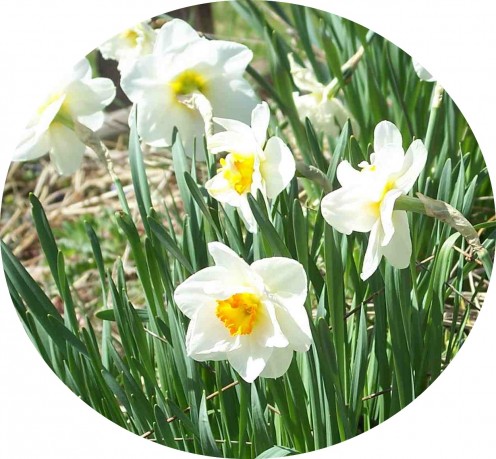
Most photo editing software comes with different shapes of the select tool. While we're used to using a rectangle, you can add interest by using the round or oval select tool and pasting your picture into a new document. Just a word of caution: Don't get carried away and have a zillion different shaped pictures. If you choose to use a round, then use it with several pictures to tie the visuals together.

* Discard Junk
Yes, throw out pictures with blur, camera shake or weird things growing out of people's heads! If your photo is irretrievably too bright and washed out or too dark, get rid of it. You have too many digital pictures to keep bad pictures, and they certainly won't add value to your work!
Above all, Do Not Use photos in your hub that are blurry or poorly composed! They will detract from your writing and your image as a professional.

You Never Know When Odd Photos Will Be Useful

* Build Your Photo Library
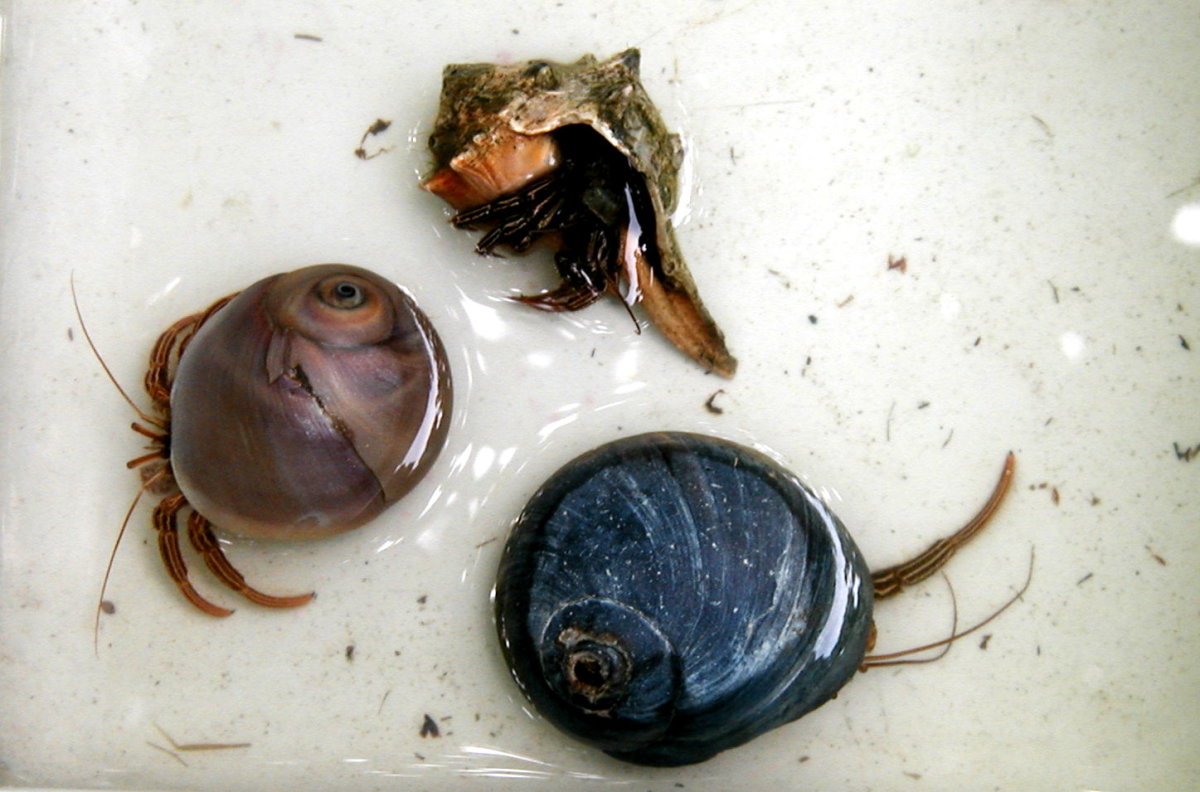
Carry your digital camera or cell phone camera with you. The best way to get graphics for your Hub is to use your own photographs. Carry your digital camera or your camera cell phone with you, and snap pictues of anything that appeals to you. You never know when you might need a picture of vegetables at the Farmers Market, a float at the parade or even a peaceful scene in the forest or at the beach. With future hubs in mind, take pictures of things like shells, flowers, rocks, holiday decorations and people in action.

Make Step-by-step photographs For Your Hubs
Click thumbnail to view full-size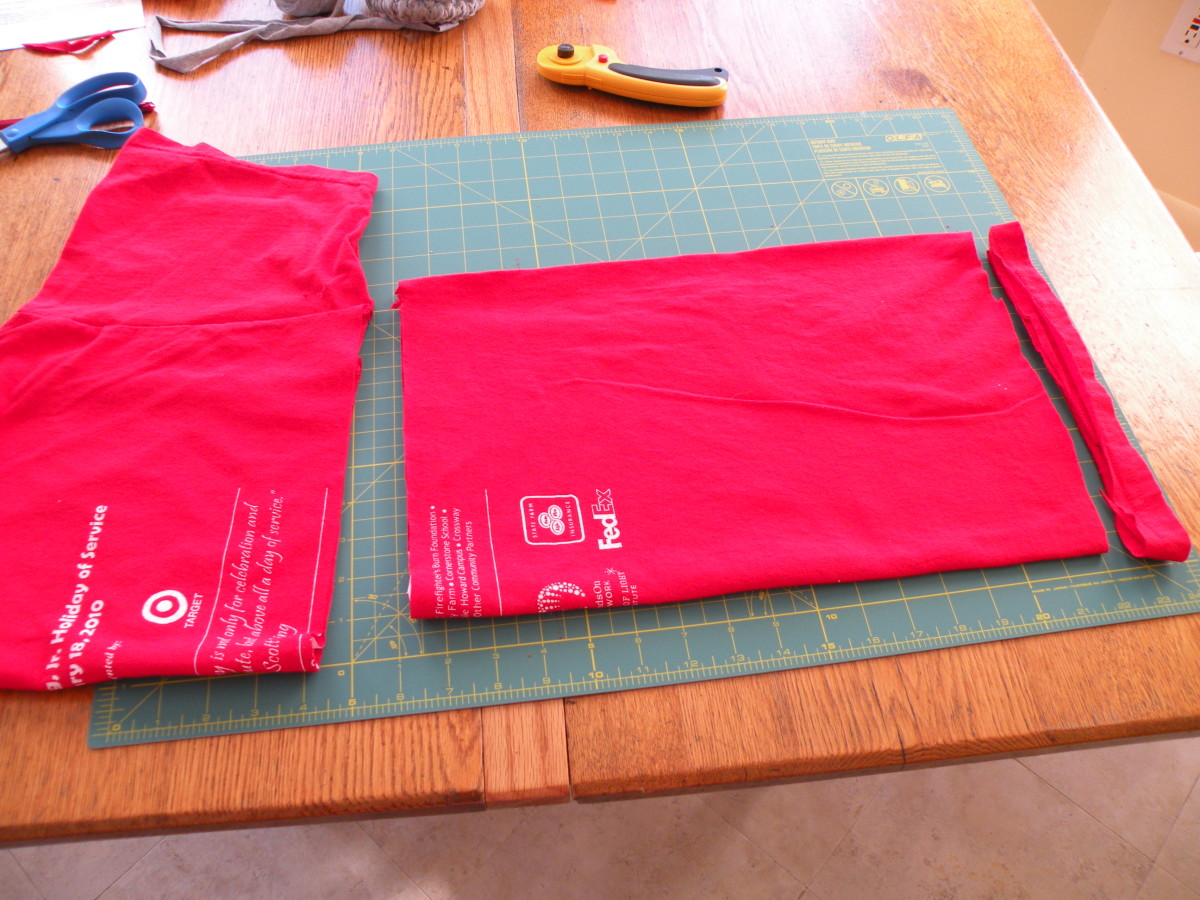


Make A Step-by-Step Series to Illustrate How-To Articles
Take some extra time to make step-by-step pictures for your hub. It will pay off in the value it adds to your hub. Step-by-step photographs will make your hub unique and useful. I’ve found that the hubs where I’ve taken time to make step-by-step photos are among my most popular hubs. Photos to the right are from my hub: Making Something from Nothing-How to Make Crochet T-shirt Rugs)

• When You Don't have the Right Photo - Improvise!
Improvise by taking a quick digital picture of something you have around the house. When you just don’t have the right photo in your photo library, use your phone or digital camera to take a picture of something you have around your home.
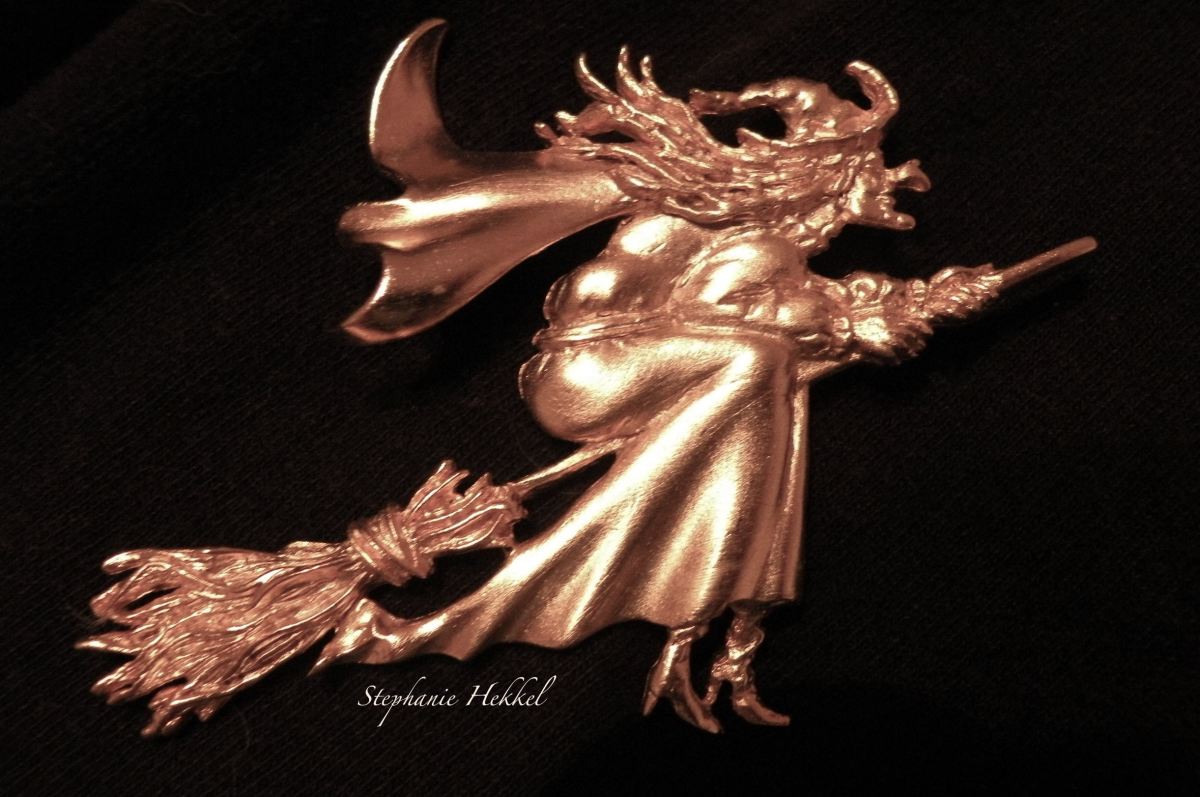
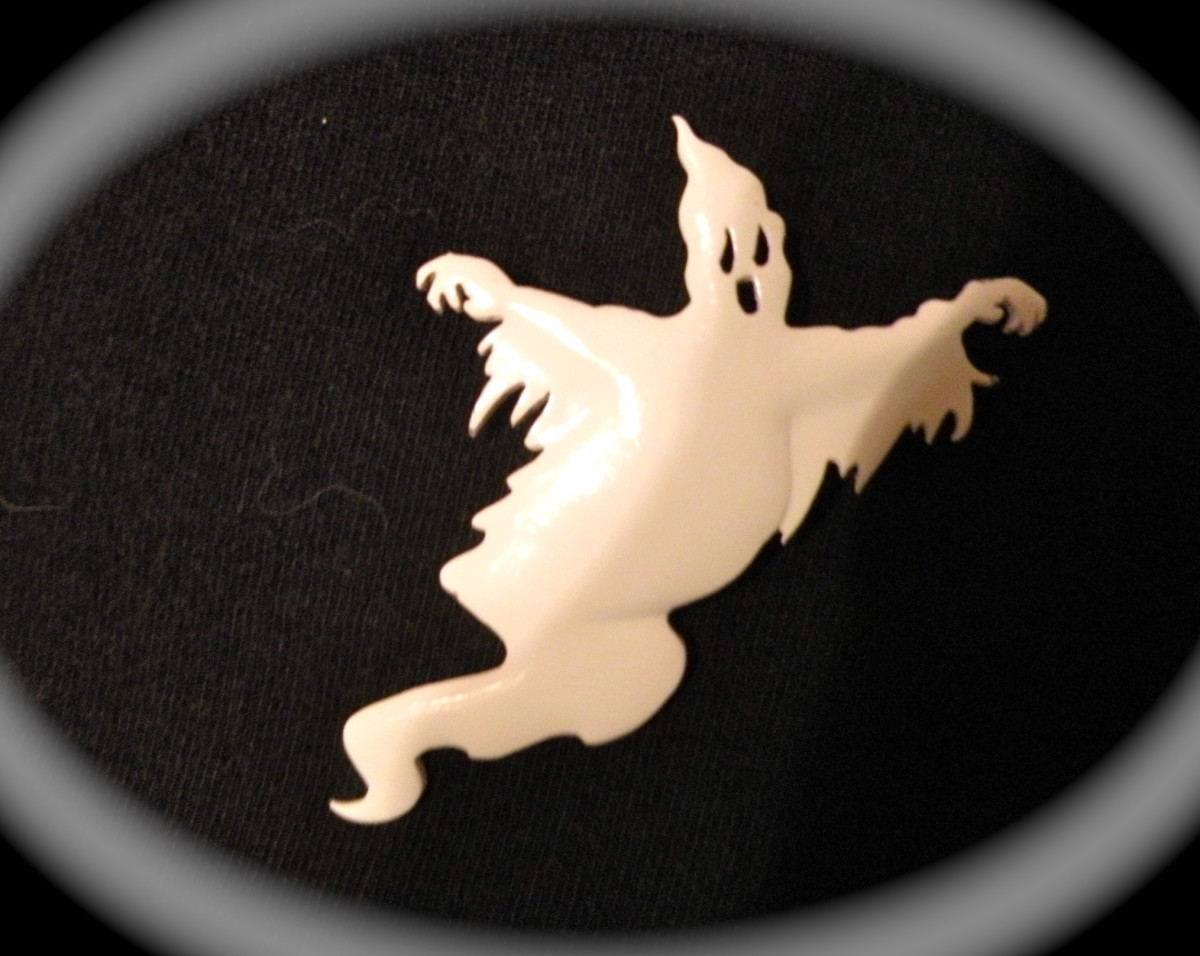
My Halloween Hub, More Halloween Safety Tips-Charms, Amulets and Protections, had me at a loss for an original photo. I solved the problem by raiding my jewelry box for Halloween jewelry and using my digital camera to snap some pictures. Then I used a photo editor to make them unique.

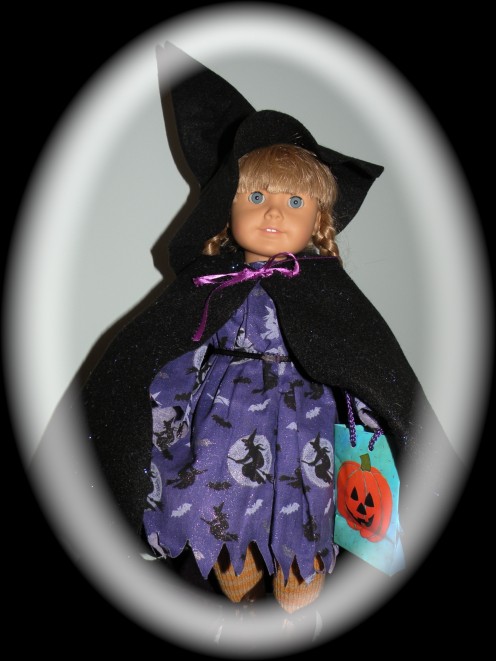
Halloween pictures using Jewelry and a Doll
Creating Special Effects Using Simple Techniques
I used Halloween costume jewelry to make these Halloween pictures for my hub: More Halloween Safety Tips – Charms, Amulets and Protections. For these I raided my jewelry box for a few Halloween pins. I placed the pins on a black t-shirt and set my digital camera to its close-up setting. For best results, you should use a tripod. I have to admit that I don't always use a tripod, and sometimes I'm sorry about it later. After I downloaded the pictures to my computer, I used the edit feature of my photo editor (I use a Mac ibook, the photo editor is iPhoto) to enhance each picture. Then I used the special effects tool which is very similar to other tools available with most digital camera photo editing software. I first chose the matte option to create a white oval around the piece,then used the vignette option to add the black oval thereby making a nice frame for the image. Easy, quick and a great lead photograph for my Halloween hub!
The doll in a witch costume was used in my hub: What Your Halloween Costume Says About You. (Yes, I do have a witch costume for my American Girl Doll!) After I took her picture, I used the photo editing tools on my computer to make a vignette with the witch on a black background and it worked perfectly with my hub.

Add Special Effects with an On-line Photo Editor


Experiment with Free On-Line Photo Editors
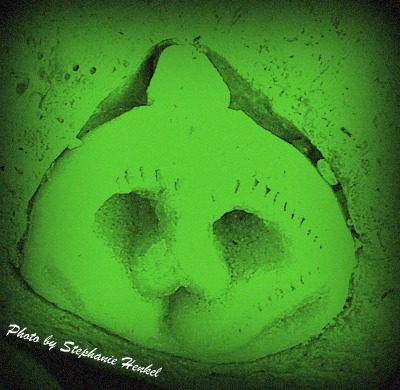
There are many free on-line photo editors that you can use for quick, easy and interesting effects. I used the original picture of my fossil face rock,(subject of my hub, A Rockhound’s Discovery - Is It An Alien Fossil or an Ancient Native American Carving, to make an eerie Halloween spirit for another Hub.
Using the free photo editor Picnik, first I cropped the photograph and used the special color tool to tint the picture green. I also added a signature using the text tool. Still using Picnik, I used the Sticker tool to paste my photo into a crystal ball. I then added some green to the eyes and tinted the entire photo purple. When I was satisfied with the result, I downloaded the completed picture back to my computer so that I would have it for future use.
*Note: Picnik is no longer available, but you can get similar effects with other on-line software. See links below for more information on free on-line photo editors.
Wrapping It Up
Using your original photographs effectively does not have to be a difficult process. When you want to concentrate on your writing rather than your photographs, you can make unique and creative images that will enhance your hubs or website by expending just a little thought and time. Play with some of the quick features of your camera's software or with the photo editing software on your computer. If you have a good internet connection, have some fun with the free photo editors on-line, too.
Enjoy!
~~~~~~~~~~~~~~~~~~~~~~~~~~~~~~~~~~~~~~~~~~~~~~~~~~~~~~~~~~~~~~~
Copyright ©2011 Stephanie Henkel
You Can Write for HubPages.
If you love to write, whether it's stories, poetry or essays and researched articles, you will love writing for HubPages. It's a great place for novices to join a supportive community. It's a great place for experienced writers to ply their craft. Click here to learn more about HubPages and to Join HubPages for free.
Sometimes You Just Need to Locate a Picture Fast!
If all else fails and you just need to locate a picture fast, here are some tips and resources for you to use when you just need to find that one special photo or illustration in a hurry: How to Use Free Photos and Free Clip Art on Your Hub or Website.
Caution: Remember that some free photos have restrictions on use. Don't crop or use special effects on Creative Commons copyrighted materials if the image has a "NO DERIVATIVE" license, meaning that you are not allowed to change the image in any way.
Other Tips for Using Photographs and Clip Art
- Free Photo Editors
All of these photo editing programs can be downloaded for free. They can all pretty much do your essential editing functions, but which one do you choose out of so many options? They all seem so similar. That is why I am identifying the weaknesses... - A Free Online Photo Editor
If you do not have the time or money for Adobe Photoshop, take advantage of a free online photo editor called PicMonkey. - 8 BeFunky Photo Effects Tutorial
Use Befunky Photo editor, a free online, easy to use photo editing app to apply effects, frames & text to your pictures. This review, with sample images, gives tips and advice on how to create such photo effects. With just one click, BeFunky will - How to Choose Pictures for Your Hubs
Choose the best pictures for your hub to attract attention and add color and interest to your layout. Here are tips on how to make the best choices when choosing clip art, free photographs or your own original photos to illustrate your hub. - How to Use Free Photos and Free Clip Art on Your Hub or Website
Find and use free photographs and free clip art on your website, blog or HubPage. Tips on where to search for the best Creative Commons images.
