How to make a Fondant Hello Kitty Cake Topper
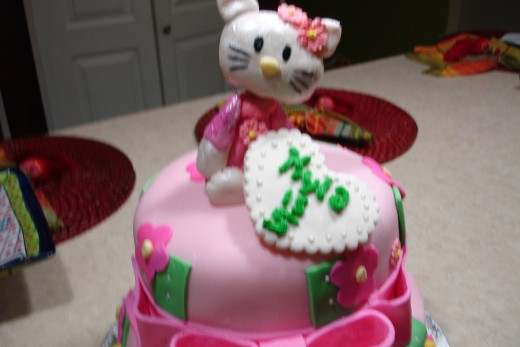
Hello kitty first originated in Japan in 1974 by a company called Sanrio. Her first appearance was on a coin purse- and she has grown in popularity ever since.
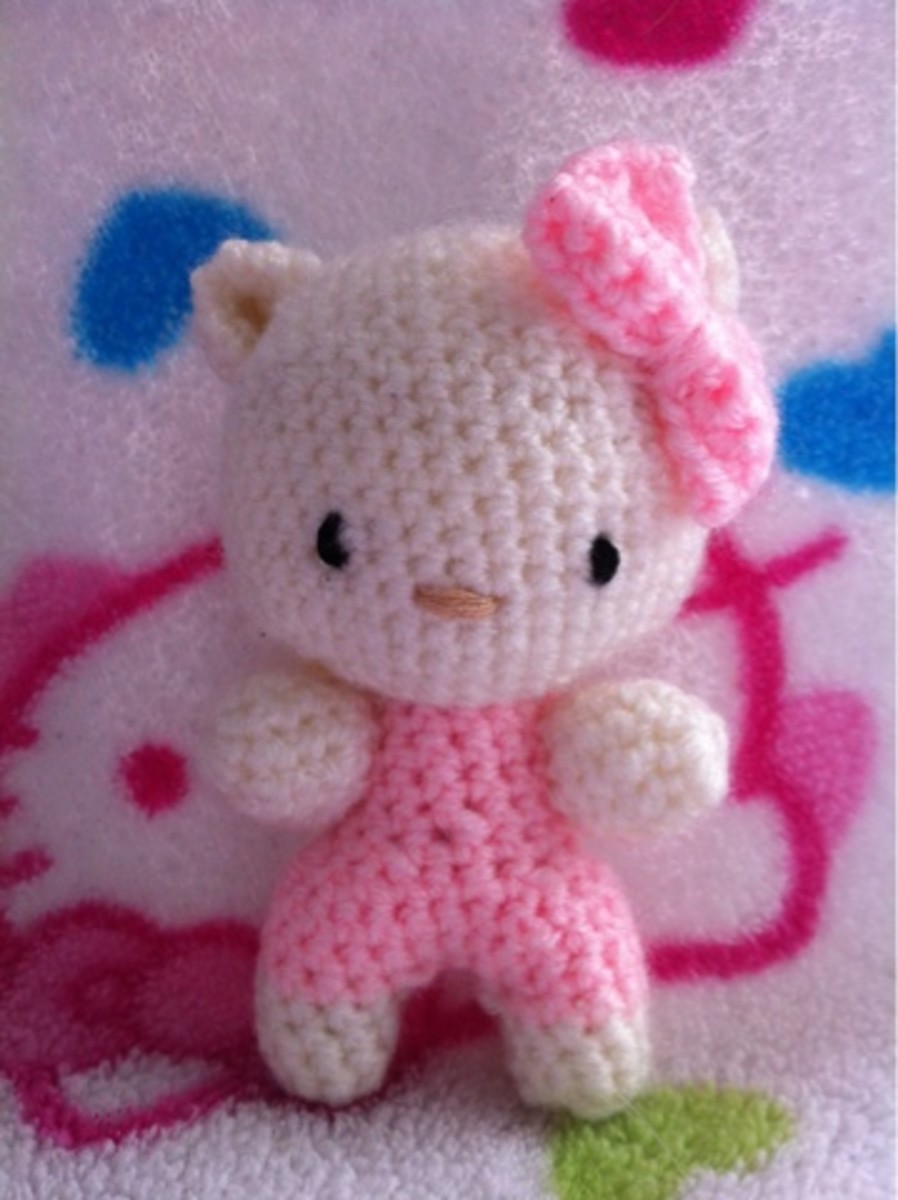
In this article I am going to give details on how to make a Hello Kitty cake topper. I have searched over and over on the internet and never found the details on how to do so, so I decided to do this tutorial and help out. Check out my other article on How to Make a Two Tier Hello Kitty Cake. This cake is absolutely adorable.
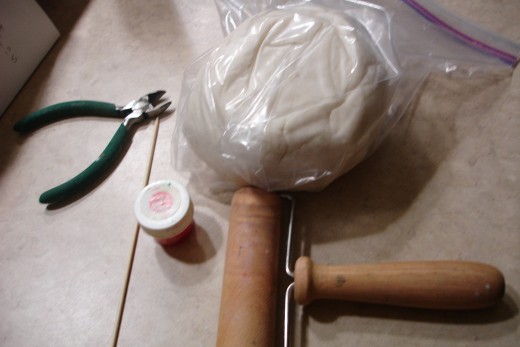
Things you will need
Fondant
food coloring.( Black, pink,yellow)
metal plyers (To cut the Kabob stick to size).
rolling pin
Fondant edible glue
toothpicks
Fondant food coloring
paintbrush
plastic dowel rod.
Edible glue recipe
The first thing we need to do is make our edible fondant glue. This is what keeps the fondant pieces together. It is very important to use.
Edible Glue Recipe:
- 1/4 teaspoon Tylose powder. (You can purchase this at any Michaels or cake store).
- 2 T Warm Water
Put your tylose powder in a little Tupperware container. Slowly add in your water and allow the tylose to melt. Put a tight lid on it and place it in the refrigerator overnight. The glue itself will be of a dripping thickness. If it is to thick, than all you do is add a little bit more water and stir good.(Keep the remainder glue in the fridge when you are not using it and it will last for 6 months.
Making the kitty.
Next you want to have your fondant ready. If you want to make it by hand and your not buying your own fondant- than you can check out my Fondant Recipe.
What you need:
- Black food coloring,
- Pink food coloring
- Yellow food coloring.
- Toothpicks
- Kabob stick (for kitty head)
- Fondant glitter pearl (at your cake store)
- Empty Box
1). Add your food coloring to your fondant. The kitty itself needs to be white, but the kitty's clothing is pink. Once your fondant is colored, you want to get out an empty box. You use the empty box to set your kitty on to dry.
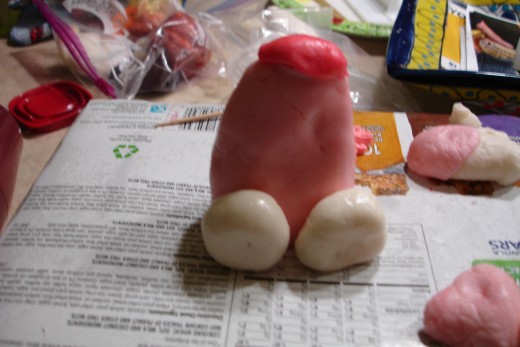
2).Roll out 2 balls for the feet. Use the edge of a toothpick and create feet indents on the balls. Stick a toothpick in the feet. You only want the toothpick to be 1/2 inch- so cut the remainder toothpick with the wire cutters. (Don't let the toothpick show thru the front feet).legs. Brush on edible glue and stick on the feet.
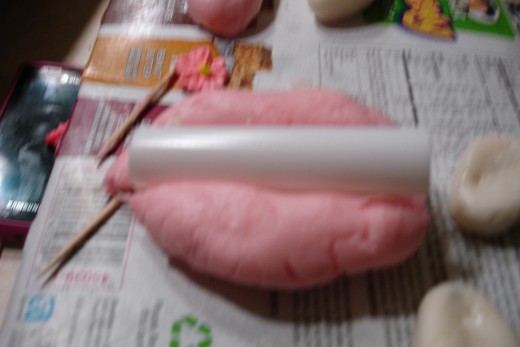
3). Next roll out one big pink ball for the base of the kitty. Insert a plastic dowel rod in the middle of the body to give the kitty strength. The rod will be vertical. (You must do this- if you don't the weight of the kitty's head will squash the kitty into a frumpy look). Shape the middle into a figure of a thick triangle. Put a piece of darker pink fondant on the top of the base- (This will give the kitty a collar)
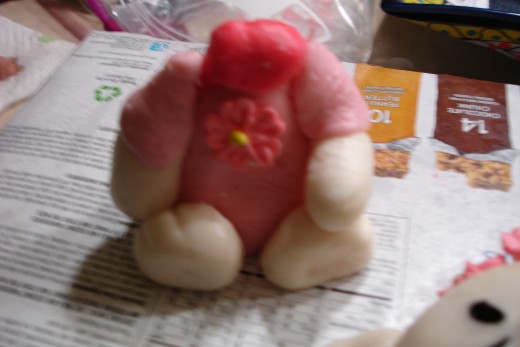
4). Roll out 2 small white logs. (This will be the arms). Cut a piece of pink fondant real thin and roll over the end of each small white log. This is the sleeves. Brush edible glue on the kitty's arms and stick in 1 toothpick in each arm. Do this for both arms and insert the kitty arm into the base of the Cat.
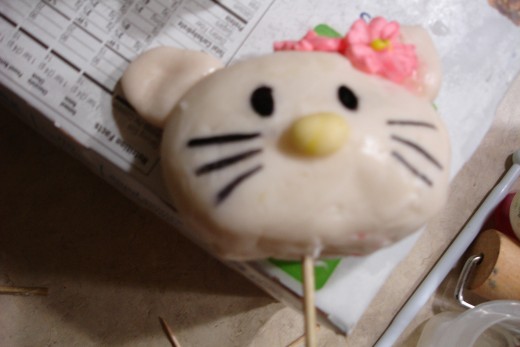
5). Now we are ready to make the head. Roll out one big white piece of fondant into an oval. Then make 2 triangle shapes for the ears. Attach the triangle shapes to the kitty head with edible glue. Insert a piece of wood into the head of the kitty- not going all the way through the top. Cut off the part sticking out of the kitty- leaving 3 inches to stick in the base later.
6). Take the kitty head with the stick and insert it into the base of the Kitty to make a small hole for the kitty's head in the base when everything dries. Remove the kitty head until dried.
7). Get your black food coloring and use a toothpick and draw on whiskers and eyes. Be very careful because the black can smudge- even when the kitty is dried. If you smudge the whiskers or eyes- than get a paper towel wet and clean up the smudge marks.
8). Attach a royal icing flower with edible glue to the corner of the ear of the kitty, and the top base of the kitty's dress. If you do not have any royal icing flowers than you can make a little fondant flower and attach that with the edible glue. Roll out a small ball for the kitty's nose.Attach the yellow nose with the edible glue to the kitty.
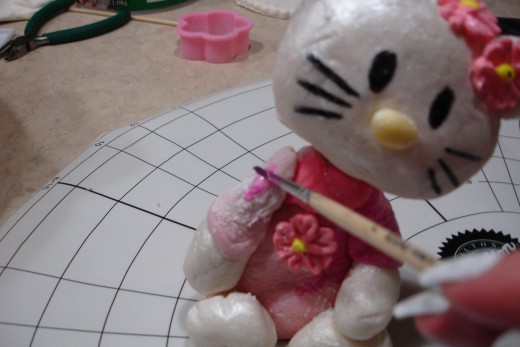
9). If you like you can change the color of the fondant kitty once the fondant is dried. If you add 2 drops of food coloring to a teaspoon of vodka- this gives you paint-able airbrush color. You can brush this on with a paintbrush. I darkened the color of the kitty's dress after it was dried because I wanted a little darker pink color.
10). Next rinse your brush off and dry it off. Stick your brush in the pearl glitter and lightly go over the Kitty's head to give it a white pearl glitter color . Make sure you avoid the black whiskers and eyes.
11). The last step is to put the kitty head on once the kitty is completely dry. You already have a small hole created in the base of the kitty.The wood kabob stick attached to the head will go right into the base of the kitty.The dowel rod inside will hold the Kitty's head on.
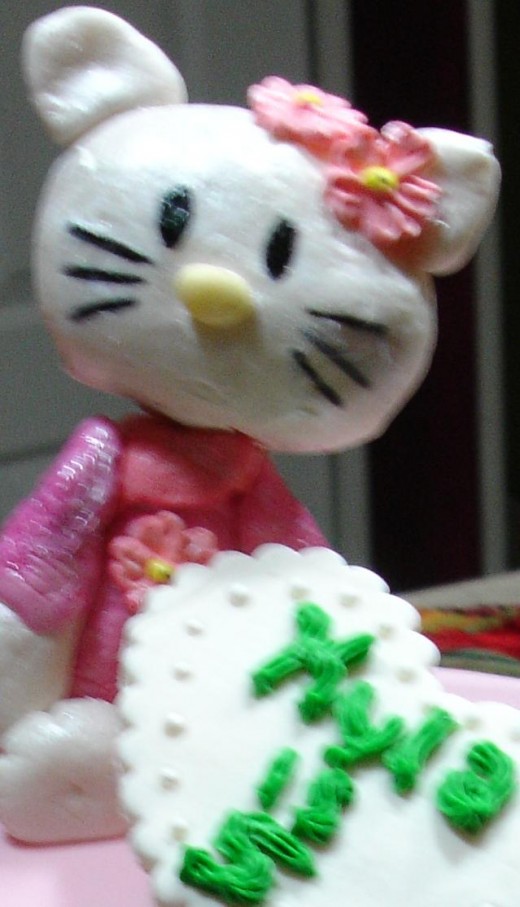
Editors note: It will take the kitty approx 5 days to dry completely. You must let the kitty dry- otherwise the kitty will not stand straight and fall over. The heart on the cake was made of rolled fondant and using a heart cookie cutter. You can then draw on the cake name details.
Have Fun Making Your own Hello Kitty Cake Topper. You will never find anything like this at any store. Not only is the Hello Kitty so cute, but she is edible too.
