10 Steps to Making a Handmade 6 x 6 Christmas Card including Envelope!
Designing a Christmas card.
A Christmas card design is like no other because it's for one time of year.
Christmas cards are usually unique and very special to the sender and recipient. The sender feels joy from sending a written sentiment to a friend they've thought of through the year. The recipient feels pleased and elated to receive such a thoughtful card reminding them of past memories.
When you walk in to a store and pick through aisles of greeting cards, sometimes it takes a while to find the perfect one with appropriate sentiments for the person you are thinking of.
Step-by-step is really important when crafting. It's like the last time I tried to make boxed mashed potatoes. This is why I always make them from scratch. I have the steps memorized. Peel potatoes, put them in pot with water, set to boil. Remove from heat when fork tender, place them in a bowl, and mix them with butter, salt and pepper. Easy, right? The day I tried to make a boxed potato, I dumped everything in one bowl and set it in the microwave. I hadn't read the instructions carefully. If I had, I would have known to boil the water in a microwave-safe dish first, and then add the potato flakes after.
Crafting is similar. There are certain steps that must come first. There are lots of mistakes to be made. But most importantly, there are a lot of beautiful creations that the world has yet to discover.
Here is a how-to guide for making a special Christmas card size 6" x 6" square.
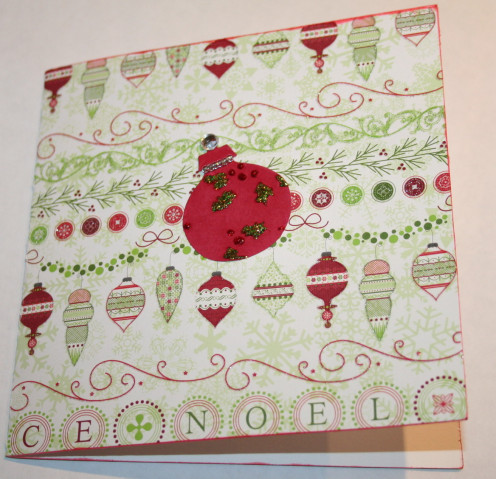
Step 1. Think about your design and pick your papers.
There are many types of papers out there to make in to beautiful greeting cards.
Local craft stores as well as online stores offer patterned papers and cardstocks to match. When I go to a craft store, I pick out patterns which come in both. I usually buy size 12 x 12. These papers are usually intended for scrapbook layouts. However, one piece of 12 x 12 scrapbook paper can make two 6 x 6 greeting cards. And, when you find matching printed paper to go with the cardstock, it's even better because you can create envelopes to match your cards!
Sometimes I go to the store with a design in mind. Other times, I'm just looking for inspiration. Patterned paper comes in so many designs, it's almost impossible not to find an idea by looking through the vast selection.
Step 2. Set up your craft space to begin your greeting card.
After you find the ideal papers for your project, you'll want to spread them out on a clean and clutter-free work space.
- Wipe down your work surface to make sure it's dust free before you begin crafting.
- Get your supplies out so they'll be handy.
- Put like items in an organized fashion on your work space in reach of your chair. For example, a pencil cup can hold pencils, rulers, and other small accessories.
- Have a plan for setting aside wet glittered or glued items such as an empty counter top or separate work station.
Supply Checklist
|
|---|
12 x 12 patterned cardstock
|
Matching 12 x 12 printed paper
|
Paper Trimmer
|
Scor-Tape or double-sided tape
|
Store bought embellishments (if applicable)
|
Handmade embellishments (if not using store bought)
|
Bling/gem stones/seed beads
|
9 x 12 Drawing paper
|
Ink pad
|
Rubber stamp for sentiment (if applicable)
|
Glitter glue
|
Score board or ruler
|
Scalloped scissors or die cut to make scallop design
|
Step 3. Begin your greeting card.
Here are instructions for crafting a 6 x 6 card out of scrapbook paper:
- Begin by folding a piece of 12 x 12 cardstock in half. The position of the fold will depend on the design. Make sure your design will come out in correct position on a greeting card.
- Trim the cardstock in half at the fold line.
- This should result in a sideways fold in to a 6 x 6 card as shown in the photos.
If you have more than one identical card, go ahead and prepare them all this way. Then set them aside.
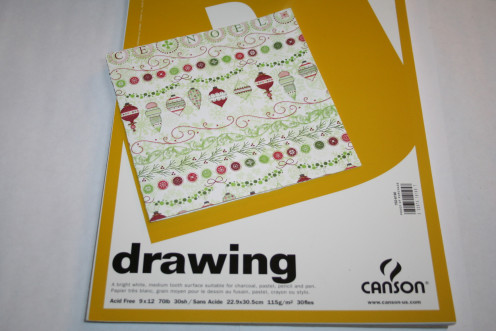
I recently found Scor-tape on a roll by Elmers. It was called permanent double-sided tape.
Step 4. Make the inner lining.
For this tutorial, I used drawing paper that comes in size 9 x 12. Fold the paper in half.
Trim the folded paper down to six inches to fit inside the cardstock.
Next, begin adhering the cardstock to the inner paper.
I use Scor-tape for this which is a permanent tape.
To do this, apply tape all around the outer perimeter of each inner side of the cardstock. Then, neatly place the drawing paper down to adhere.
Trim the drawing paper down to 6".

Place tape all around the outer perimeter of the cardstock.
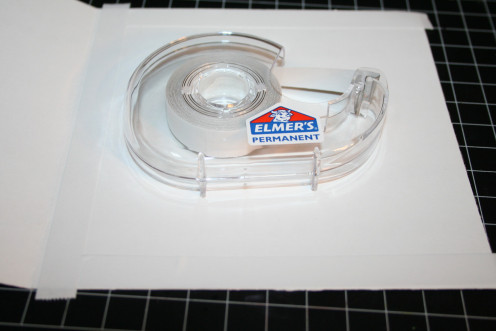
Trim the edges of the tape with scissors.
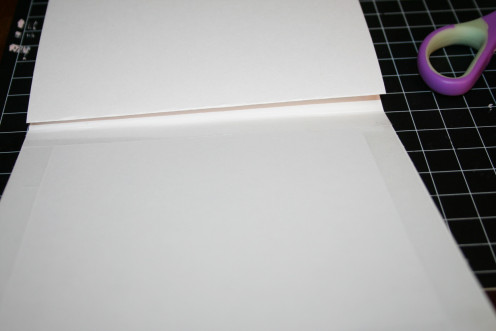
Step 5. Adhere the lining to the outer cardstock.
Once you have all of the Scor-Tape in place, adhere the inner lining to the cardstock. This can be tricky. Do this on both sides inside the cardstock. You will notice, when trying to open the adhered card, there might be a little resistance on the drawing paper. Fold it backwards and smooth out.
Cardstock adhered to the drawing paper on the left.
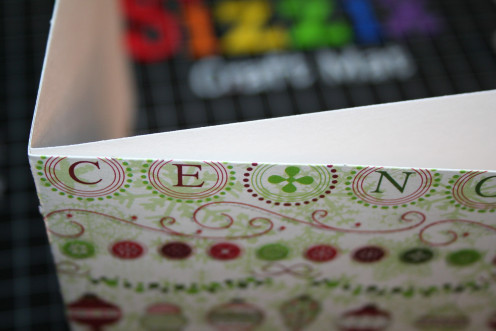
Make a crease so the card will fold back with ease.
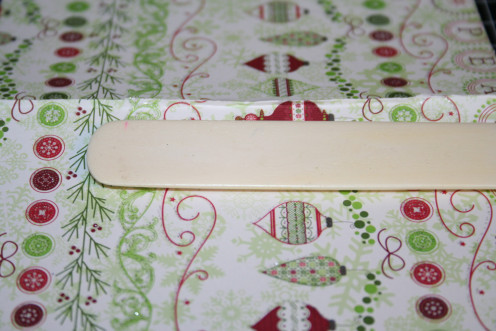
Craft stores do sell scrapbook grade sanding paper.
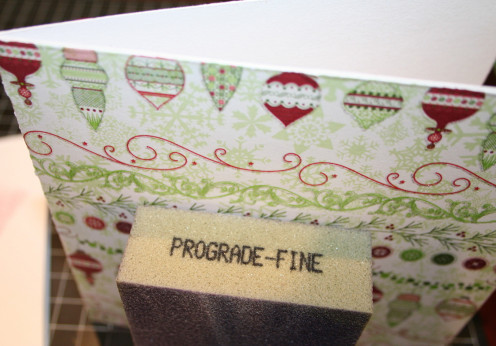
I prefer sanding blocks from hardware stores. They are inexpensive, easy to hold, and work really well on paper in prograde-fine. I usually find them around the painting aisle.
Step 6. Sand and ink the edges of the card.
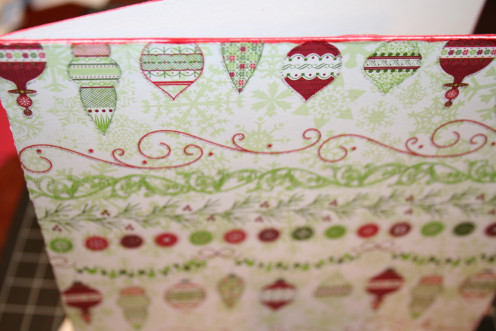
Using a sanding block, sand down all three edges of the card around the opening. Then ink with a matching ink pad around those same edges.
This becomes useful if the inner paper doesn't match up exactly with the cardstock. After it's sanded and inked, there will be no over-lay.
Sand the edges.
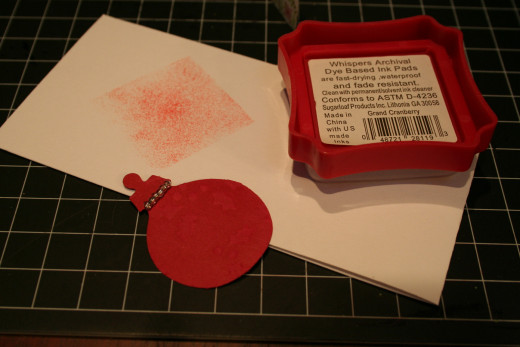
Ink the edges of the card.
Step 7. Choose your embellishments.
I like to make my own embellishments, but there are many to chose from. Many companies make them. They are plentiful in stores and online. Many small craft sellers make embellishments and sell them on ETSY, eBay, and other online venues.
When I create a greeting card design, I like the look of an embellishment that matches the patterned cardstock.
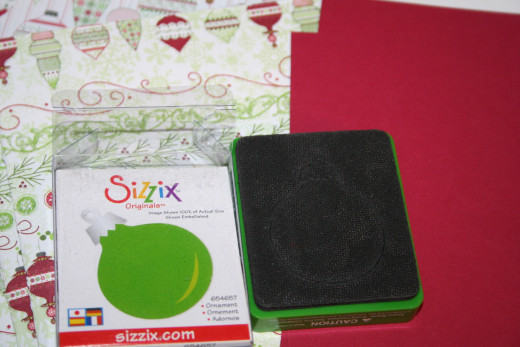
For this project, I decided to use a Sizzix die-cut shaped ornament because it matched the patterned cardstock.
Also, note how you want to embellish the embellishment!
- You can leave the embellishment plain.
- You can decorate the embellishment with glitter, ribbon, flowers, or anything else you have on hand.
- You can also emboss the embellishment.
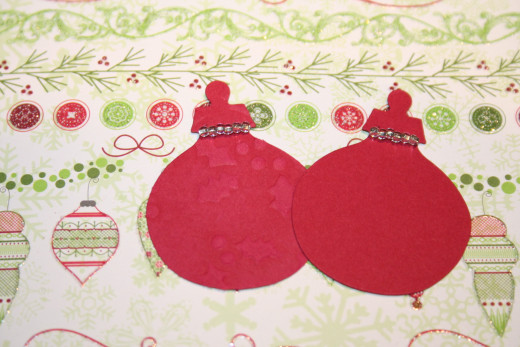
I made the embellishment two ways to demonstrate a couple of craft techniques.
- Decorating the embellishments with beads. I used small seed beads in silver tone which I strung through white sewing thread. I then tied the thread in the back of the die-cut so that the beads would stay on nice and tight.
- Embossing the embellishments. Afterward, I decided my embellishment needed something extra. So I chose to start over and emboss the die-cuts first using a holly berry design, then I strung more beads.
This is the part where sometimes I make more work for myself than necessary. Had I thought to emboss the embellishments at first, I wouldn't have had to start over. It's sort of like how I mistakenly added all of the ingredients to the mashed potatoes before I boiled the water!
Crafting embellishments.
Click thumbnail to view full-size


8. Pick your inside sentiment.
For these cards, I used matching preprinted paper to create scalloped mats. Then I cut out small tags, and rubber stamped a sentiment on them. I also inked the edges of the mats and the tags in the same color as the rest of the card. The sentiment was stamped in the same color ink as well.
Your choices for inside sentiments are endless. If you do not have rubber stamps, you can always use sticker sentiments or printed sentiments from your home computer.
Sentiments.
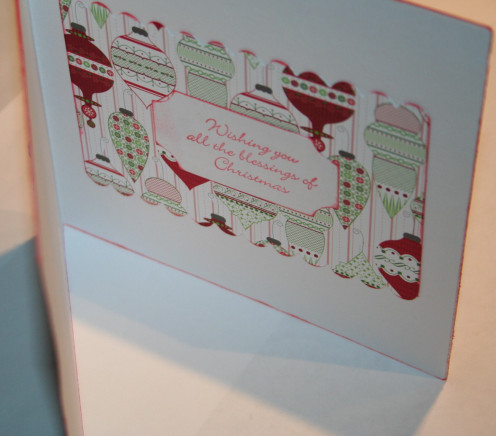
9. Adhere the embellishments and sentiment.
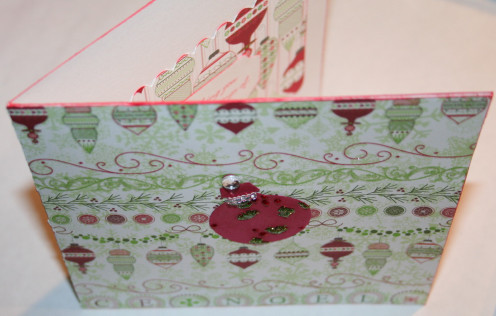
Adhere the embellishment to the front of the card.
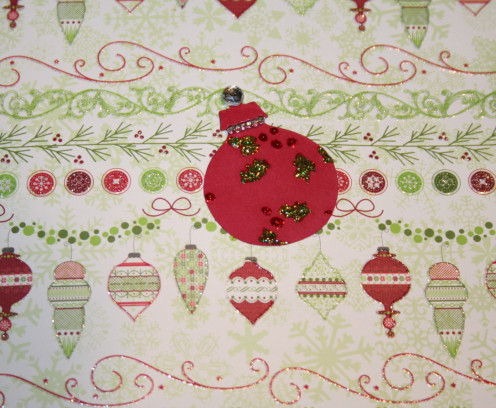
To complete the ornament embellishment, I glittered the holly berry design, and added bling to the top of the ornament. I used a glue dot to adhere the bling.
Inside, I used double-sided tape to adhere the sentiment.
Adhering your embellishment.
Making an envelope from patterned paper.
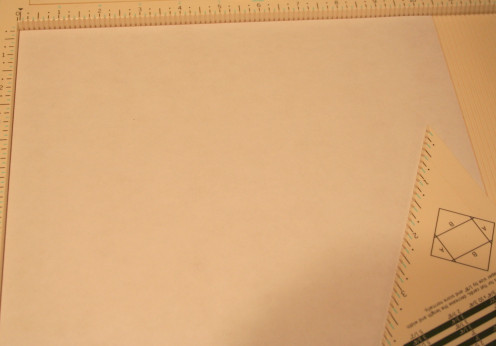
10. Make your envelope.
First, find a place to dry your glittered cards. Once dried, then you can start working on the envelopes.
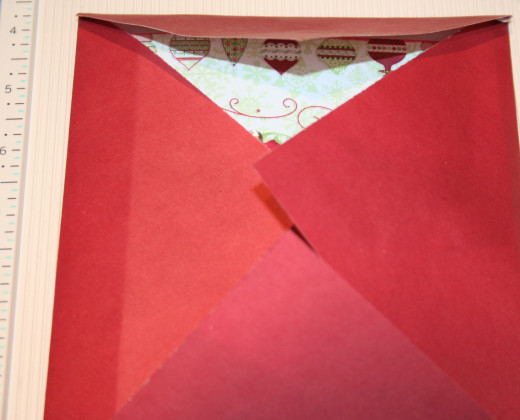
For the envelope, you will need a 12 x 12 paper. The paper doesn't have to be patterned. It can be a solid color. Just make sure you have enough for each card if you are making more than one.
- Trim the paper to 10 x 10.
- Using a score board, mark your paper on each side at 5 1/2 inches. (This can be done with a ruler if you do not have a score board.)
- Next, fold from each 5 1/2 mark to the next creating four corners.
- The 6 x 6 card should fit perfectly in the square that's leftover in the middle of the folded paper.
Folding the envelope to fit the card.
Have you ever made your own cards with matching envelopes?
Conclusion.
I hope you have enjoyed reading this tutorial about making handmade greeting cards size 6 x 6 with matching envelopes.
Please leave a comment below and let me know your secrets for creating sentimental cards that recipients talk about for years to come.
Visit me here
- How to Make a Large Amount of Holiday Cards at the S...
Make your own Christmas, Valentine's, Easter, Thanksgiving, and other holiday cards in large amounts all at once! Make individual or all the same. Illustrative guide to making cards.

