How to Add Feedjit to Blogger
Introduction
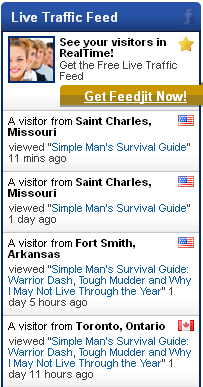
The Feedjit live traffic widget is a free way to track where your Blogger blog's visitors are from, how long ago they visited, how they got to your blog, what page they landed on and what they clicked to leave your blog. It also makes this information available for other people who visit your blog to see. You can add the Feedjit live traffic widget to your Blogger blog by signing up for the free service at the Feedjit website, customizing the appearance of your widget, picking up the HTML code and then adding it to your Blogger blog. The process is painless and can be done in a couple of minutes. You can view the advanced statistics from your widget by clicking "Real-time view" at the bottom of the widget. However, be aware that everyone else can see the same information the widget provides that you can.


More Technology Articles!
- Make Xbox Live Faster
Before taking a hammer to your Xbox because your Xbox Live connection isn't performing up to par, walk through a variety of troubleshooting techniques that can speed up both wired and wireless connections. - How to Tell What iPhone Model You Have
Knowing what iPhone model you have lets you know what software your device supports and what third-party devices are compatible with your smart phone.
Steps for Adding Feedjit to Blogger
- Open your Web browser and navigate to the Feedjit home page.
- Click "Choose Your Feedjit" in the green box on the right side of the page.
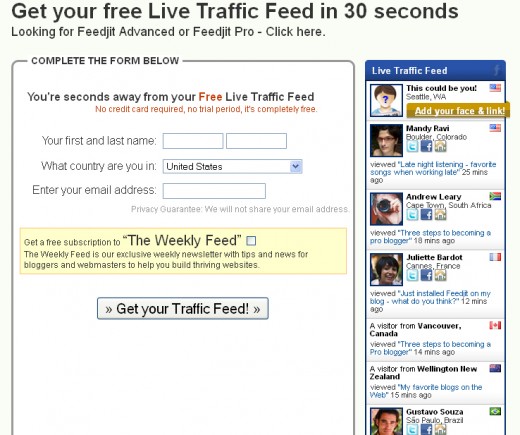
- Click the green "Sign Up" box beneath the Feedjit Completely Free option. The Complete The Form Below screen appears.
- Enter your first and last name, country where you're located and a valid e-mail address in the boxes provided. Also, if you don't want to receive a weekly newsletter from Feedjit, be sure to de-select the check box next to The Weekly Feed in bold lettering. Click "Get Your Traffic feed after entering your information. The Free Customization screen appears.
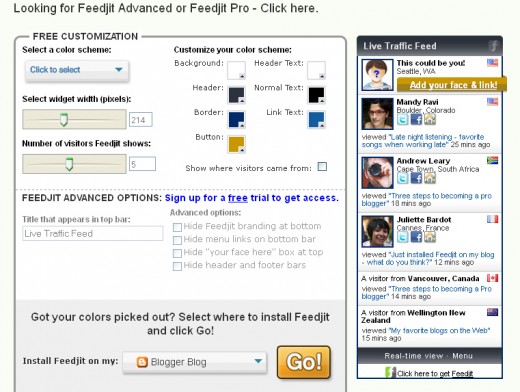
- Click the drop-down arrow beneath Select a Color Scheme to view a list of default color schemes Feedjit makes available. Alternatively, if you don't want to use any of the default color schemes, you can use the options beneath Customize Your Color Scheme to create your own color scheme. As you select color schemes or build your own color scheme, the Feedjit Live Traffic Feed widget on the right side of the page adjusts to display the colors your widget will be.
- Drag the slider beneath Select Widget Width (Pixels) to set the width for the Feedjit widget that will be placed on your Blogger blog. The width can be anywhere between 160 and 300 pixels. As you move the slider, the Feedjit Live Traffic Feed widget on the right side of the page adjusts to display the actual width your widget will be.
- Drag the slider beneath Number of Visitors Feedjit Shows to change the number of recent visitors the widget displays. You can show anywhere between one and 10 recent visitors. As you move the slider, the Feedjit Live Traffic Feed widget on the right side of the page adjusts to display the number of recent visitors your widget will display.
- Click the drop-down arrow to the right of Install Feedjit on My and then select "Other Blog or Website." Click the orange "Go!" button. Ignore the temptation to select the Blogger Blog option, as doing that is actually a bit more of a headache. The Instructions for Installing Any Blog or Website screen appears.
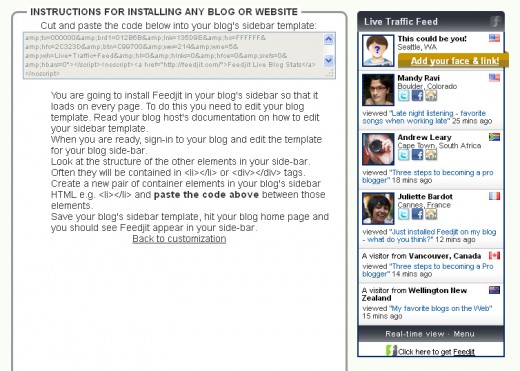
- Copy the code that appears directly beneath "Cut and paste the code below into your blog's sidebar template."
- In a separate tab or Web browser, navigate to the Blogger website, log in to your account and then open the dashboard for the blog where you want to insert the Feedjit live traffic widget.
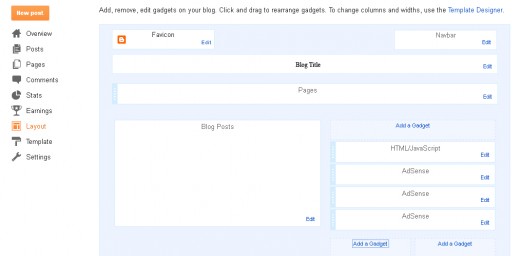
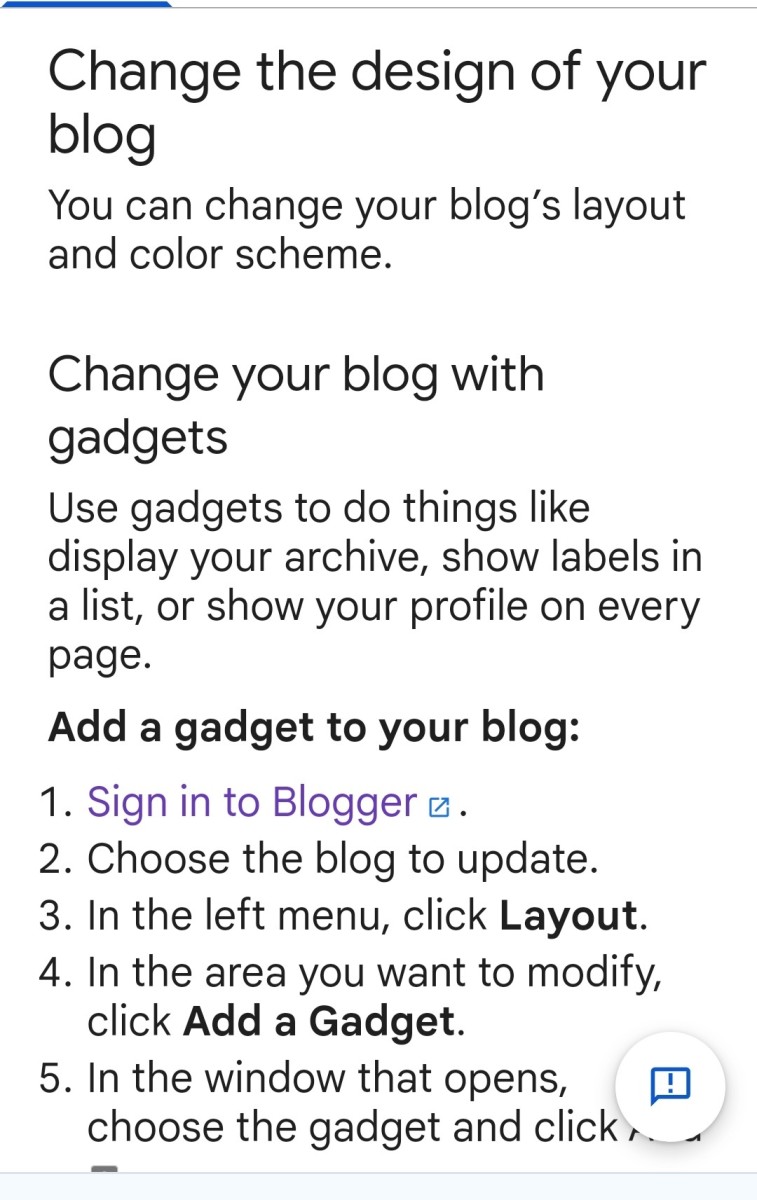
- Select the "Layout" tab on the left side of the screen. The layout for your blog appears on the right side of the screen.
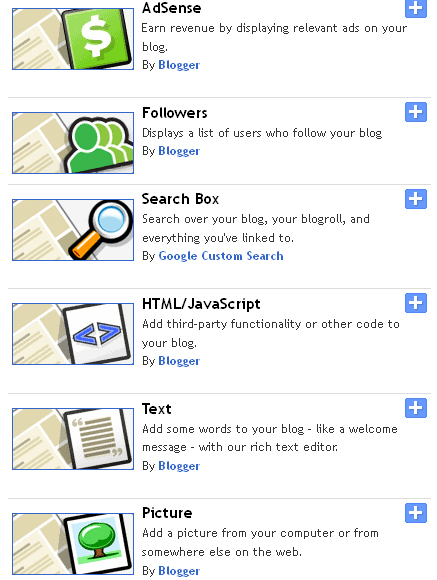
- Click the "Add a Gadget" box in the location where you want to add the Feedjit live traffic feed widget to your blog. The Add a Gadget dialog box opens.
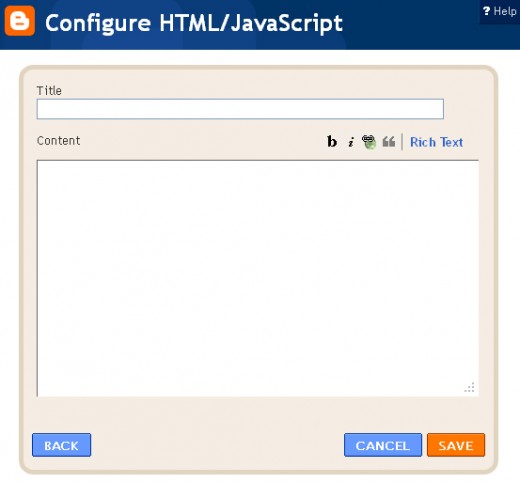
- Click the "+" box to the right of the HTML/Javascript option. The Configure HTML/Javascript dialog box opens.
- Enter a title for your Feedjit live traffic widget, if you want. This isn't required.
- Paste the HTML code you copied from the Feedjit website into the Content section of the Configure HTML/Javascript dialog box and then click the orange "Save" button in the lower-right corner of the dialog box. The Feedjit live traffic feed widget is now visible on your Blogger blog.

