Basic Skills For Photography

When using a DSLR camera you need to know how through-the-lens (TTL) light readings are made, what sort of errors can occur and why, what the aperture and shutter speed do in order to make exposures, and how they relate to things like the ISO speed, image sharpness and subject movement. You also need to be able to recognize the tell-tale signs of under and over exposure, and understand how to correct the problem.
The great thing about digital cameras is that you can experiment with exposure and composition to your heart's content, without spending any money on processing those images that don't work. Instant image playback on your LCD screen allows you to review images just seconds after taking them, so you are still in the right place to shoot the scene again and correct any mistakes.
Basic Photography Book
Mastering the Basics
ISO Speed - This controls how sensitive the camera is to light. The higher the ISO setting, the more sensitive it is, so the less light you need to take photos. Some DSLR's have an automatic ISO setting.
RAW/JPEG - JPEG files offer good quality and do not take up a lot of space on your memory card. RAW files are much bigger then even the largest JPEG size so you won't get as many shots on your memory card but the images are of a higher quality.


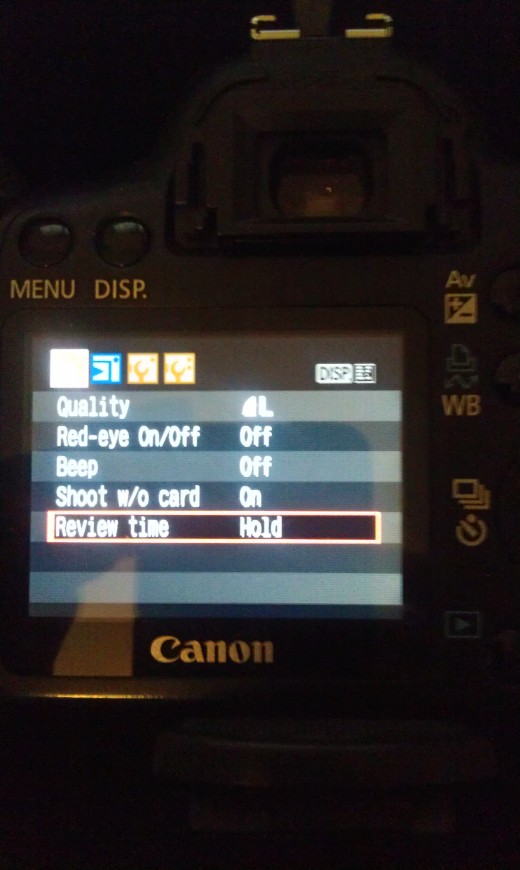
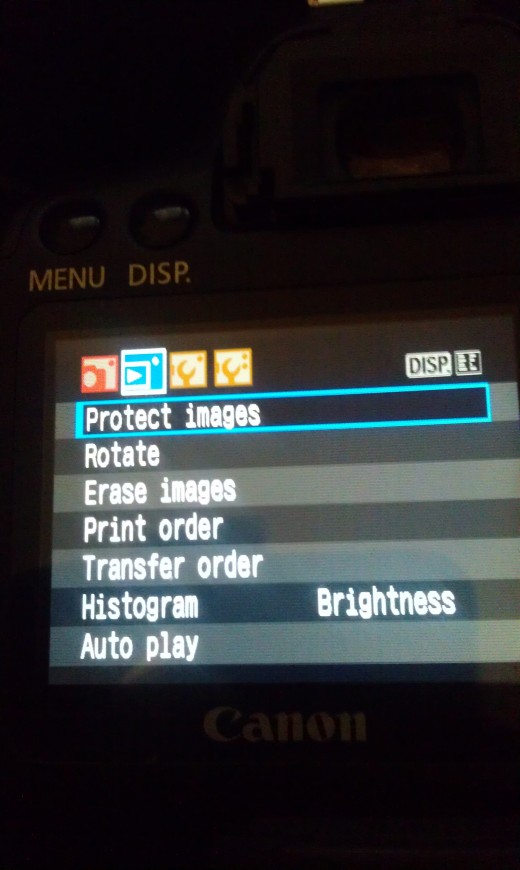
Image Review - The ability to see your results instantly on the back of the camera is one of the most useful features of your DSLR.
Image Size - Many cameras give you the option of recording images at various resolutions to save space on your memory card. You'll find it better to use the highest resolution offered by the camera to help assess the quality, sharpness and ultimately the success of the results that you get.
Image Adjustments - The default setting on most DSLRs will automatically make adjustments to sharpening, saturation and tone. While this is great for general shooting, these automatic adjustments are not good when you are learning how the different settings work.
Beep - This is an audible signal to confirm your auto-focus has locked onto the subject. It can also indicate other camera functions are in progress.
Holding your DSLR the right way
It is surprising how few people know how to hold their cameras properly. Technology such as image stabilization will help you achieve sharper shots, but it is no excuse for poor technique. Here's how to hold your camera the right way.
- Hold the camera in your right hand with three fingers on the hand-grip, placing your index finder on the shutter button and your thumb pressed against the rear.
- With the palm of your left hand, cup the camera from underneath, freeing your index finger and thumb to control the lens's zoom and focus rings.
- Tuck in your elbows and rest them against your midriff to support your camera from below.
- Hold your breath for a second while squeezing the shutter gently, rather than jabbing at the shutter button aggressively which will jog the camera.
When holding the camera when you are working without a tripod, look out for props that might offer extra stability. Leaning against walls or trees will help stabilize you, and railings or fences can be used to support your camera directly. Any of these options will help to give sharper pics.
The age-old and perfect way to prevent camera shake is to use your three-legged friend. A sturdy tripod may feel awkward as a constant companion, but stick with it and it will soon become second nature.
Using the Mode Dial
The mode dial on your DSLR camera is located on the top of your camera on the right hand side. This is the dial where you can change what type of picture you are going to take. Weather it is a portrait, landscape, macro, day or night pictures or if you are using your aperture, shutter-speed or manual controls they can all be found on your Mode Dial. There is a lot of detail on the Mode Dial and I have written another hub about it located here:
Aperture, Shutter Speed and ISO
When using the M, AV or A, TV or S and P on your camera's mode dial you will need to know more about these skills.
The aperture priority allows you to select the aperture manually but tells the camera to automatically select the appropriate shutter speed to make a correct exposure.
The shutter priority mode allows you to select the shutter speed manually but tells the camera to automatically select the correct aperture.
Program mode sets the shutter speed and aperture automatically but does allow you a little more creative control over settings such as exposure compensation and auto-focus.
Manual mode you have to set both the aperture and shutter speed yourself.
I go into a lot more depth of the Aperture, Shutter Speed and ISO in this hub:
HOW TO USE APERTURE, SHUTTER SPEED, AND ISO WITH A DSLR CAMERA
Using Depth Of Field
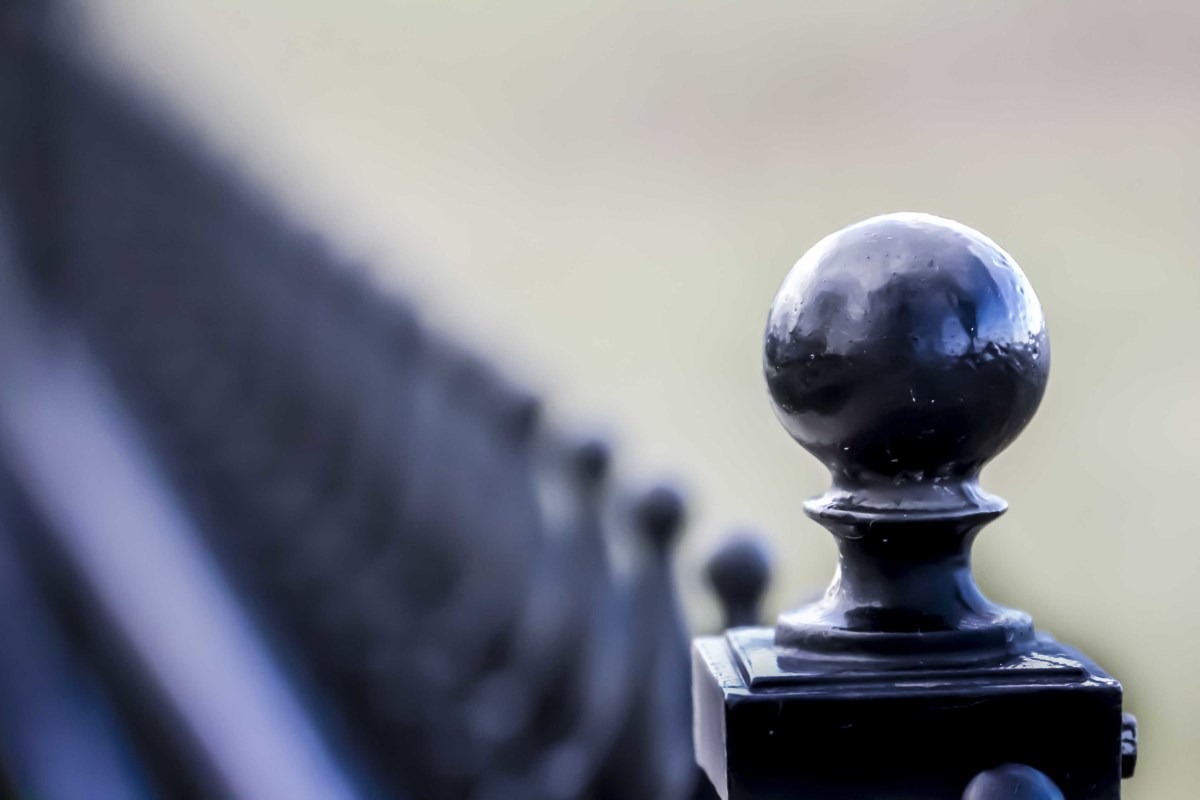
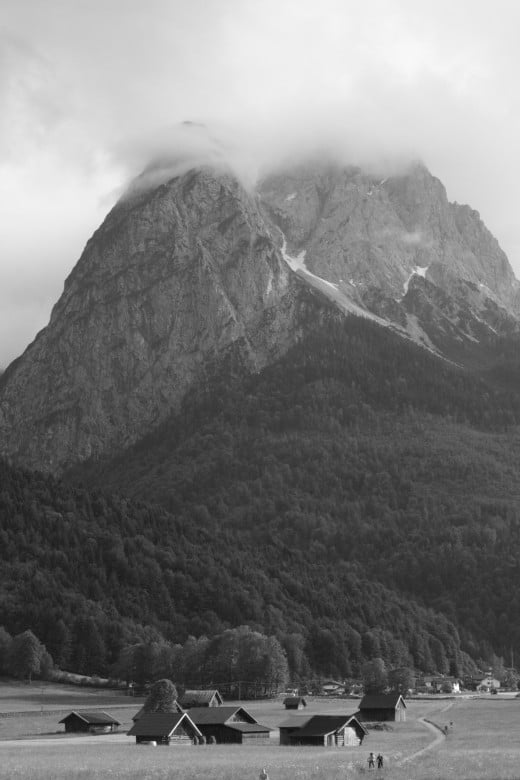
Your aperture setting controls the zone of sharp focus in your picture - it is the depth of field. Getting as much depth of field as possible in your shot, so the image is as sharp as possible all the way from the nearby foreground to the distant horizon, is made easier when you understand how to use hyper-focal distance. This is the focus point that gives maximum depth of field for the aperture and focal length you are using. When you focus on this point, depth of field extends all the way to infinity.


Maximizing Sharpness
To check for sharpness, review an image on the playback setting and zoom all the way in on the part of the picture you focused on. If it's not razor-sharp, you need to delete the file and take the picture again. It's much better to do this now when you are out shooting than to wait until later and be disappointed when you open the image up on the computer at home. Camera shake and poor focusing are the main causes of blurred images.
Camera Shake can be subtle or sever but you will see that the whole image is unsharp from the foreground to the background. It happens because, when you hold a camera in your hand, the camera is always moving a little (even breathing will move it). If your shutter speed isn't fast enough, then this movement will translate as motion blur that affects the entire image. The best "cure" for camera shake is to use a tripod.
Poor Focusing happens because the lens's auto-focus system has locked onto the background, leaving the much closer subject out of focus. To fix the problem you need to refine your focusing technique. Choose your own focus point with your camera. This way you know it is focusing on the correct part of your picture.


Freezing Movement
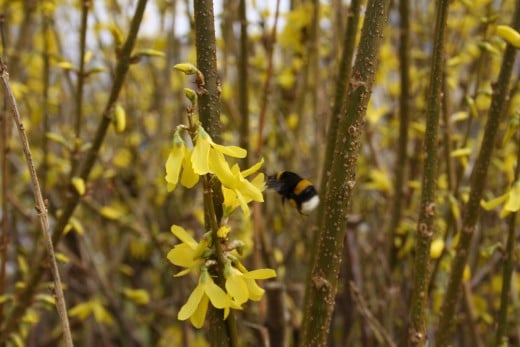
Freezing Movement is one of my all time favorite things to do when taking pictures. Whether it is taking pictures of sports, pets, kids, water, I love capturing that frozen moment.
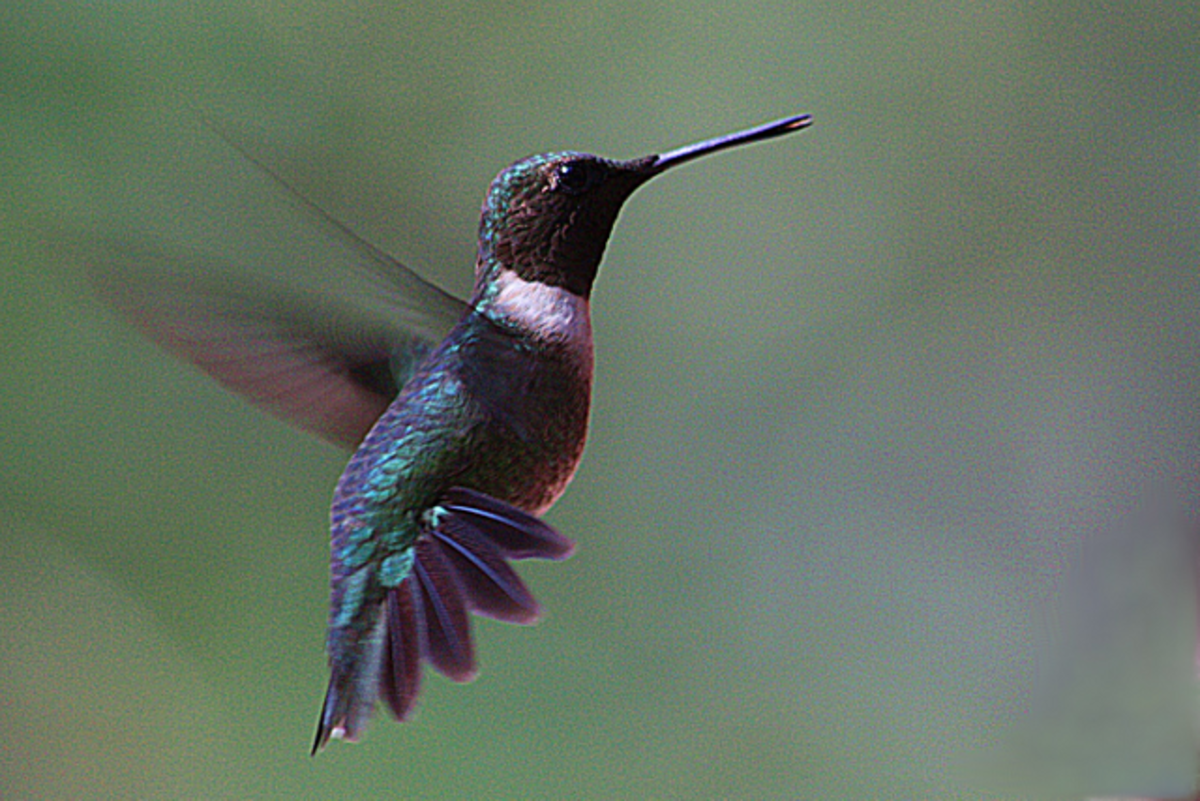
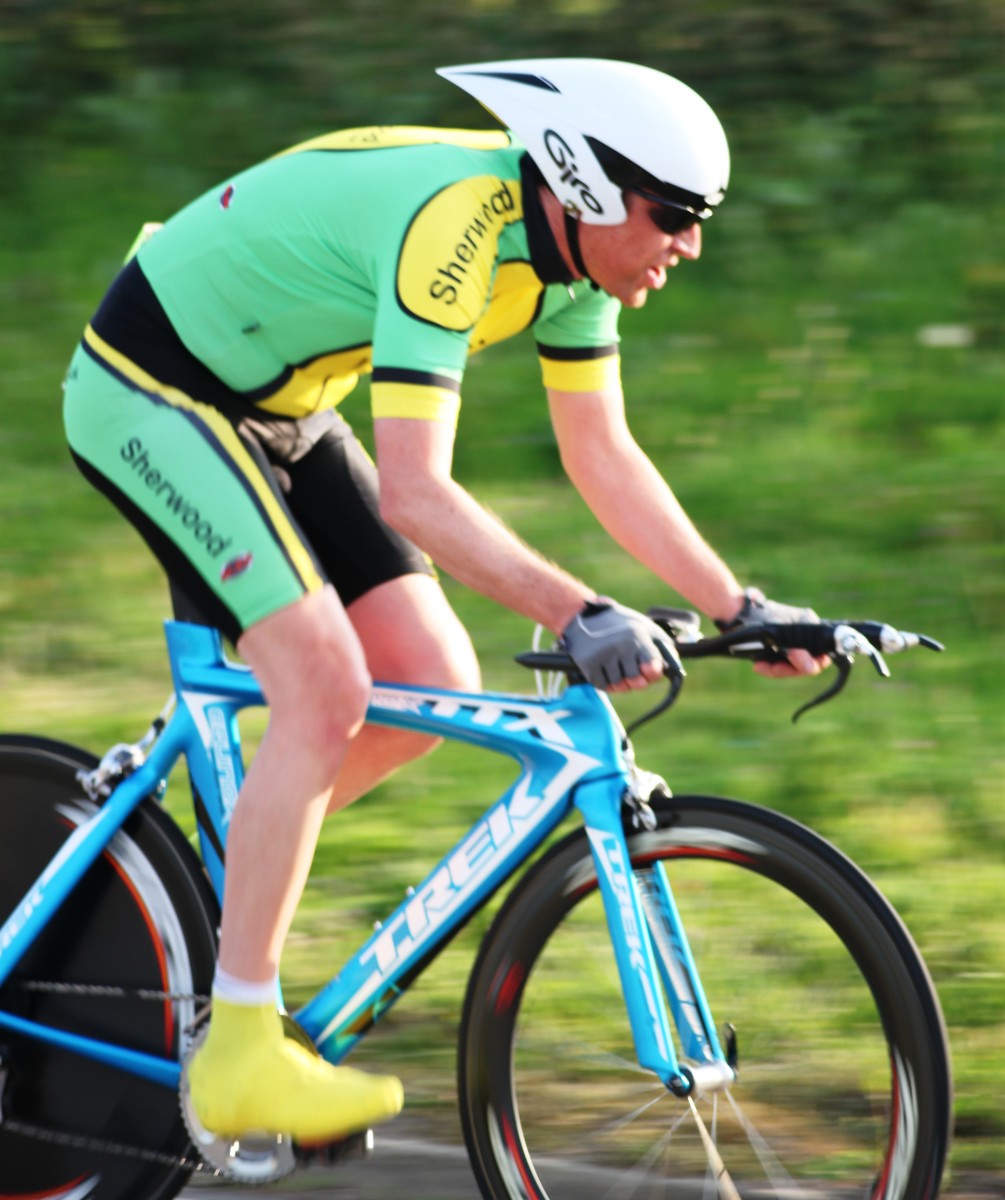
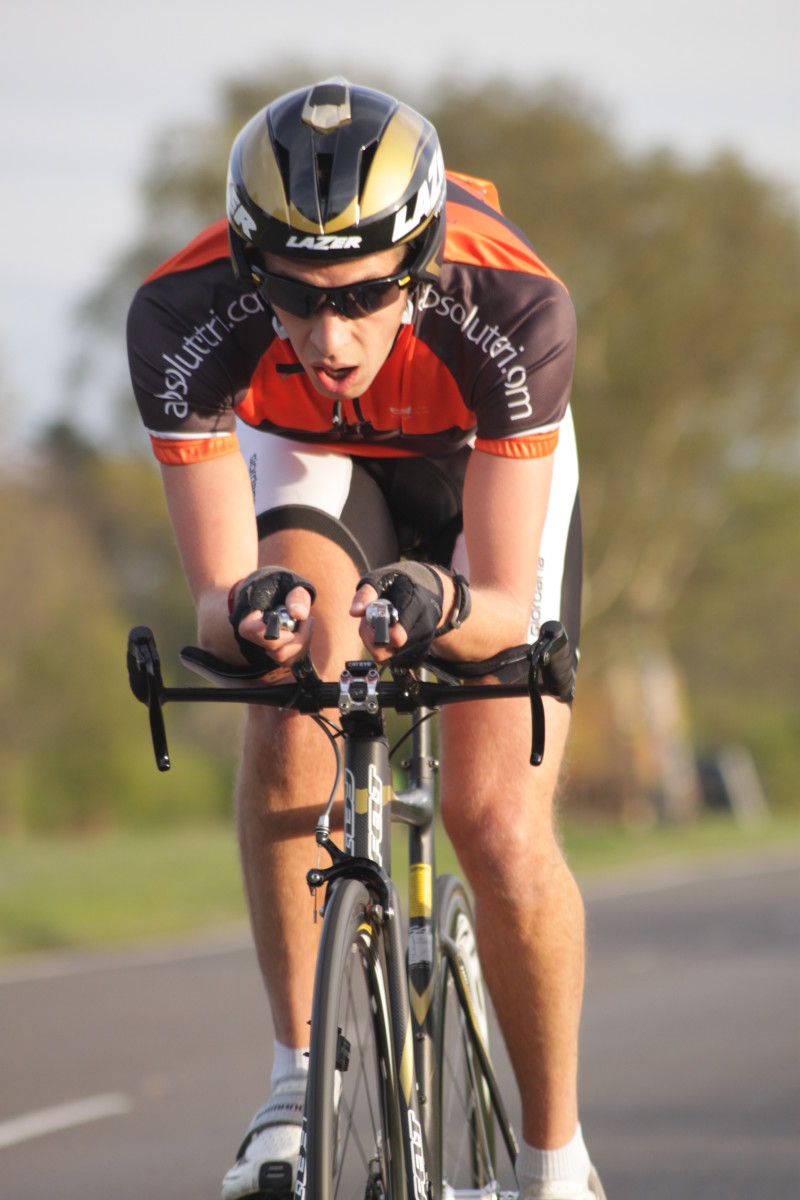
To freeze movement you use a fast shutter speed. The faster the shutter fires, the clearer and more blur-free your sots will be. Using a very fast shutter speed 1/500sec or faster, will stop a moving object in its tracks. This is ideal for sporting events where you can stop a ball in mid-air, or for wildlife photography, where you can record the individual beats of an inset's wings.


Blurring Movement
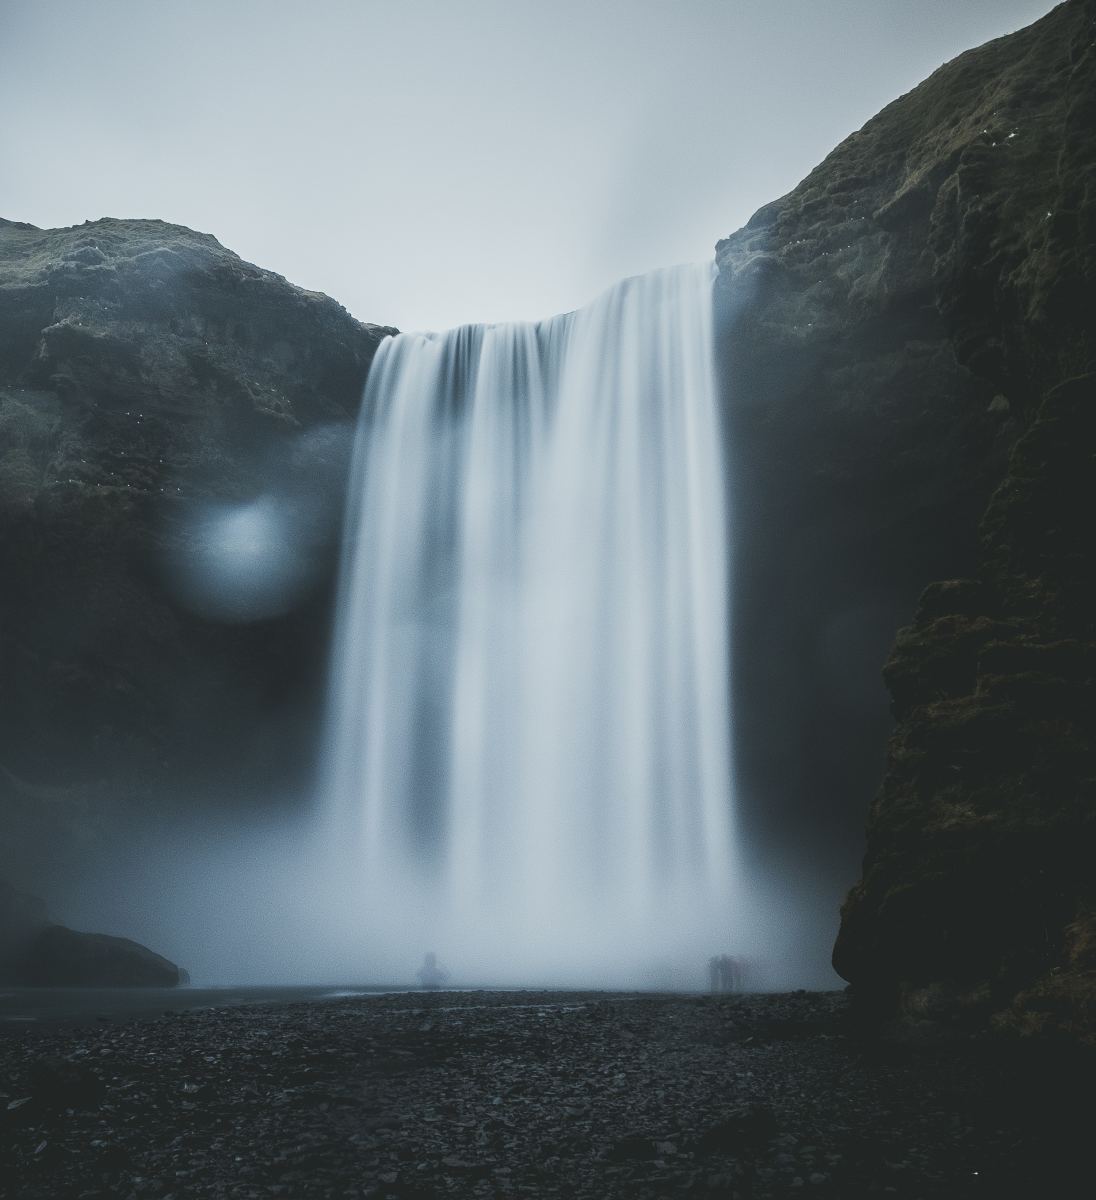
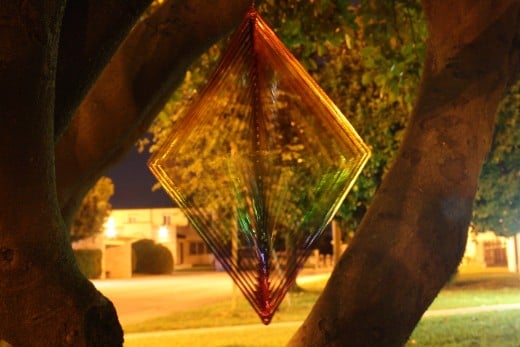
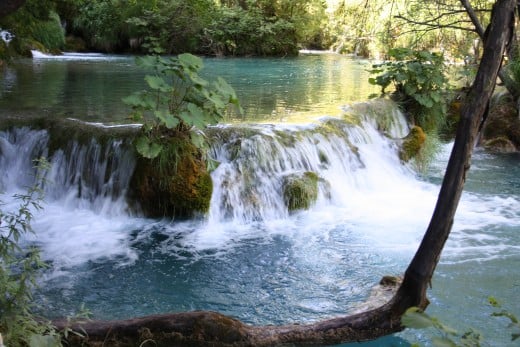
Blurring movement is just the opposite of freezing movement. To blur movement you need to use a very slow shutter speed. Most people use movement in a photo to show how something is moving, like water. A tripod is essential in this scenario because it will prevent any other form of movement from spoiling your results. You don't need a pretty stream for this shot, any body of moving water will make a good subject like waves at the seaside, a waterfall or even an outdoor tap.
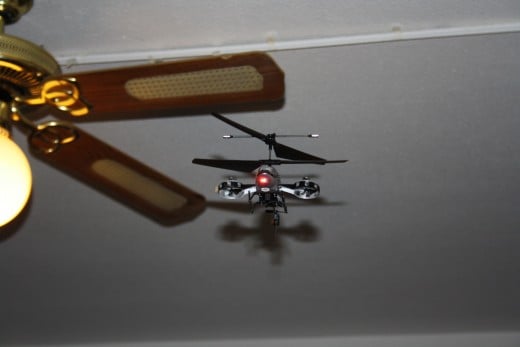
I don't use the blurring movement a whole lot therefore I have not mastered it. but here are a few photos of some small movements that are blurred a little in my photographs.
Composition
The very first decision you need to make is whether the shot is going to look best framed in a horizontal or upright format. Traditionally subjects such as portraits would be shot with the camera upright, while landscapes would be shot with the camera horizontal.
However, this does not mean you have to use landscape format when shooting landscapes or portrait format for shooting portraits. In fact, including things such as foreground interest in your landscapes is often easier if you shoot at an upright format. It is best to choose whichever format suits the subject best and if in doubt, try both.


Some other types of composition include lead-in lines, foreground interest and natural frames.
Lead-in Line - These are naturally occurring linear elements in a scene that can be positioned to lead from the edge of the frame in towards the main area of interest. They work because they draw the viewer into the picture, directing attention onto elements or subjects within it. To learn more about leading lines check out Leading Line Photography: Photo Tips and Ideas by randomcreative.
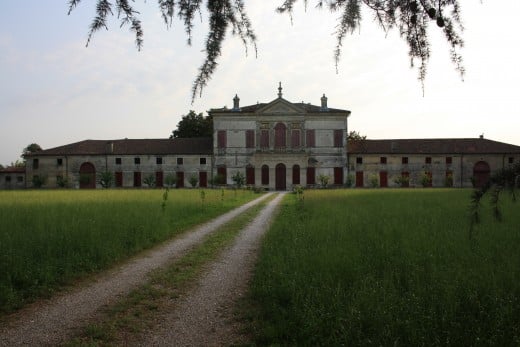
Foreground Interest - Having something in the foreground of your picture acts as a stepping stone to lead the viewer into the picture. It also helps to balance the composition if there is a strong element in the background, such as a mountain. Foreground interest can also provide a sense of scale and distance, inviting viewers to compare the size of objects close to the camera with those further away. They can also provide a thematic contrast or color comparison.

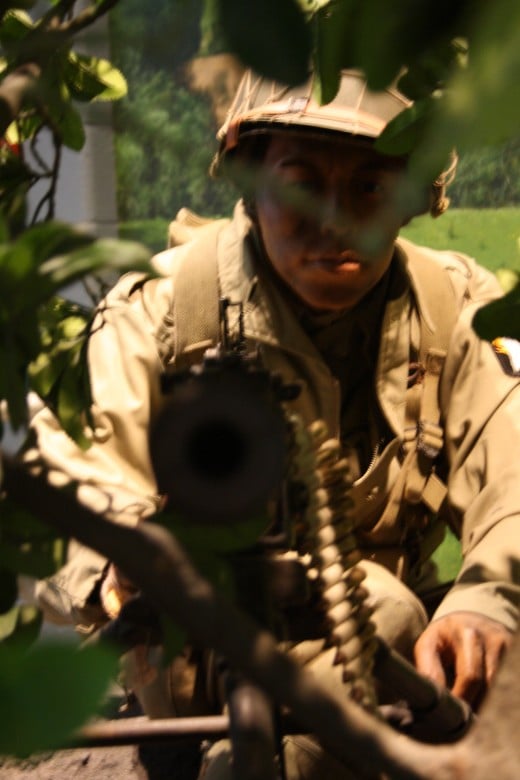
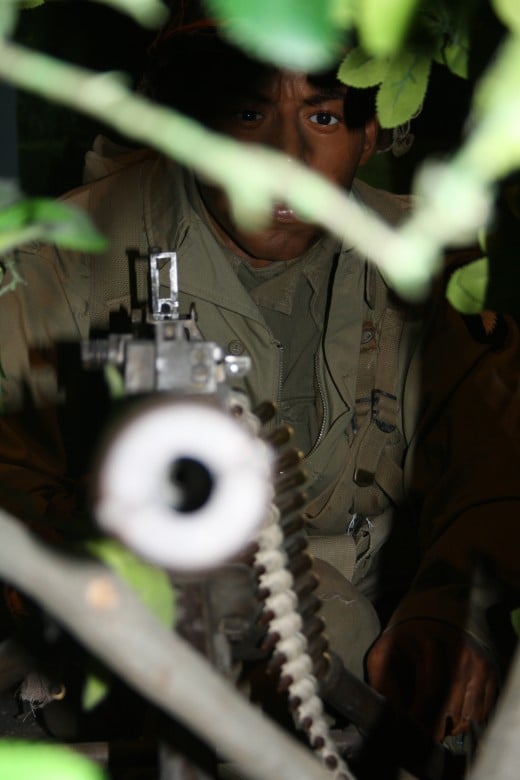
Natural Frames - Composing an image so that one element of the composition surrounds the edges of the viewfinder frame can help concentrate attention on the main subject. Looking for a frame within the viewfinder, such as an archway or tree branches, lends natural emphasis toward the subject in the center of the frame and prevents the viewer's attention from wandering elsewhere.


There are so many different skills to use as a photographer. Everyone uses the same things with variations of each. Photography for me is a hobby, it's something I love to do in my spare time and I am by no means a master and am still learning with every picture I take. I love how you can change position of the camera or just one small setting and get a completely different picture then the previous one you took. Photography is all about trial and error. If something doesn't work for you, try something new. It really is a never ending cycle!


