Blur a Digital Image Background

Whether you are a photographer or a digital artist, you have to know how to blur a digital image background. If you are taking portrait photographs,or emphasizing something in your pictures, you have to blur the background. On the other hand, graphic design frequently demands blurring techniques. Digital image background can be blurred in two ways: one, by adjusting camera settings while taking photographs; two, by using image manipulation programs such as Photoshop and GIMP.


How to Blur Digital Image Background While Taking Pictures
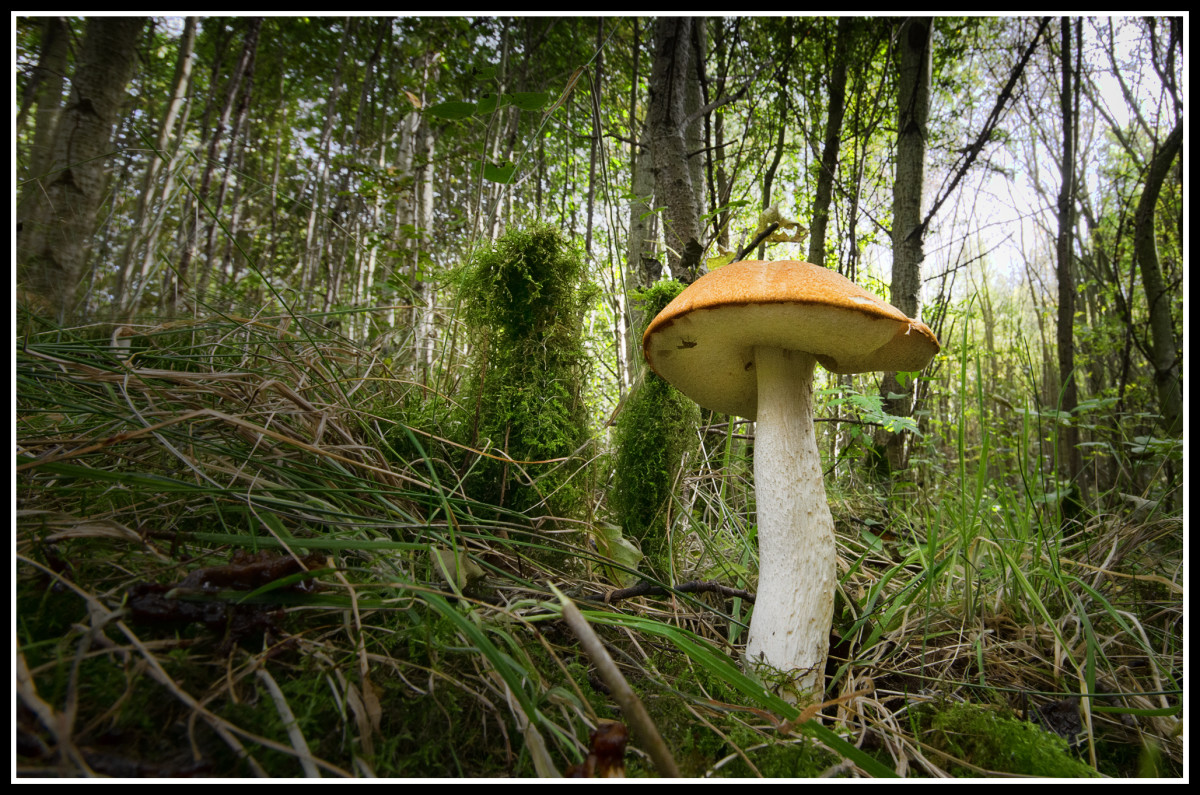
A shallow depth of field, focal length of the camera, and the subject’s distance to the background, creates blur effect in a photograph. To blur background in a picture, you need a camera with high aperture (f/2.8 or larger). The lower f-number indicates the larger aperture. Camera with large apertures creates very shallow depths of field, thus resulting in blur effect in the background and foreground, while the subject remains sharp.

The distance of the background from the subject has to be one-third of the focal length.
Focus on the head of the subject. If you use small aperture, the background will be in focus, if you use large aperture, foreground will be in focus, thus blurring the background.
To create shallow depth of field, use long lens and set on maximum zoom.. If you are using kit lens, zoom in and set aperture around 5.6. If you can, replace your kit lens with 35 mm or lager lens.
If you are shooting a moving subject, pan the camera. Use a tripod, and keep steady while shooting.
If your point and shoot camera has long zoom, you can create blur effect. However, you must set your camera to Aperture Priority mode.

Blur Filters in Photoshop Elements
Tools in Photoshop Elements
How to Blur Digital Image Background in Image Manipulation Program
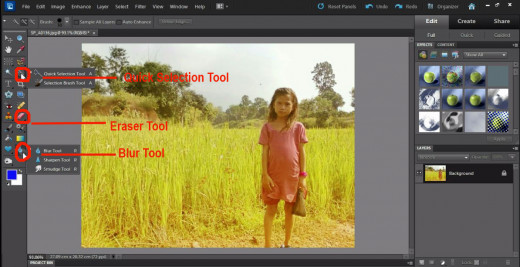
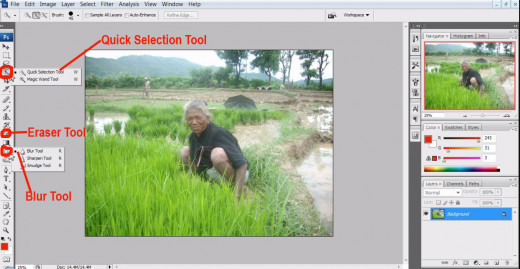
There are numbers of ways to blur image background in image manipulation programs. Here are few techniques to blur background in digital image in Photoshop. These blurring techniques also apply to Photoshop Elements. The Selection Tools such as Lasso Tools and Quick Selection Tool, Eraser Tool, Blur Tool and Blur Filter in Photoshop Elements are in the same place as in Photoshop CS and above.
You can also blur a digital image background in other programs such as Paint Shop Pro or GIMP. However, the tools are different.

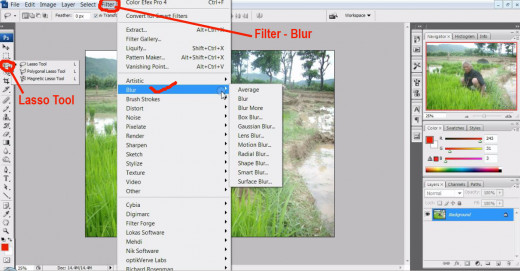
Blur Filters in Photoshop
Tools in Photoshop
How to Blur Digital Image Background in Photoshop
Method #1
Open an image in Photoshop. Make a copy of background layer (Crtl J)
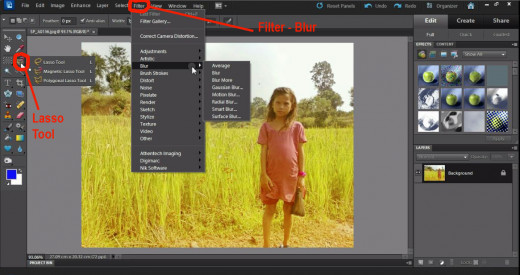
Go to Filter – Blur
There are many blurring options under Blur preset, such as Average, Blur, Blur More, Box Blur, Gaussian Blur, Lens Blur, Motion Blur, Radial Blur, Shape Blur, Smart Blur and Surface Blur.
Select Gaussian Blur.
Set the radius between 2-7 Pixels. If you want soft blur, set the radius very low, and if you want strong blur choose large radius.
Select Eraser tool with hard brush and gently brush over the area you want to remain sharp. Don’t use Eraser tool over the area that you want to remain blurred. Set Eraser Tool Opacity to 100 percent while erasing center part of the object, change Opacity to 50-60 while erasing the edges.
Since you have blurred the duplicate layer and used Eraser tool on the duplicate layer, Eraser tool will expose the background layer, thus creating a sharp subject in the blurred background.

Before you do anything in Photoshop, always duplicate the layer. If you work in duplicate layer, your original image will remain intact.
After you are done with your image, use Save As option.
Zoom in the image to work more accurately.
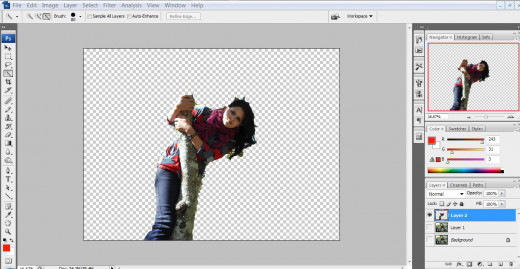

Method #2
Open the image.
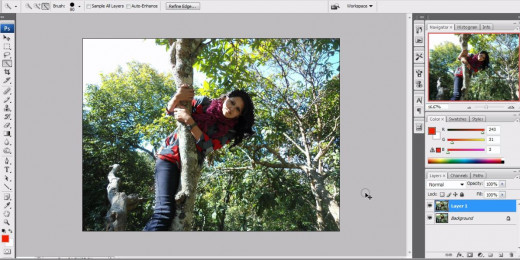
Choose any of the selection tools, such as Pen Tool, Lasso Tool, or Quick Selection Tool to select the subject that you want to remain sharp against the blurred background.
If you are using Pen Tool, after you have selected the subject, click left and choose Make Selection. Set the Feather Radius between 1 and 3. Click OK. While using Pen Tool, make sure you have selected Path on the menu ribbon.
If you are using Lasso Tool, set the Feather Radius between 1 and 3. There are three types of Lasso Tools. Choosing a Lasso Tool depends on the kind of selection you want to make. After you have selected the subject, if you want to add or subtract from the selection choose add to the selection or subtract from selection option, hold Alt Key and select the area you want to add or subtract.
If you are using Quick Selection Tool, use Add to Selection and Subtract from Selection options on the menu ribbon to make your selection accurate.
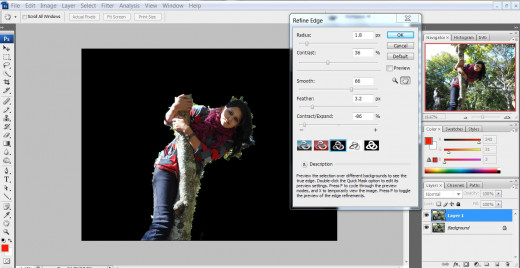
After you have selected the subject using Lasso Tool or Quick Selection Tool, click Refine Edge, choose a selection background and play with the sliders to make an exact selection.
Copy the selection to a new layer.
Go to the background layer.
Go to Filter – Blur. Choose Gaussian Blur or Smart Blur option. Set the radius according to the blur effect you want to generate. If you select Blur More option, your image has automated blur effect. If you are not satisfied with the effect generated by Blur More option, press Ctrl F. This command will repeat the previous Filter effect.
Since you have blurred the background layer, and your selected subject, which is not blurred, is on the top of the background layer, you will have sharp subject on the blurred background.


Blur Tool
You can also use Blur Tool to blur an area in your image. If you want to blur the entire background, Blur Tool will not give you desired effect, however, it you are blurring a small area, Blur Tool will work wonderfully. You can use Blur Tool to soften the edges of the selected object. Set the Strength of Blur Tool around 50 percent. Zoom in the image, select small soft brush, and gently brush on the edges. If your image has pixelated background and foreground, use Blur tool to smooth the surface.
Method #3
After you have selected the subject using Selection Tool of your choice, go to Select – Inverse (Shift Crtl I).
Inverse Selection option will reverse the selection, i.e., the background will be selected instead of the subject.
Go to Filter – Blur and choose the Blur Options. Ideally, Blur More, Gaussian Blur, Smart Blur and Surface Blur options are appropriate to blur the background. You can also try Lens Blur or Motion Blur to create different blur effects.


