- HubPages»
- Arts and Design»
- Graphic Art & Design»
- Design Software
Free Adobe Photoshop Tutorials: How to Create a Minion (Despicable Me)

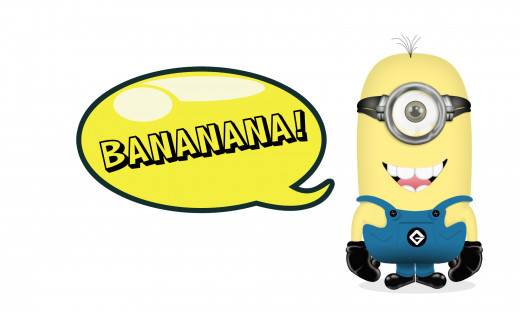
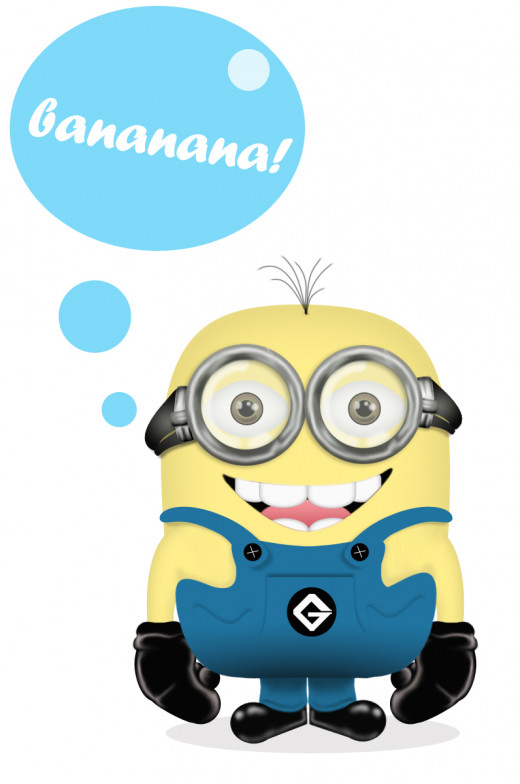
The minions starred in the animated movie Despicable Me are probably the cutest things I saw on the big screen. Simply looking at their weird and funny looks can melt even the toughest hearts. I fell in love with them the moment I saw how funny they are. Their simplicity, ignorance, and peculiar creativity made me adore them even more. I am certain millions of people around the globe, of all ages, also share the same feeling towards these cuddly creatures. But they’re bad! Gru (The Movie’s Main Protagonist) created them to be his minions to rule the world. The funny part is that they always mess things up and they try so hard to be bad even if they’re truly not. I’ve never seen Free Adobe Photoshop Tutorials which centered the minions in Despicable me as the subject so I decided to make one. Moreover, my love for these sweet minions inspired me to create one on my own. I’m still working on a 3D model of a minion so I’ll just create one through Photoshop. Don’t worry if you only have a few experiences in using this application. The process is very easy. Just read and understand each of the steps included in this tutorial and you’ll end up creating one of these adorable creatures in no time. I know you are as excited as me to start this project so let’s begin!


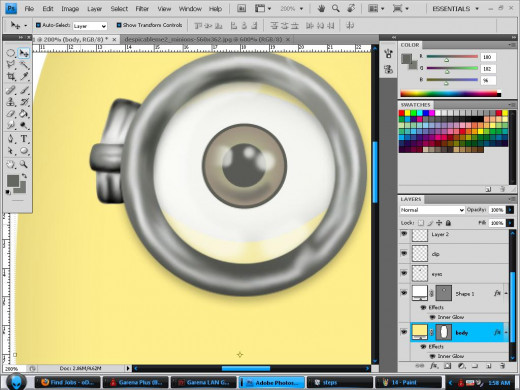
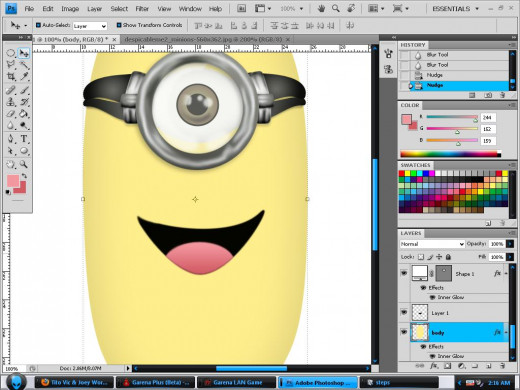
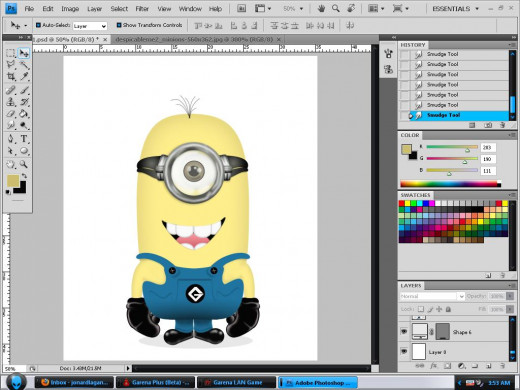
First, you need to create a new document, preferably with 1000x1000 dimensions for good quality. Set your foreground color to light yellow. Create a round figure using the shape tool that should resemble a minion’s body. You can easily achieve your desired look by warping the shape. To do so, simply click Edit->Transform-> Warp. There are basically 3 types of minions if we consider their body shape. The first is almost perfectly round; the other is long like a cucumber, while the last one is just in the middle of the previous two. I decided to create a tall minion since I find it very cute. After tweaking your minion’s body shape, apply an inner shadow effect to achieve a 3D effect. Simply look at the settings seen in the picture. Name the layer ‘body’.


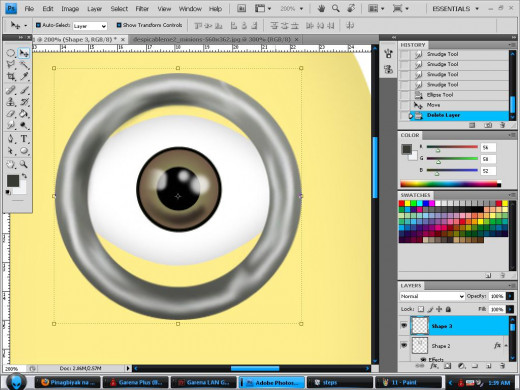
Let’s now do the eye. Some minions have one eye while others have two. I choose the first since you can simply duplicate the layer containing the minion’s eye if you prefer the latter. Start by setting your foreground color to white. Then create round figure using the shape tool to serve as the eye’s base. You can use the warp tool again to get the shape you want. Apply an inner shadow effect to the newly created shape. Just make sure it’s not so dark. Simply follow the settings described on the screenshot. Create another round figure but this time it must be a perfect circle. Make sure it’s above all the layers so it can be visible. Set your foreground color to brown and your background color to black. Apply a gradient fill effect to the newly created round shape. Just follow the settings seen on the picture. After you’re done, set the foreground color to black. Create a smaller filled circle. This will act as the eye’s innermost black portion. Merge the three recently created round shapes so you won’t find it hard to add extra effects. Set your foreground color to white and use the brush tool to add a few details. The smudge tool and soft rounded eraser will help you achieve a fading effect. Set your effect’s opacity to 75% so the eye will look wet and shiny. Merge all the layers and name it ‘eye’.


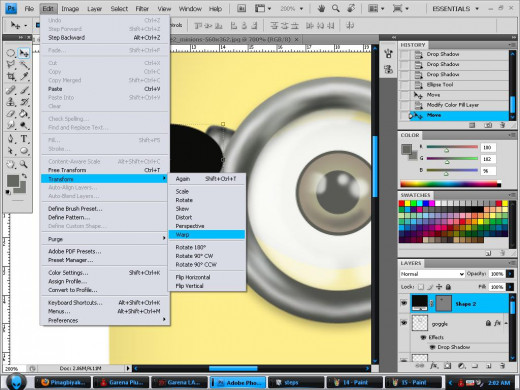
This is probably one of the hardest parts since it requires a lot of free-hand work. Let’s move on to create our minion’s goggle. Set your foreground color to gray and create a perfectly round shape big enough to cover your minion’s eye. You need to rasterize the layer so it will turn editable and use marquee or pen tool to cut out the circle’s inner potion. The final output must look like a doughnut. Do the same process but this time the foreground color must be silver and the circle should be smaller than the first. Use the brush tool to add a few more details and achieve a metallic look. Once you’re done, merge all the layers involved in this step and use the smudge and blur tool.
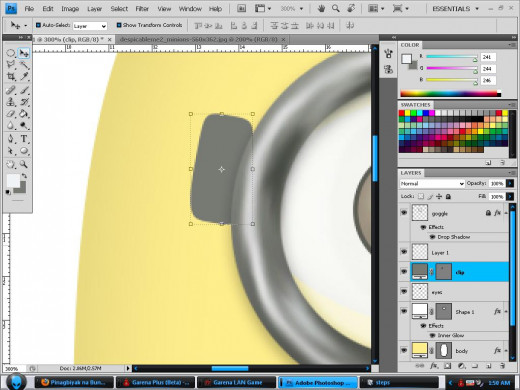
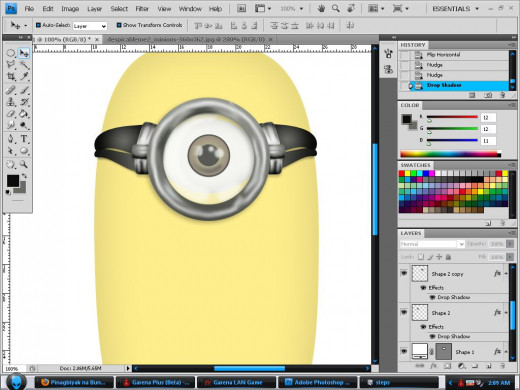
Next, create the rest goggle parts by simply using the shape tool and configuring it through warp. Just do the left side first. Once you’re done merge all the layers associated with the goggle’s added parts then duplicate it. While the newly copied layer is selected click Edit-> Transform->Flip Horizontal. Nudge the shape to the right until it’s perfectly synchronizes with its counterpart. Isn’t that easy?


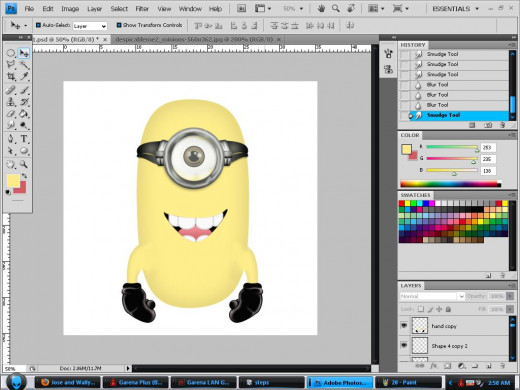
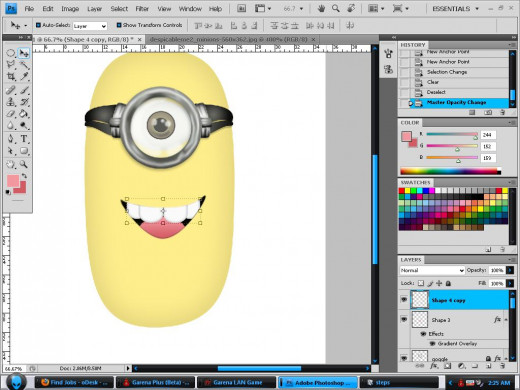

Use the pen tool to trace a smile the fill it with black. Use the round shape tool to create our minion’s tongue. Apply a gradient fill. Make sure your foreground color is pink and the background color is red to achieve a good look. Rasterize the tongue layer and trace the overlapping portions with the pen tool. Make a selection and press delete. The same goes with the teeth. Create an oval shape will the foreground is set to white. Use the warp tool to achieve the desired shape and add an inner shadow effect. Create multiple copies of the tooth and just resize them. After you have a set of teeth, rasterize the layer and clear the overlapping portions like we did with our minion’s tongue.
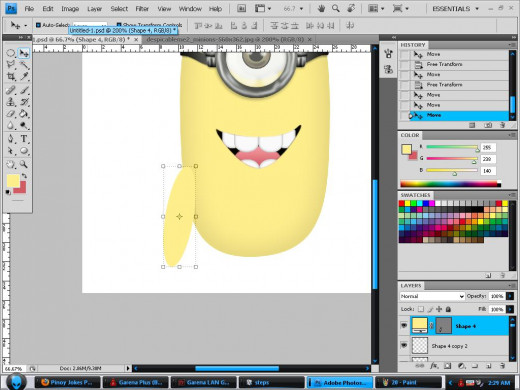
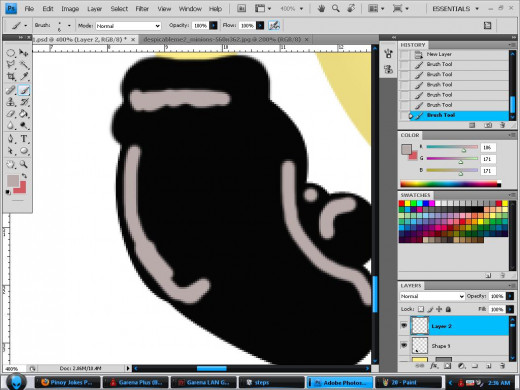
The arms and hands are quite tricky. First, set the foreground color to light yellow. Create a round shape and warp it to form an arm. Apply an inner shadow effect to make it look 3D. The hands are done by creating multiple black round shapes and connecting them through the brush or pen tool. After you got the shape you want, set the foreground to white and use the brush tool to paint certain areas of the hand like in the screenshot. Use the blur and smudge tool to achieve a shine effect. You can also lessen the opacity of the shine effect’s layer to achieve a much realistic look. Like what we did in the goggle accessories, simply merge every layer involved and copy the result. Flip it horizontal then position it in symmetry with the original.


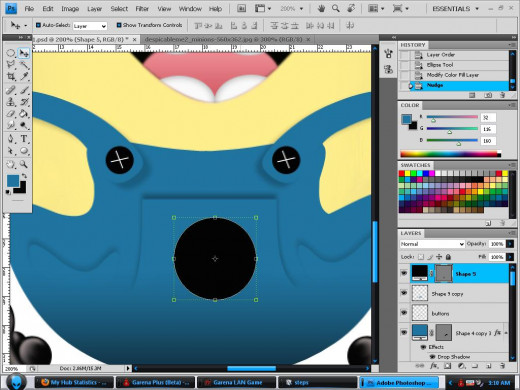
To create our minion’s clothes, set the foreground color to blue, violet, or any color you desire as long as it contradicts with our subject’s skin color. Use the shape tool to create a round shape. Warp it to come up with the base clothes. Create another round shape again with the same color to serve as the strap. Warp until you got the shape you want. Simply duplicate and flip it horizontally to create the other strap. The G Logo is done by creating a black round shape. Use the pen tool to trace a G that looks like the one in the screenshot then make a selection out of it and fill it up with white using the paint bucket tool.
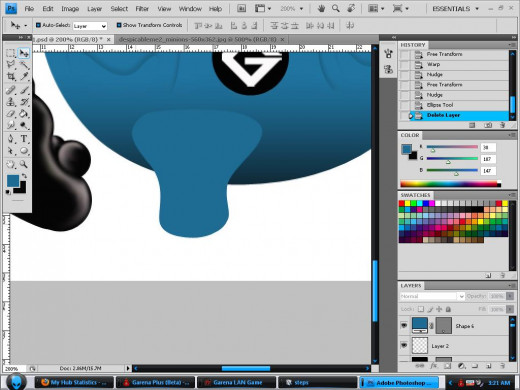
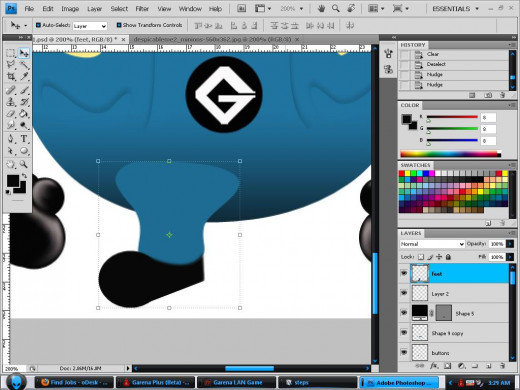
We are almost done. The final part is our minion’s feet. Like in the previous steps, create a round shape while having the foreground set to a color the same as our subject’s clothes. Warp it to achieve the desired leg shape. Apply an inner shadow effect to enhance its looks. Create a black filled round shape and warp it to have a shoe. Merge all the layers you’ve work on this step and duplicate the result. Flip it horizontally and move until the desired position is achieved. And we’re done!

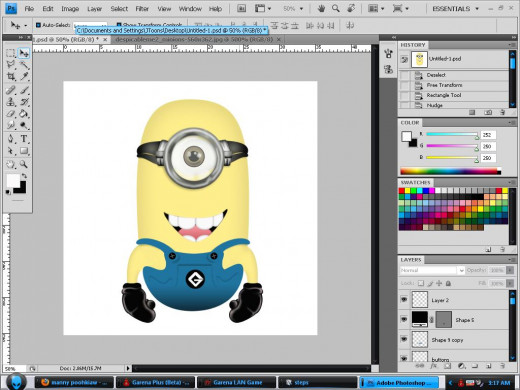
I hope you had fun creating your own minion. You can also do a fat or thin one. Just make minor changes in his body shape and body parts. You can easily change your minion’s facial structure by repositioning his mouth and eyes. Try it! It’s fun! Have you seen the Despicable Me 2 teaser trailer? Look how cute and lovable they are! Thank you for having the patience to go through all the steps. But it’s all worth it right?
How Adorable!

- Free Adobe Photoshop Tutorials- How to Color a Sketc...
Do you love sketching? Is it one of your favorite pastimes? Ever since I was a kid, drawing has been one of my most loved activities. The feeling of satisfaction after creating a work of art from scratch is ecstasy to me. Sketching is not hard... - How to Cartoonize Photos in Photoshop
Cartoons are famous for their vibrant colors, lovable personalities, and humorous acts. Who in the world don’t know Bugs Bunny or Mickey Mouse? Their fans worldwide are not only limited to kids since most adults find them very entertaining as... - How to play DOTA like a Pro
Defense of the Ancients is a famous World of Warcraft 3 map played by millions around the globe. This map even inspired other game companies to create versions with better graphics but somehow the same gameplay concept. Probably the most interesting. - How to Survive A Zombie Attack ( Tips And Tricks)
What if zombies suddenly roam the street one morning? Is there something that you can do to survive their onslaught? This article will provide a few basic yet effective steps for you to survive a Zombie Attack. - How to Lose Weight Fast After Pregnancy
Every woman wants to be pregnant at some point in their life. It’s a life changing event that could entirely overhaul a woman’s maturity and priorities. Although I’ve never been pregnant, a close friend of mine recently gave birth to a baby...


