Lego Harry Potter Years 1-4 Walkthrough Part 25: Goblet of Fire, The Dark Lord Returns
Not the part you are looking for? No problem!
Lego Harry Potter Years 1-4 Walkthrough, Part 1: Introduction
Lego Harry Potter Years 1-4 Walkthrough, Part 2: The Sorcerer's Stone, The Magic Begins
Lego Harry Potter Years 1-4 Walkthrough, Part 3: Sorcerer's Stone, Out of the Dungeon
Lego Harry Potter Years 1-4 Walkthrough, Part 4: Sorceror's Stone, A Jinxed Broom
Lego Harry Potter Years 1-4 Walkthrough, Part 5: Sorcerer's Stone, The Restricted Section
Lego Harry Potter Years 1-4 Walkthrough Part 6: Sorceror's Stone, The Forbidden Forest
Lego Harry Potter Years 1-4 Walkthrough Part 7: Sorcerer's Stone, Face of the Enemy
Lego Harry Potter Years 1-4 Walkthrough Part 8: Chamber of Secrets, Floo Powder
Lego Harry Potter Years 1-5 Walkthrough Part 9: Chamber of Secrets, Dobby's Plan
Lego Harry Potter Years 1-4 Walkthrough Part 10: Chamber of Secrets, Crabbe and Goyle
Lego Harry Potter Years 1-4 Walkthrough Part 11: Chamber of Secrets, Tom Riddle's Diary
Lego Harry Potter Years 1-4 Walkthrough Part 12: Chamber of Secrets, Follow the Spiders
Lego Harry Potter Years 1-4 Walkthrough Part 13: Chamber of Secrets, The Basilisk
Lego Harry Potter Years 1-4 Walkthrough Part 14: Prisoner of Azkaban, News from Azkaban
Lego Harry Potter Years 1-4 Walkthrough Part 15: Prisoner of Azkaban, Hogsmeade
Lego Harry Potter Years 1-4 Walkthrough Part 16: Prisoner of Azkaban, Mischief Managed
Lego Harry Potter Years 1-4 Walkthrough Part 17: Prisoner of Azkaban, The Shrieking Shack
Lego Harry Potter Years 1-4 Walkthrough Part 18: Prisoner of Azkaban, Dementor's Kiss
Lego Harry Potter Years 1-4 Walkthrough Part 19: Prisoner of Azkaban, The Dark Tower
Lego Harry Potter Years 1-4 Walkthrough Part 20: Goblet of Fire, The Quidditch World Cup
Lego Harry Potter Years 1-4 Walkthrough Part 21: Goblet of Fire, Dragons
Lego Harry Potter Years 1-4 Walkthrough Part 22: Goblet of Fire, The First Task
Lego Harry Potter Years 1-4 Walkthrough Part 23: Goblet of Fire, Secret of the Egg
Lego Harry Potter Years 1-4 Walkthrough Part 24: Goblet of Fire, The Black Lake
Lego Harry Potter Years 1-4 Walkthrough Part 25: Goblet of Fire, The Dark Lord Returns
Lego Harry Potter Years 1-4 Walkthrough Part 26: Sorceror's Stone, Free Play
Lego Harry Potter Years 1-4 Walkthrough Part 27: Chamber of Secrets, Free Play
Lego Harry Potter Years 1-4 Walkthrough Part 28: Prisoner of Azkaban, Free Play
Lego Harry Potter Years 1-4 Walkthrough Part 29: Goblet of Fire, Free Play
Lego Harry Potter Years 1-4 Walkthrough Part 31: Bonus Levels
In what seems to be an odd play, you will be at the stairwell. You will need to follow the studs upward, to that room that Fluffy occupied at one point in time.
You will then have to go up one more flight, and will need to zap a metal box with reducto, and use levitation to give a wizard in a portrait a wheel for steering a ship. You can then zap his portrait, and the stairs will go the proper way.
Go on up the stairs, and there will be some pixies who will be holding a portrait. Go ahead and zap them, and then levitate the portrait to hang on the wall. Shoot the portrait, and then go up to where Dumbledore is. Head into his office.
Chapter 6: The Dark Lord Returns
You should probably take your time here, and shoot up as much plants as possible. You will note a plant in the lower right hand corner that is Flower 1/8.
Don’t try and take any of the exits unless you know the pattern. To find out the pattern, use levitation on the knight in the center of the area. Shoot him, and he will turn and gesture his sword in the direction you need to go. In the first case, it is right, and then the left.
The same rules mostly apply in this room as the last one. Go ahead and zap the flower in the upper right corner for Flower 2/8. You can then zap all the pixies to get the parts of the golden knight. Shoot the knight, and follow his sword pointing. In this case, it is left, right, and down.
In this next room, you can find Flower 3/8 on the left side and Flower 4/8 on the right. You can then use Lumos on the Devil’s snare in the middle and levitate to make the golden knight. You can then shoot the knight and it will gesture right, left, down, up.
Okay, you will now be in the main portion of the maze. You can go straight, but watch out for those walls that will try and push you into a pit. You won’t be able to get past a black wall, but you can go to the left after the first pushing walls. You can then get Flower 5/8, and take out a bogart here. You can then snatch up Character: Fleur (Maze Task).
Go past the second sliding walls, and you will find some Devil’s snare hands will try and snatch you. Go ahead and use Lumos on Devil’s Snare 1/5 and Devil’s Snare 2/5.
Nothing to do but keep going, and eventually you will come to see Devil’s Snare 3/5.
As you go along, you will encounter Flower 6/8. Watch for it.
You will eventually reach a dead end. However, there is a Pixie with an arrow sign. Zap the pixie, and put the sign on the signpost. Levitate the signpost, and a green wall will slide out of the way to the next area.
You will notice Devil’s Snare 4/5 here, so get it. Also, if you turn to the left, you will get Flower 7/8. Go to the right, you will find Devil’s Snare 5/5. You should be able to get the Yellow Crest Portion here.
You will notice how around this area will have a corner where there is the Flower 8/8. Get it and get Character: Cedric (Maze Task).
You can also use some Lumos on a kid stuck on some vines. This will give you the Student in Peril.
You should then go back to the area where there is a book/box thing that you can levitate. It will dump out a trampoline, and you can then bounce on it to cross over to the other side of the green wall.
Use some Lumos on the Devil’s Snare here, and then get some studs. You should then levitate a fly into a web, and a spider will appear to nab it. You will note that a spider will appear near another web. Go ahead and levitate the fly into that web.
You will note how the spider flies through two of the green walls. Near the Sphinx statue are some parts that can be levitated until they form a fly. The spider will go after the fly, and then the Sphinx will chase the spider. This will insure that you can get to the Cup.
In this next area, I found it really hard to get any of the rewards on the side. You will note that there are three skeletons that can be raised up to dance with levitation. If you get all 3 of them, then you will have the Green Crest Portion.
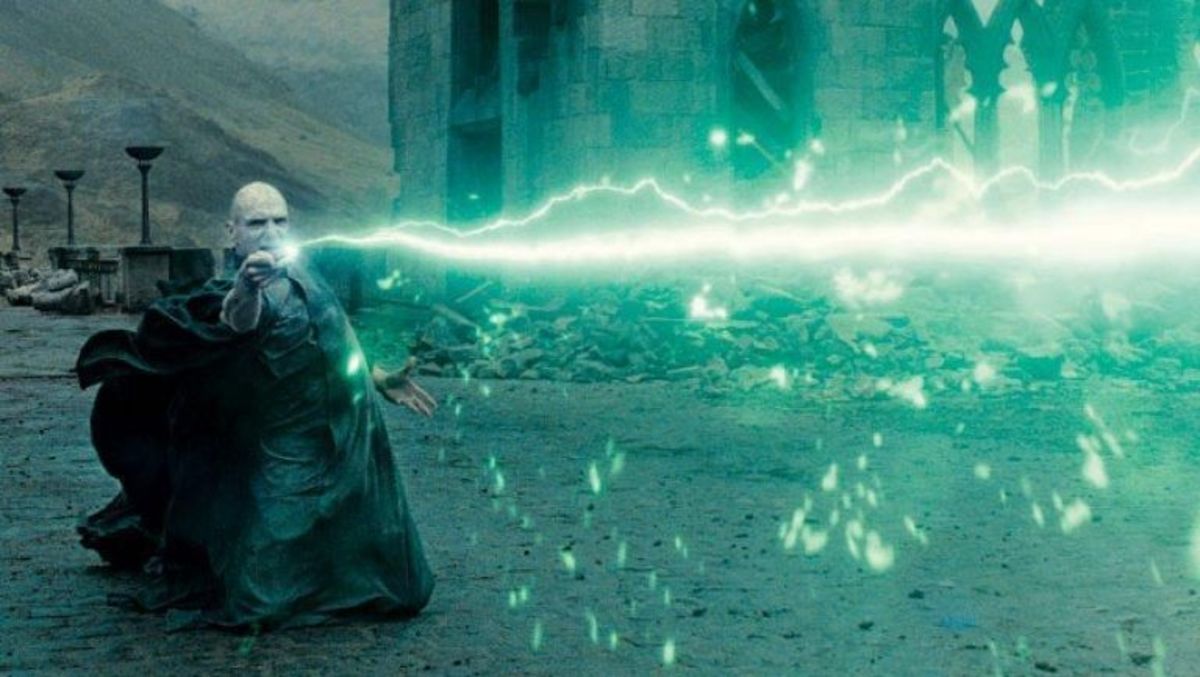
Usually, Voldemort came in and stopped me, and I had to use that thing where you push the energy back on him. This is how to defeat him.
Time to start the Free Play! It begins on Part 26.


